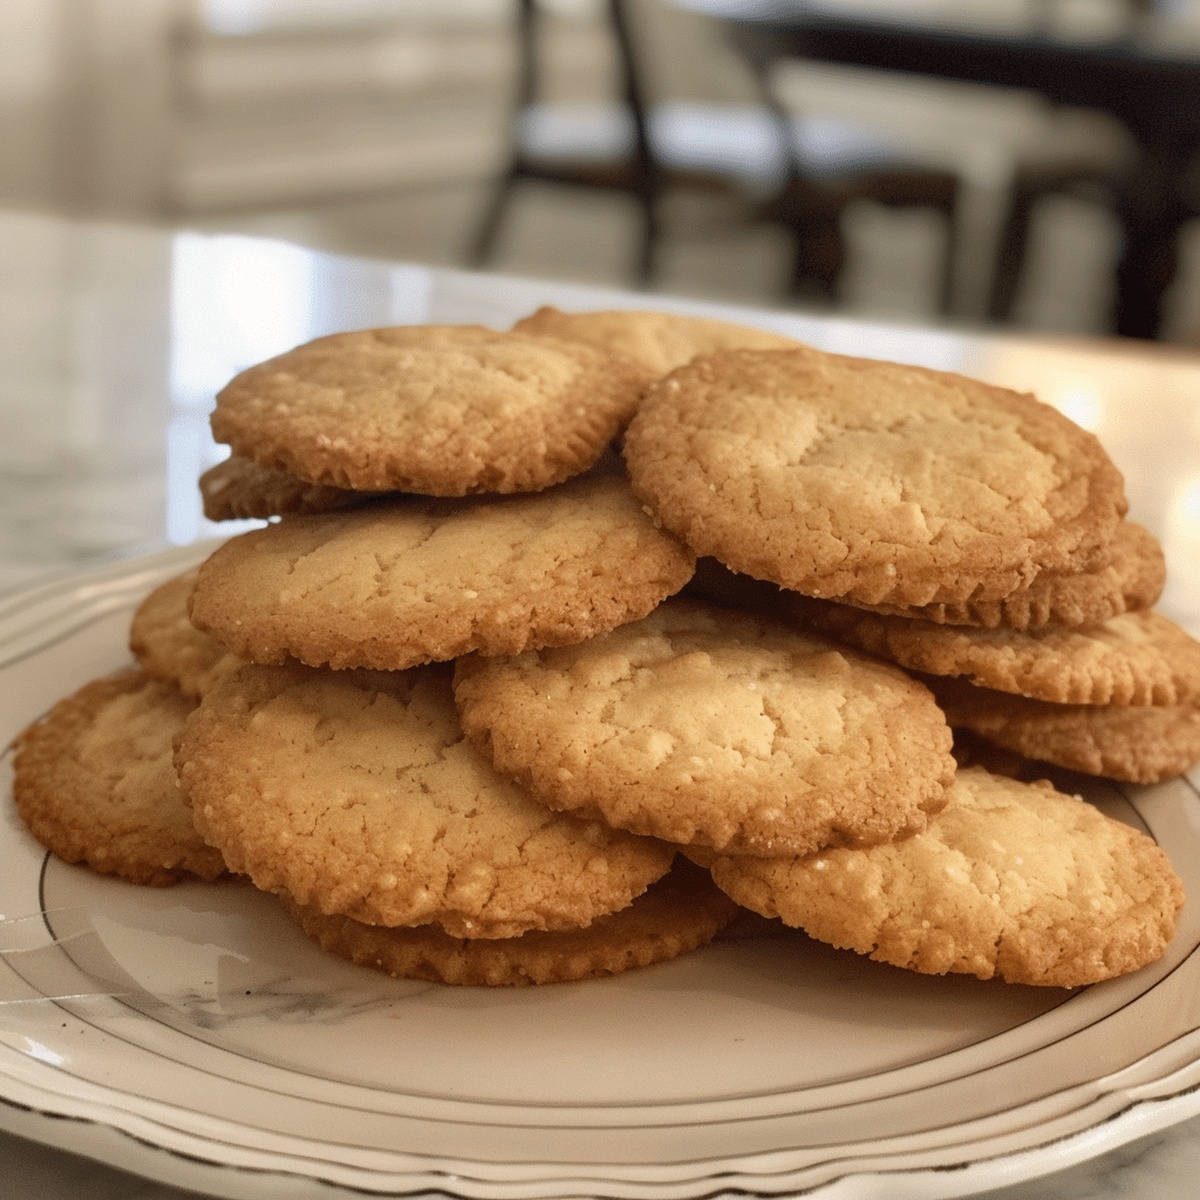
Crispy 3 Ingredient Butter Cookies Recipe: Sweet Homemade Joy
Butter cookies with just three simple ingredients sound like a magical culinary adventure waiting to happen.
Mixing minimal components creates surprisingly delicious results.
Baking enthusiasts can whip up these delightful treats in minutes without complicated techniques.
Sweet and buttery, these cookies promise a melt-in-your-mouth experience that feels both nostalgic and comforting.
Minimal effort leads to maximum flavor, making this recipe perfect for spontaneous baking moments.
Crisp edges and rich, golden centers await you in this delectable journey.
Grab your mixing bowl and let’s make something wonderfully simple yet extraordinary.
Why 3 Ingredient Butter Cookies Are Delightfully Simple
Ingredients Needed for 3 Ingredient Butter Cookies
Main Ingredients:Optional Add-Ins:Baking Essentials:Simple Instructions for 3 Ingredient Butter Cookies
Step 1: Prepare Oven and Baking Surface
Crank up your oven to a toasty 350F (180C). Grab a baking sheet and line it with parchment paper for smooth cookie removal.
Step 2: Create Creamy Base
In a spacious mixing bowl, blend softened butter and powdered sugar. Whip these ingredients until they transform into a dreamy, airy mixture that looks light and fluffy.
Step 3: Blend Flour Smoothly
Gradually fold flour into the butter-sugar mixture. Mix until the dough comes together seamlessly. If the dough feels too sticky, sprinkle in a few extra tablespoons of flour to achieve the perfect texture.
Step 4: Choose Your Cookie Shape
You’ve got two awesome ways to shape these treats:Step 5: Alternative Log Technique
Step 6: Bake to Golden Perfection
Arrange shaped cookies on prepared baking sheet. Slide into the preheated oven and bake for 12-15 minutes. Watch for edges turning a beautiful golden-brown color.
Step 7: Cool and Savor
Allow cookies to rest on the baking sheet for a few minutes. Transfer to a wire rack to cool completely. Your homemade butter cookies are now ready to munch and share!
Tips for Baking the Best 3 Ingredient Butter Cookies
Creative Variations to Spice Up 3 Ingredient Butter Cookies
Pairing Ideas to Enjoy with 3 Ingredient Butter Cookies
How to Store 3 Ingredient Butter Cookies for Freshness
FAQs on 3 Ingredient Butter Cookies
These butter cookies are incredibly simple and beginner-friendly. With just three ingredients and basic kitchen tools, anyone can successfully bake them even without advanced baking skills.
Absolutely! You can cream butter and sugar using a wooden spoon or spatula. Just ensure the butter is softened and mix thoroughly until light and fluffy.
All-purpose flour is perfect for these butter cookies. If you want slightly more delicate cookies, you can use cake flour, which will create an even softer texture.
Chilling the dough before baking is key. Whether you choose the disk or log method, refrigerating helps maintain the cookie’s shape and prevents excessive spreading in the oven.
Print
3-Ingredient Butter Cookies Recipe
- Total Time: 1 hour 42-45 minutes
- Yield: 24 1x
Description
Melt-in-your-mouth butter cookies bring simple elegance to classic baking with just three pantry staples. Crisp, buttery rounds deliver sweet comfort that connects you to cherished kitchen memories in mere minutes.
Ingredients
Main Ingredients:
- 1 cup (230 grams) Butter, softened
- 2 cups (250 grams) Flour
- 2/3 cup (85 grams) Powdered sugar
Optional Flavor Enhancers:
- 1 teaspoon (5 milliliters) Vanilla extract
- 1/4 teaspoon (1 gram) Salt
Coating:
- 1/4 cup (50 grams) Sugar for coating
Instructions
- Prepare the oven to 350F (180C) and line a baking sheet with parchment paper, ensuring even heat distribution.
- In a spacious mixing bowl, blend softened butter and powdered sugar until the mixture transforms into a light, airy consistency with no visible sugar granules.
- Gradually fold flour into the butter mixture, stirring until a cohesive dough forms. Adjust texture by adding extra flour if the dough feels too sticky or soft.
- Choose your preferred cookie shaping method: either create a flattened disk or form a compact log.
- For disk method: Wrap the dough in plastic film and refrigerate for 1 hour. Roll out to 1/4-inch thickness and use cookie cutters to craft desired shapes.
- For log method: Carefully shape the dough into a cylindrical log, wrap tightly, and freeze for 30 minutes. Slice into uniform 1/4-inch rounds.
- Arrange shaped cookies on the prepared baking sheet, maintaining slight spacing between each piece to allow even baking.
- Slide the tray into the preheated oven and bake for 12-15 minutes, watching for delicate golden edges as a sign of perfect doneness.
- Remove from oven and allow cookies to rest on the baking sheet for a few minutes, then transfer to a wire rack for complete cooling before serving.
Notes
- Customize the flour type by using gluten-free flour blend for those with wheat sensitivities, ensuring everyone can enjoy these delicate cookies.
- Enhance flavor complexity by adding a pinch of vanilla extract or almond extract during the butter and sugar creaming stage for a subtle aromatic twist.
- Control cookie thickness carefully when rolling or slicing to guarantee even baking and consistent texture across all cookies.
- Experiment with decorative options like dusting powdered sugar, drizzling melted chocolate, or adding colorful sprinkles after cooling for visual appeal and extra indulgence.
- Prep Time: 1 hour 30 minutes
- Cook Time: 12-15 minutes
- Category: Desserts, Snacks
- Method: Baking
- Cuisine: American
Nutrition
- Serving Size: 24
- Calories: 134 kcal
- Sugar: 2 g
- Sodium: 20 mg
- Fat: 9 g
- Saturated Fat: 6 g
- Unsaturated Fat: 3 g
- Trans Fat: 0.4 g
- Carbohydrates: 11 g
- Fiber: 0.3 g
- Protein: 1 g
- Cholesterol: 25 mg
Sarah Mitchell
Content Specialist & Home Cooking Enthusiast
Expertise
Education
Asheville-Buncombe Technical Community College – Asheville, NC
American Fitness Professionals & Associates – Online
Sarah’s passion for food was sparked by weekend trips to the farmers’ market and her belief that healthy meals should never feel boring.
After earning her culinary diploma and becoming a certified Nutrition and Wellness Consultant, she set out to help others fall in love with simple, wholesome cooking.
She’s all about celebrating the small wins in the kitchen: a colorful yogurt bowl, a new twist on a classic dish, or a homemade snack that feels just a little extra special.
Outside the kitchen, Sarah is a gardener at heart, a yoga enthusiast, and a believer that fresh herbs can brighten any meal, and any day.