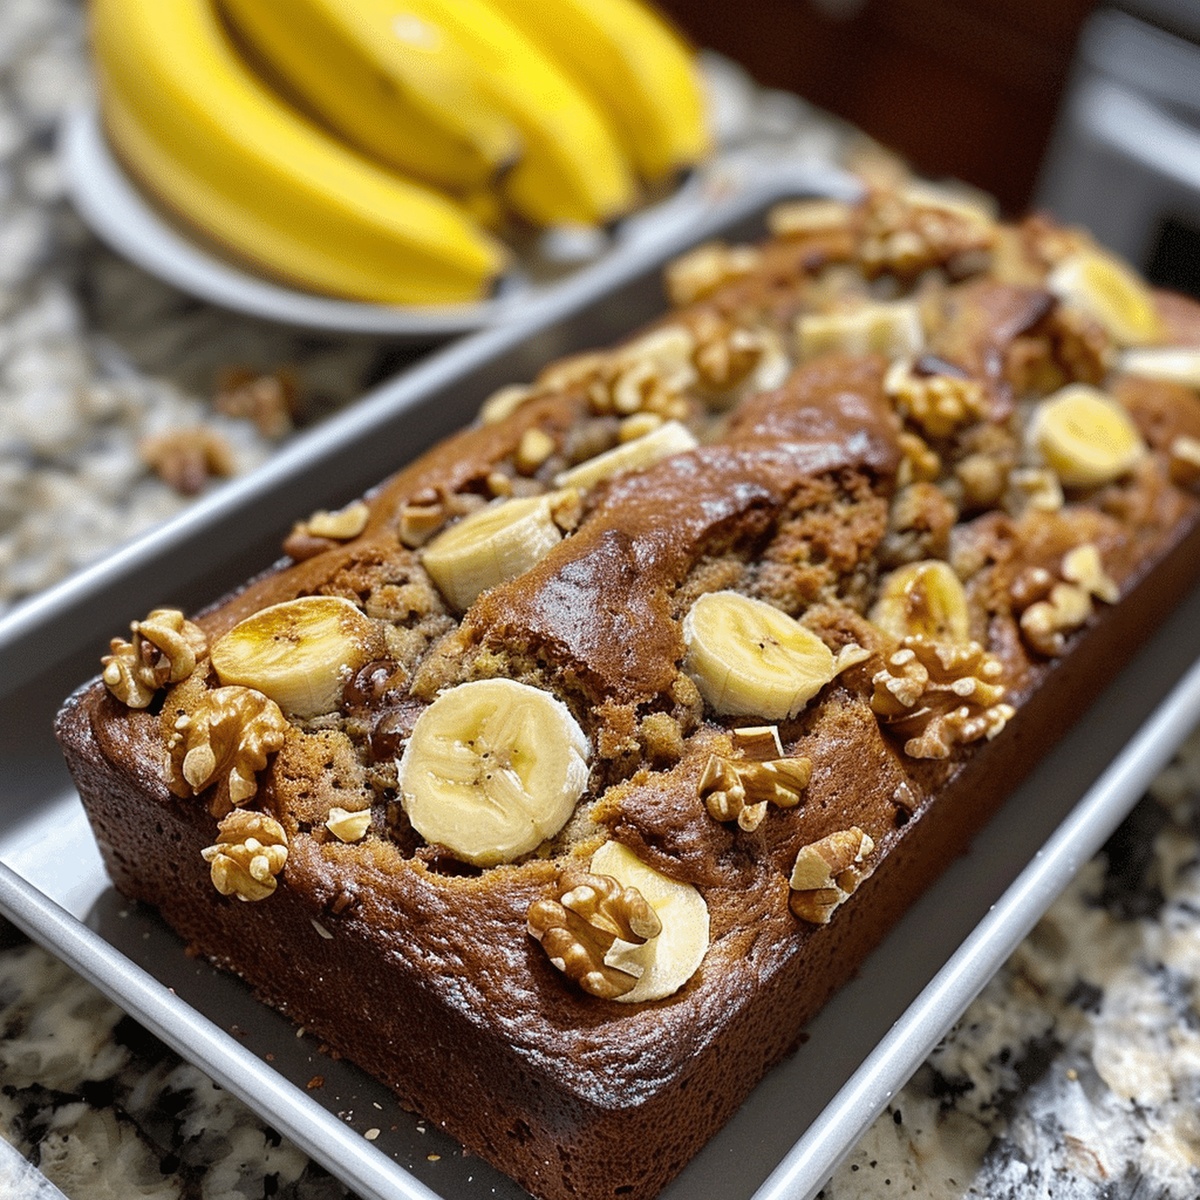
3 Ingredient Banana Bread Recipe for Quick Baking
Whipping up a delightful banana bread with just three ingredients sounds like culinary magic.
Ripe bananas hold the secret to creating something wonderfully simple yet delicious.
Mashing those golden fruits releases natural sweetness that makes this recipe extraordinary.
Kitchen novices and seasoned bakers alike can master this straightforward treat.
Minimal effort combines with maximum flavor, promising a scrumptious result every single time.
Pantry staples transform into a moist, comforting slice of pure happiness.
You won’t believe how something so easy can taste so incredible – this recipe will become your new favorite go-to dessert.
What Makes 3 Ingredients Banana Bread So Simple and Delicious
Ingredients Needed for 3 Ingredients Banana Bread
Main Ingredients:Flavor Enhancers:Baking Preparation:How to Bake 3 Ingredients Banana Bread
Step 1: Smash Those Bananas
Grab a large mixing bowl and thoroughly mash the ripe bananas until they’re super smooth and creamy. Make sure there are no big chunks left behind.
Step 2: Whisk in the Eggs
Crack the eggs into the mashed banana mixture and whisk them together until everything is well blended. If you’re feeling nutty, now’s the time to toss in some chopped nuts for extra crunch.
Step 3: Blend with Cake Mix
Gradually sprinkle the cake mix into the banana-egg mixture. Stir gently but thoroughly until the batter looks uniform and there are no dry cake mix spots remaining.
Step 4: Prep the Oven
Crank up your oven to 350 degrees Fahrenheit. Give your loaf pans a quick spray or butter coating to prevent any sticky situations.
Step 5: Pour and Spread
Divide the batter evenly between two small loaf pans. Use a spatula to spread the mixture smoothly across the pans.
Step 6: Bake to Perfection
Slide the pans into the preheated oven and bake for approximately 40 minutes. Check doneness by inserting a toothpick into the center – it should come out clean when the bread is ready.
Step 7: Cool and Enjoy
Remove the pans from the oven and let the bread rest for a few minutes. Carefully transfer the loaves to a wire cooling rack. One loaf can be enjoyed warm right away, while the other can be wrapped and frozen for a future treat.
Pro Tips for 3 Ingredients Banana Bread
Variation Suggestions for 3 Ingredients Banana Bread
Pairing Ideas for 3 Ingredients Banana Bread
Storage Guidelines for 3 Ingredients Banana Bread
FAQs for 3 Ingredients Banana Bread
Ripe bananas are sweeter and softer, which helps create a more moist and flavorful banana bread. They’re easier to mash and provide natural sweetness without adding extra sugar.
While the recipe is designed for standard yellow or white cake mix, you can experiment with other flavors like vanilla or spice cake mix for slight variations in taste.
Insert a toothpick into the center of the loaf. If it comes out clean with no wet batter, the bread is fully baked. The top should also be golden brown and slightly firm to the touch.
Print
3-Ingredients Banana Bread Recipe
- Total Time: 50 minutes
- Yield: 8 1x
Description
Delightful Banana Bread brings comfort straight from grandma’s kitchen, blending ripe bananas, flour, and eggs into a moist, irresistible treat. Simple ingredients create magic when mixed with love, promising warmth in each delectable slice you’ll savor.
Ingredients
Main Ingredients:
- 3 ripe bananas, mashed
- 2 eggs
- 1 box yellow cake mix
Optional Add-ins:
- Nuts (optional)
Baking Essentials:
(No additional ingredients in this category)
Instructions
- Transform overripe bananas into a creamy, uniform texture by thoroughly mashing them in a spacious mixing vessel until no significant chunks remain.
- Incorporate eggs into the mashed bananas, whisking vigorously to create a smooth, integrated blend that will serve as the foundation for the bread.
- Gradually fold cake mix into the banana-egg mixture, stirring methodically to ensure complete incorporation without creating lumps or dry pockets.
- Prepare baking receptacles by applying a light coating of grease to prevent potential sticking and facilitate easy bread removal.
- Distribute the silky batter evenly between two small loaf containers, ensuring uniform thickness for consistent baking.
- Position the filled pans in a preheated oven set to 350°F, allowing the bread to transform from liquid to golden, fragrant loaves.
- Monitor baking progress by performing the toothpick test around 40 minutes – insert into the center and confirm it emerges clean and dry.
- Allow freshly baked bread to rest briefly in pans, enabling structural stabilization and easier removal.
- Transfer loaves to a wire cooling rack, permitting complete temperature equalization and preventing moisture accumulation.
- Serve one loaf warm, celebrating its tender crumb, and preserve the second loaf by carefully wrapping and freezing for future enjoyment.
Notes
- Select ultra-ripe bananas with dark brown or black spots for maximum sweetness and deeper banana flavor.
- Consider adding a splash of vanilla extract or cinnamon to enhance the bread’s aromatic profile and create more depth.
- Swap cake mix for gluten-free alternatives to accommodate dietary restrictions, ensuring those with sensitivities can enjoy this simple recipe.
- Check doneness by inserting a toothpick slightly off-center, as center testing might not accurately reflect complete baking in dense quick breads.
- Prep Time: 10 minutes
- Cook Time: 40 minutes
- Category: Breakfast, Snacks, Desserts
- Method: Baking
- Cuisine: American
Nutrition
- Serving Size: 8
- Calories: 270 kcal
- Sugar: 20 g
- Sodium: 180 mg
- Fat: 7 g
- Saturated Fat: 1.5 g
- Unsaturated Fat: 4.5 g
- Trans Fat: 0 g
- Carbohydrates: 45 g
- Fiber: 2 g
- Protein: 4 g
- Cholesterol: 55 mg
Sarah Mitchell
Content Specialist & Home Cooking Enthusiast
Expertise
Education
Asheville-Buncombe Technical Community College – Asheville, NC
American Fitness Professionals & Associates – Online
Sarah’s passion for food was sparked by weekend trips to the farmers’ market and her belief that healthy meals should never feel boring.
After earning her culinary diploma and becoming a certified Nutrition and Wellness Consultant, she set out to help others fall in love with simple, wholesome cooking.
She’s all about celebrating the small wins in the kitchen: a colorful yogurt bowl, a new twist on a classic dish, or a homemade snack that feels just a little extra special.
Outside the kitchen, Sarah is a gardener at heart, a yoga enthusiast, and a believer that fresh herbs can brighten any meal, and any day.