Apple Snickerdoodle Dump Cake Recipe for Fall Baking
Sweet cinnamon whispers dance through my kitchen whenever I bake this irresistible apple snickerdoodle dump cake that feels like a warm hug from grandma.
Memories of childhood swirl around each delectable bite, promising comfort in every spoonful.
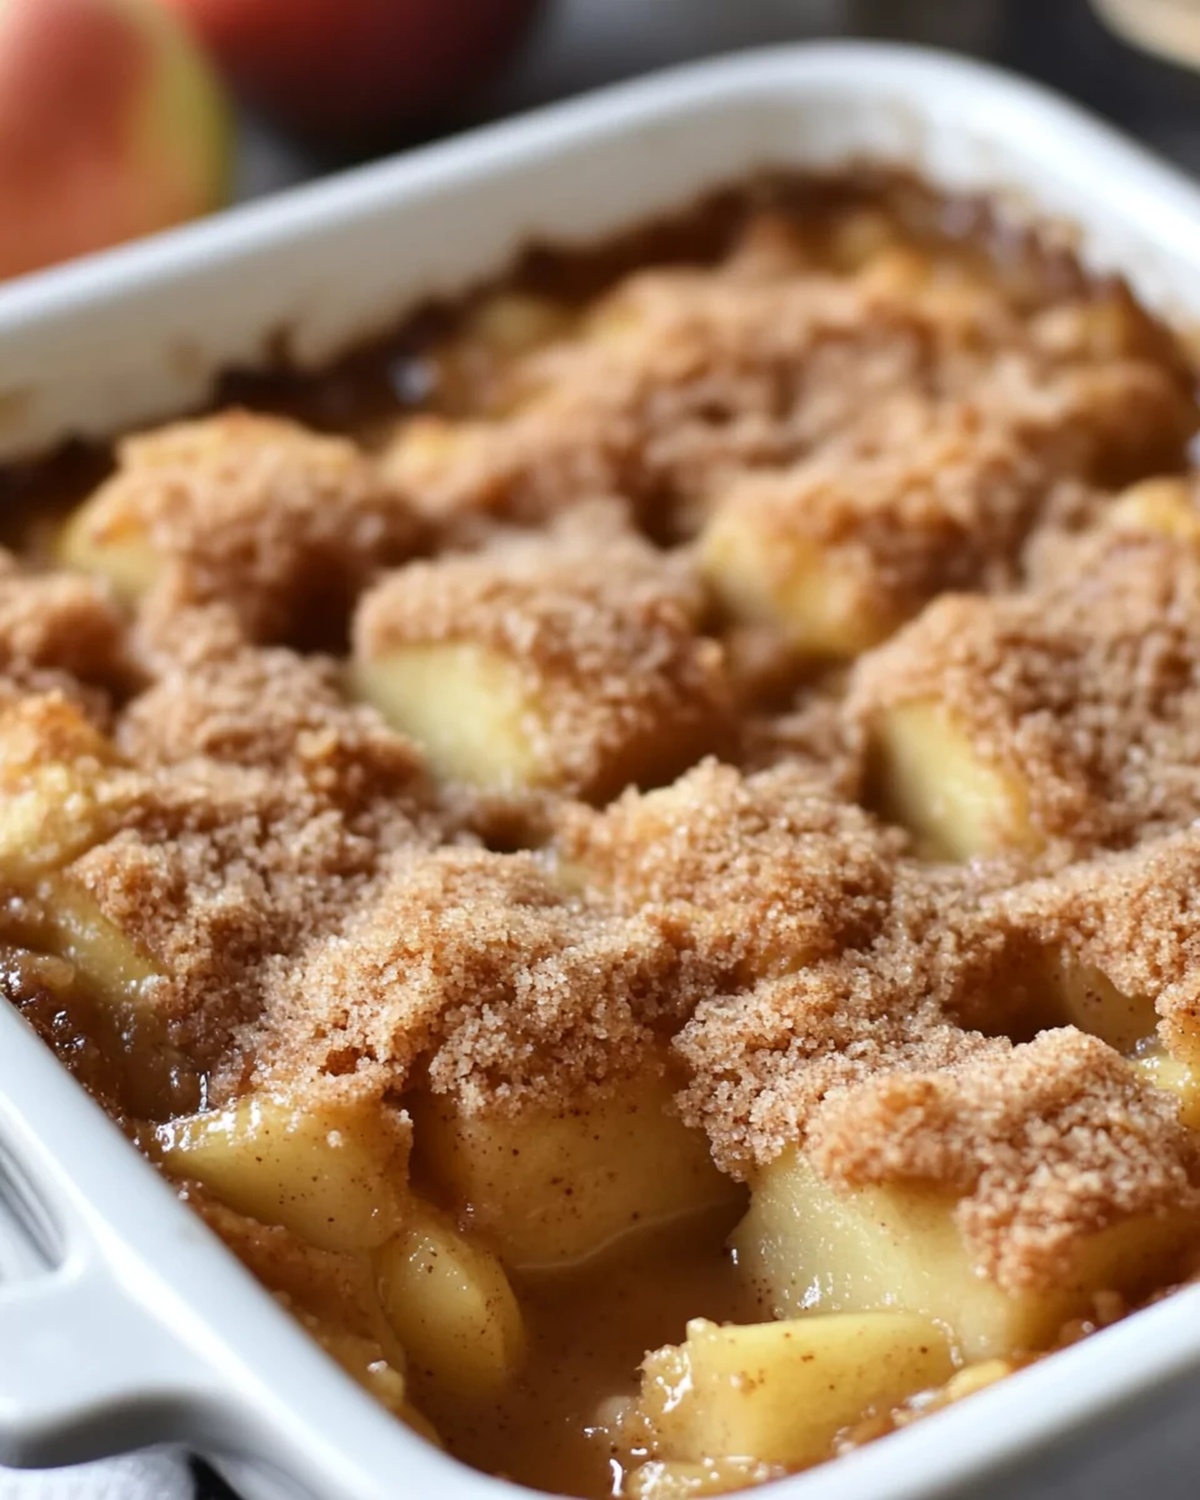
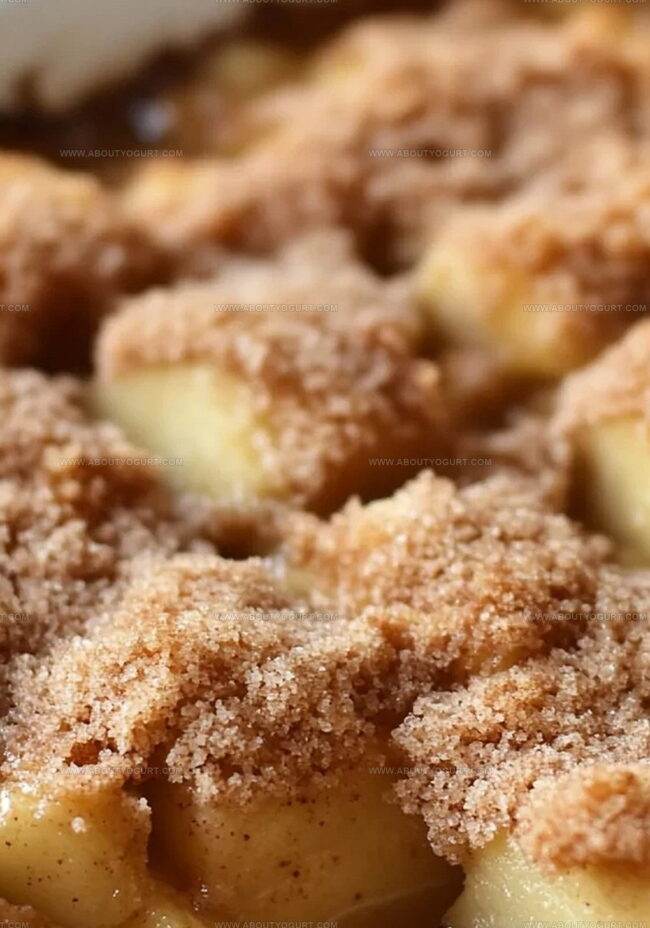
Layers of tender apples meld seamlessly with soft, crumbly cake beneath a buttery cinnamon-sugar blanket.
Minimal effort yields maximum deliciousness in this simple yet magical dessert.
Pantry staples transform into a rustic masterpiece that fills your home with incredible aromas.
You’ll want to grab a fork and savor each heavenly mouthful right from the baking dish.
Dive in and let this comforting treat become your new favorite sweet indulgence.
Why Apple Snickerdoodle Dump Cake Recipe Is So Comforting

Apple Snickerdoodle Dump Cake Recipe Ingredient Guide
Fruit Base:Dry Ingredients:Wet and Topping Ingredients:How To Bake Apple Snickerdoodle Dump Cake Recipe
Step 1: Warm Up the Oven
Crank up your oven to a toasty 350°F. Grab your 9×13-inch baking dish and give it a generous coating of grease to prevent any sticky situations.
Step 2: Create the Apple Foundation
Spread the apple pie filling across the bottom of the baking dish, creating a luscious fruity base that will make your taste buds dance.
Step 3: Sprinkle Magical Spice Blend
Whip up a dreamy spice mixture with:Dust this heavenly blend evenly over the apple filling, infusing it with warm, comforting flavors.
Step 4: Blanket with Cake Mix
Shower the dry yellow cake mix over the spiced apple layer. Let it sit untouched like a fluffy white blanket on top of the fruity landscape.
Step 5: Drench with Liquid Gold
Drizzle melted butter across the entire surface, ensuring every inch of cake mix gets a luxurious butter bath.
Step 6: Add Nutty Crunch (Optional)
Scatter chopped pecans or walnuts over the top for an extra layer of texture and nutty goodness.
Step 7: Bake to Perfection
Slide the dish into the oven and bake for 45-50 minutes. Watch for a golden-brown top and bubbling edges. If the surface browns too quickly, tent it with aluminum foil.
Step 8: Let It Rest
Allow the cake to cool for 5-10 minutes. This short pause helps it set, making serving a breeze.
Helpful Hints For Apple Snickerdoodle Dump Cake Recipe
Tasty Variations Of Apple Snickerdoodle Dump Cake Recipe
What Pairs Nicely With Apple Snickerdoodle Dump Cake Recipe
How To Store Apple Snickerdoodle Dump Cake Recipe Right
FAQs About Apple Snickerdoodle Dump Cake Recipe
Yes, homemade apple pie filling works perfectly. Just ensure it has a similar consistency to the canned version and spread it evenly in the baking dish.
No, you’ll sprinkle the dry cake mix directly over the apple pie filling without mixing or preparing it beforehand.
Look for a golden brown top and bubbling apple filling around the edges. The cake should be set but still moist, typically after 45-50 minutes of baking.
Yes, simply use a gluten-free yellow cake mix and ensure your apple pie filling is gluten-free. The rest of the ingredients are naturally gluten-free.
Print
Apple Snickerdoodle Dump Cake Recipe
- Total Time: 55-60 minutes
- Yield: 8 1x
Description
Irresistible Apple Snickerdoodle Dump Cake promises comfort and sweetness in one delightful dessert. Cinnamon-spiced apples meld with buttery cake crumbles, creating a simple yet mouthwatering treat you’ll crave again and again.
Ingredients
Main Ingredients:
- 2 cans (21 ounces / 595 grams each) apple pie filling
- 1 box (15.25 ounces / 432 grams) yellow cake mix
- 1/2 cup (113 grams) unsalted butter, melted
Spices and Seasonings:
- 1 teaspoon ground cinnamon
- 1/4 teaspoon ground nutmeg
- 1/4 cup (50 grams) granulated sugar
Optional Add-Ins:
- 1/2 cup (60 grams) chopped pecans or walnuts
Instructions
- Warm the oven to 350°F and coat a 9×13-inch baking dish with cooking spray to ensure effortless release.
- Distribute the apple pie filling across the entire bottom of the prepared dish, creating an even base layer.
- Combine ground cinnamon, nutmeg, and granulated sugar in a small mixing bowl, then generously dust this aromatic spice blend over the apple filling to enhance its flavor profile.
- Carefully scatter the dry yellow cake mix across the spiced apple layer, maintaining an untouched, even surface without mixing.
- Gently cascade melted butter over the cake mix, ensuring comprehensive coverage and potential crispy edges.
- Optional: Sprinkle chopped pecans or walnuts across the top for a delightful textural contrast and nutty undertone.
- Transfer the dish to the preheated oven and bake for 45-50 minutes until the surface transforms into a golden-brown crust and the apple filling begins to bubble energetically around the edges. If the top browns too rapidly, loosely tent with aluminum foil to prevent burning.
- Allow the cake to rest and slightly solidify for 5-10 minutes before serving, which helps maintain its structural integrity and enhances serving ease.
Notes
- Swap out yellow cake mix for gluten-free or alternative cake mixes to accommodate dietary restrictions without compromising taste.
- Add a pinch of cardamom or ginger to the spice mixture for a more complex, warming flavor profile that elevates the traditional Snickerdoodle taste.
- Enhance the dessert’s richness by drizzling caramel sauce or serving with a scoop of vanilla ice cream right before serving, creating a decadent contrast to the warm cake.
- Consider using fresh apple slices mixed with pie filling for a more homemade texture and added natural fruit chunks that provide extra bite and freshness.
- Prep Time: 10 minutes
- Cook Time: 45-50 minutes
- Category: Desserts
- Method: Baking
- Cuisine: American
Nutrition
- Serving Size: 8
- Calories: 355
- Sugar: 33 g
- Sodium: 290 mg
- Fat: 16 g
- Saturated Fat: 5 g
- Unsaturated Fat: 10 g
- Trans Fat: 0.2 g
- Carbohydrates: 48 g
- Fiber: 2 g
- Protein: 3 g
- Cholesterol: 15 mg
Michael Thompson
Founder & Recipe Developer
Expertise
Education
Cascade Culinary Institute – Bend, OR
ServSafe Food Handler Certification – Portland, OR
Focus: Certified in core food safety and hygiene principles for both home and professional kitchens, with emphasis on ingredient handling, kitchen cleanliness, and safe preparation methods.
Mike’s kitchen journey began with a single goal: to make everyday meals feel like something worth celebrating.
After earning his Certificate in Culinary Arts from Cascade Culinary Institute, he spent years working with local farmers and small kitchens across Oregon, learning the beauty of seasonal, small-batch cooking.
Mike’s approach is simple, cook with what’s fresh, keep it approachable, and always leave room for a little creativity. When he’s not testing yogurt marinades or designing single-serving meals, you’ll find him hiking trails or hunting down the best berries at local markets.