
Crispy Oven-Baked “Fried” Chicken Recipe for Sunday Dinner
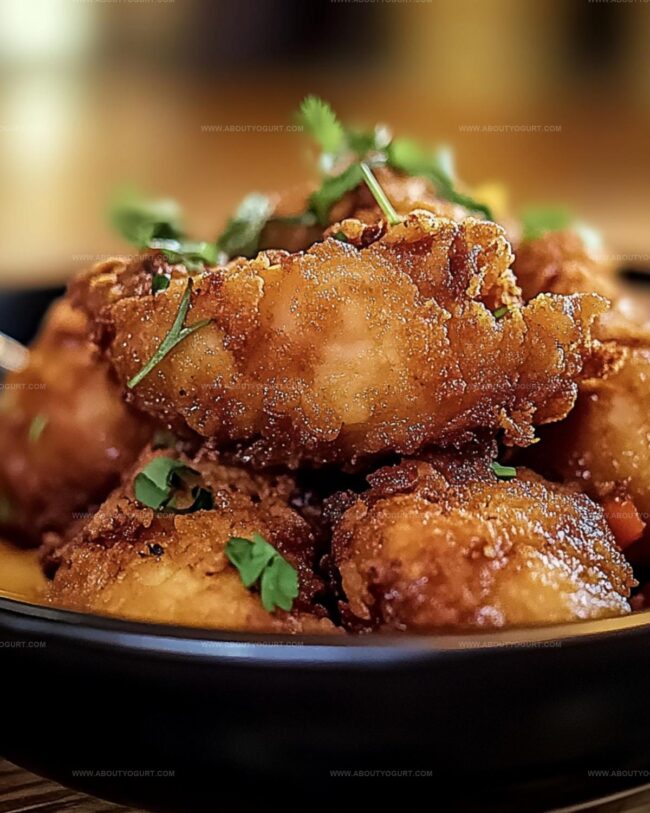
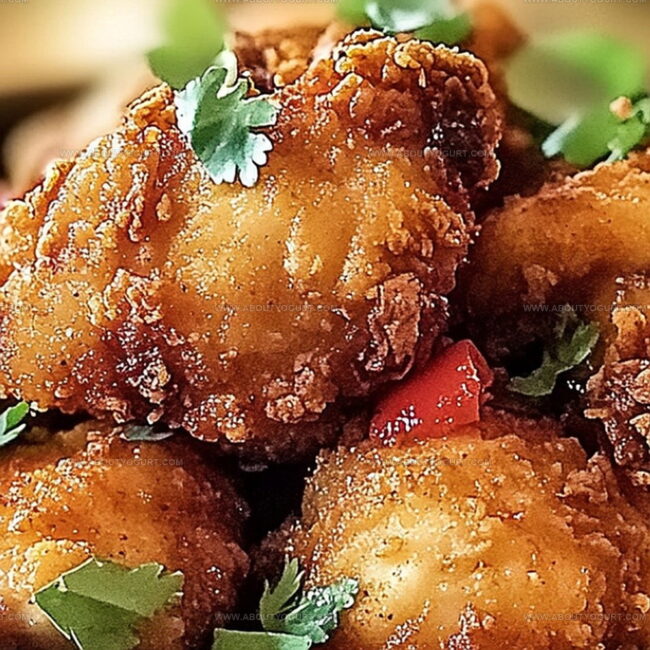
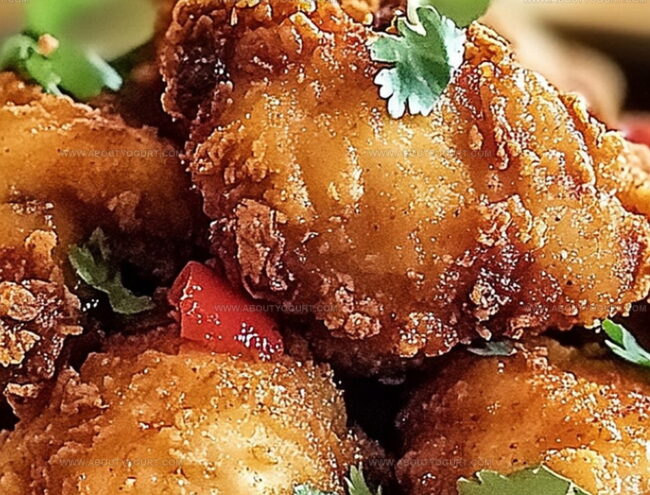
Crispy, golden baked fried chicken promises a delightful twist on a classic comfort meal.
Juicy meat beneath a perfectly seasoned coating makes this recipe irresistible.
Weeknight dinners just became more exciting with this simple yet mouthwatering approach.
Home cooks can achieve restaurant-quality results without complicated techniques or extensive prep work.
Crunchy exterior and tender interior blend seamlessly in each delectable bite.
Minimal ingredients and straightforward steps ensure success for even novice kitchen enthusiasts.
Why Baked Fried Chicken Is Crispy and Juicy Every Time
Ingredients for Crispy Baked Fried Chicken
For the Protein:For the Liquid Base:For the Coating and Seasoning:How to Bake Fried Chicken to Perfection
Step 1: Marinate Chicken
Grab your chicken strips and give them a luxurious buttermilk bath. Submerge the chicken completely in buttermilk and let it chill in the refrigerator for a delightful 20-30 minute flavor infusion.
Step 2: Prepare Oven
Fire up your oven and set the temperature to a perfect 400°F (200°C). Make sure the oven rack is positioned in the middle for even cooking.
Step 3: Create Crispy Coating
Get ready to craft the most amazing chicken coating. In a large Ziploc bag or mixing bowl, combine:Shake or mix these ingredients until they’re perfectly blended.
Step 4: Prepare Baking Pan
Slide your 9×13-inch baking pan into the preheated oven. Watch the butter melt and swirl around, creating a golden, non-stick surface that will make your chicken crisp and delicious.
Step 5: Coat Chicken
Carefully remove each chicken strip from its buttermilk bath, letting excess liquid drip off. Roll each piece in the seasoned flour mixture, ensuring a complete and even coating.
Step 6: Bake to Perfection
Arrange the coated chicken pieces in the buttery pan. Slide the pan into the oven and bake for 20 minutes.
Flip each piece to ensure even browning, then continue baking for another 20 minutes. Your chicken is ready when it reaches an internal temperature of 170°F and sports a gorgeous golden-brown crust.
Tips That Make Baked Fried Chicken So Crispy
Variations to Spice Up Baked Fried Chicken
What Pairs Well with Baked Fried Chicken
How to Store Baked Fried Chicken Properly
Transfer cooled chicken to an airtight container and store in the refrigerator for up to 3-4 days. Cover tightly to prevent drying out and absorbing other food odors.
Wrap individual chicken pieces in plastic wrap, then place in a freezer-safe bag. Freeze for up to 2-3 months. Label with the date to track freshness.
Place chicken on a microwave-safe plate, cover with a damp paper towel to retain moisture. Heat in 30-second intervals, checking temperature until warmed through.
Preheat oven to 350F. Place chicken on a baking sheet, cover with foil to prevent further browning. Warm for 10-15 minutes until internal temperature reaches 165F.
FAQs
Buttermilk helps tenderize the meat, making it more juicy and soft by breaking down proteins and adding a subtle tangy flavor to the chicken.
While you can substitute, buttermilk provides better texture and flavor. If needed, add a tablespoon of vinegar or lemon juice to regular milk to mimic buttermilk’s properties.
Use a meat thermometer to check the internal temperature reaches 170°F (77°C). The chicken should also look golden brown and have no pink inside when cut.
Print
Baked Fried Chicken Recipe
- Total Time: 1 hour 5 minutes
- Yield: 6 1x
Description
Crispy southern Mama’s Fried Chicken delivers golden-brown perfection with a secret herb blend that elevates home-cooked comfort. Crunchy exterior and juicy meat promise pure satisfaction for hearty family meals and weekend gatherings you’ll savor with pure delight.
Ingredients
Chicken:
- 6 boneless, skinless chicken breasts, cut into thirds
Dry Coating Ingredients:
- 1 cup all-purpose flour
- 1/2 teaspoon salt
- 1 tablespoon seasoned salt (like Lawry’s)
- 3/4 teaspoon pepper
- 2 teaspoons paprika
Fat and Liquid:
- 1/2 stick (1/4 cup) butter
- Buttermilk (enough to soak chicken)
Instructions
- Immerse chicken strips in buttermilk and refrigerate for 25 minutes to tenderize and infuse flavor.
- Heat oven to 400F, preparing a 9×13-inch baking dish with melted butter, ensuring complete pan coverage.
- Create a seasoned coating by blending flour with salt, seasoned salt, black pepper, and paprika in a large mixing bag.
- Remove chicken from buttermilk, allowing excess liquid to drip off, then thoroughly coat each piece in the seasoned flour mixture.
- Carefully transfer coated chicken to the butter-lined baking dish, arranging pieces without overcrowding.
- Bake for 20 minutes, then gently turn each piece to promote even browning and crispiness.
- Continue baking an additional 15-20 minutes until chicken reaches a golden-brown exterior and internal temperature hits 170F, indicating complete cooking.
- Remove from oven and let chicken rest for 5 minutes, allowing juices to redistribute and maintain moisture before serving.
Notes
- Buttermilk tenderizes the chicken, creating a juicy and flavorful base with enhanced texture and taste.
- Using a Ziploc bag for coating ensures even, crispy flour coverage without messy hand-mixing.
- Melting butter directly in the baking pan adds rich flavor and helps create a golden, crispy bottom crust.
- For gluten-free option, replace wheat flour with almond flour or gluten-free breadcrumbs to maintain crunchiness.
- Prep Time: 30 minutes
- Cook Time: 35 minutes
- Category: Lunch, Dinner, Snacks
- Method: Baking
- Cuisine: American
Nutrition
- Serving Size: 6
- Calories: 314 kcal
- Sugar: 0 g
- Sodium: 555 mg
- Fat: 13 g
- Saturated Fat: 7 g
- Unsaturated Fat: 5 g
- Trans Fat: 0.2 g
- Carbohydrates: 14 g
- Fiber: 1 g
- Protein: 36 g
- Cholesterol: 110 mg
Michael Thompson
Founder & Recipe Developer
Expertise
Education
Cascade Culinary Institute – Bend, OR
ServSafe Food Handler Certification – Portland, OR
Focus: Certified in core food safety and hygiene principles for both home and professional kitchens, with emphasis on ingredient handling, kitchen cleanliness, and safe preparation methods.
Mike’s kitchen journey began with a single goal: to make everyday meals feel like something worth celebrating.
After earning his Certificate in Culinary Arts from Cascade Culinary Institute, he spent years working with local farmers and small kitchens across Oregon, learning the beauty of seasonal, small-batch cooking.
Mike’s approach is simple, cook with what’s fresh, keep it approachable, and always leave room for a little creativity. When he’s not testing yogurt marinades or designing single-serving meals, you’ll find him hiking trails or hunting down the best berries at local markets.