Banana Pudding Cheesecake Cones Recipe for Fun Treats
Sweet banana pudding cheesecake cones blend nostalgia with modern dessert magic.
Summer memories dance through creamy layers of smooth goodness.
Southern comfort finds new expression in these delightful handheld treats.
Crisp waffle cones cradle rich, velvety fillings that promise pure indulgence.
Unexpected textures and flavors collide in a playful culinary experience.
Kids and adults alike will swoon over these whimsical dessert gems.
Let’s unlock a recipe that turns simple ingredients into an extraordinary celebration of taste.
Why Banana Pudding Cheesecake Cones Are a Fun Dessert Idea
Ingredients for Banana Pudding Cheesecake Cones
Base Ingredients:Dairy Components:Topping and Serving Elements:How to Prepare Banana Pudding Cheesecake Cones
Step 1: Whip the Cream Cheese
Start by taking your cream cheese and beating it in a spacious mixing bowl until it reaches a silky, smooth consistency. Use an electric mixer to ensure there are no lumps and the texture is perfectly creamy.
Step 2: Blend in Sweet and Creamy Elements
Gradually introduce sweetened condensed milk and banana pudding mix into the cream cheese. Mix thoroughly to create a rich, velvety base that will make your taste buds dance with excitement.
Step 3: Create a Luxurious Filling
Gently stir in milk and carefully fold in whipped cream. Continue mixing until the entire mixture becomes smooth, fluffy, and irresistibly light. The goal is to achieve a cloud-like texture that will melt in your mouth.
Step 4: Fill the Crunchy Vessels
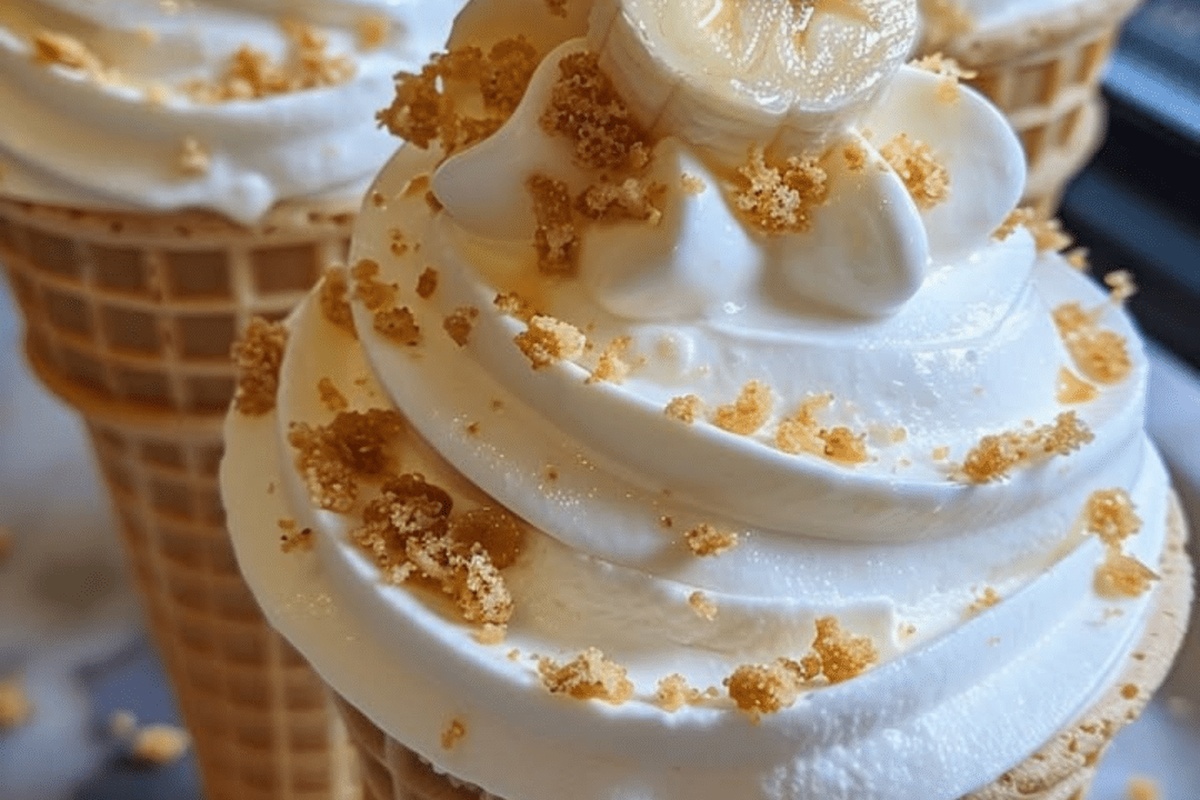
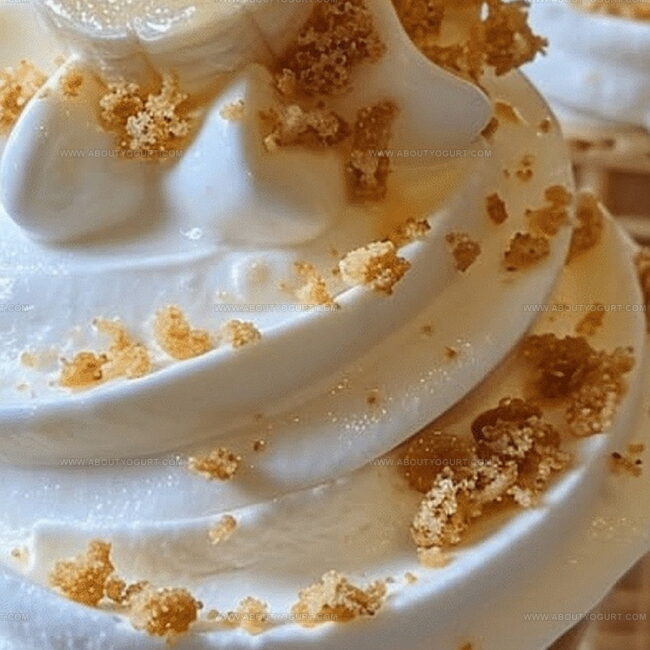
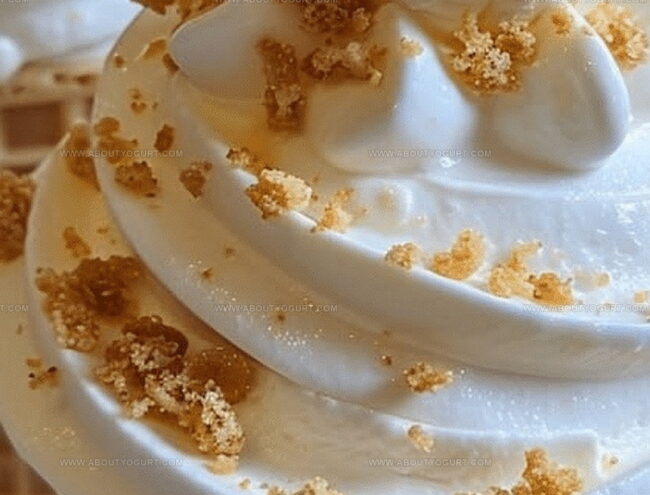
Take your sugar cones and carefully spoon or pipe the creamy banana cheesecake mixture into each cone. Make sure to fill them generously, allowing the filling to peek out slightly at the top.
Step 5: Add Delightful Toppings
Crown your cheesecake cones with:Sprinkle these toppings over the filled cones to add a delightful crunch and extra burst of flavor.
Step 6: Chill and Savor
Refrigerate the cones for at least an hour to let the flavors meld and the filling set. When ready, grab a cone and enjoy this heavenly summer treat that combines the best of cheesecake and banana pudding in one awesome dessert.
Pro Tips for Banana Pudding Cheesecake Cones
Flavor Variations of Banana Pudding Cheesecake Cones
Suggested Pairings for Banana Pudding Cheesecake Cones
Storage Guidelines for Banana Pudding Cheesecake Cones
FAQs on Banana Pudding Cheesecake Cones
Yes, waffle cones or cake cones work great as an alternative to sugar cones.
Choose yellow bananas with a few brown spots for the best sweetness and flavor.
Absolutely! Kids love the fun cone presentation and sweet banana pudding cheesecake mixture.
Prepare the filling up to 24 hours in advance and assemble just before serving to keep cones crisp.
Print
Banana Pudding Cheesecake Cones Recipe
- Total Time: 15 minutes
- Yield: 12 1x
Description
Southern comfort meets sweet innovation in this Banana Pudding Cheesecake Cones masterpiece that blends nostalgic flavors with playful presentation. Cool creamy cheesecake nestled in crisp waffle cones promises a delightful dessert adventure you’ll savor with pure Southern charm.
Ingredients
Main Ingredients:
- 2 bananas, sliced
- 1 cup milk
- 1 cup whipped cream
- 12 sugar cones
Dairy and Dairy Alternatives:
- 1 package (8 ounces) cream cheese, softened
- 1 can (14 ounces) sweetened condensed milk
Dry Ingredients:
- 1 package (3.4 ounces) instant banana pudding mix
- Vanilla wafers, crushed
Instructions
- Whip cream cheese in a spacious bowl until velvety and free of lumps.
- Incorporate sweetened condensed milk and banana pudding mix, blending thoroughly until uniform in texture.
- Gently introduce milk, stirring consistently to maintain a smooth consistency.
- Delicately fold whipped cream into the mixture, creating a light and airy filling.
- Select crisp sugar cones as your serving vessel.
- Transfer the creamy mixture into each cone using a piping bag or spoon, ensuring even distribution.
- Layer thinly sliced ripe bananas across the top of the filled cones.
- Sprinkle crushed vanilla wafers generously over the banana layer for added crunch and flavor.
- Refrigerate the prepared cones for at least 1 hour to allow flavors to meld and filling to set.
- Remove from refrigerator just before serving to maintain optimal texture and temperature.
Notes
- Choose room temperature cream cheese to ensure a smooth, lump-free mixture that blends easily.
- Crush vanilla wafers just before topping to maintain their crisp texture and prevent sogginess.
- For a lighter version, substitute low-fat cream cheese and use sugar-free pudding mix to reduce calories.
- Prepare cones immediately before serving to prevent them from becoming soft and maintain their crunch.
- Prep Time: 15 minutes
- Cook Time: 0 minutes
- Category: Desserts, Snacks
- Method: Blending
- Cuisine: American
Nutrition
- Serving Size: 12
- Calories: 293 kcal
- Sugar: 26 g
- Sodium: 188 mg
- Fat: 15 g
- Saturated Fat: 9 g
- Unsaturated Fat: 5 g
- Trans Fat: 0.3 g
- Carbohydrates: 33 g
- Fiber: 1 g
- Protein: 4 g
- Cholesterol: 42 mg
Michael Thompson
Founder & Recipe Developer
Expertise
Education
Cascade Culinary Institute – Bend, OR
ServSafe Food Handler Certification – Portland, OR
Focus: Certified in core food safety and hygiene principles for both home and professional kitchens, with emphasis on ingredient handling, kitchen cleanliness, and safe preparation methods.
Mike’s kitchen journey began with a single goal: to make everyday meals feel like something worth celebrating.
After earning his Certificate in Culinary Arts from Cascade Culinary Institute, he spent years working with local farmers and small kitchens across Oregon, learning the beauty of seasonal, small-batch cooking.
Mike’s approach is simple, cook with what’s fresh, keep it approachable, and always leave room for a little creativity. When he’s not testing yogurt marinades or designing single-serving meals, you’ll find him hiking trails or hunting down the best berries at local markets.