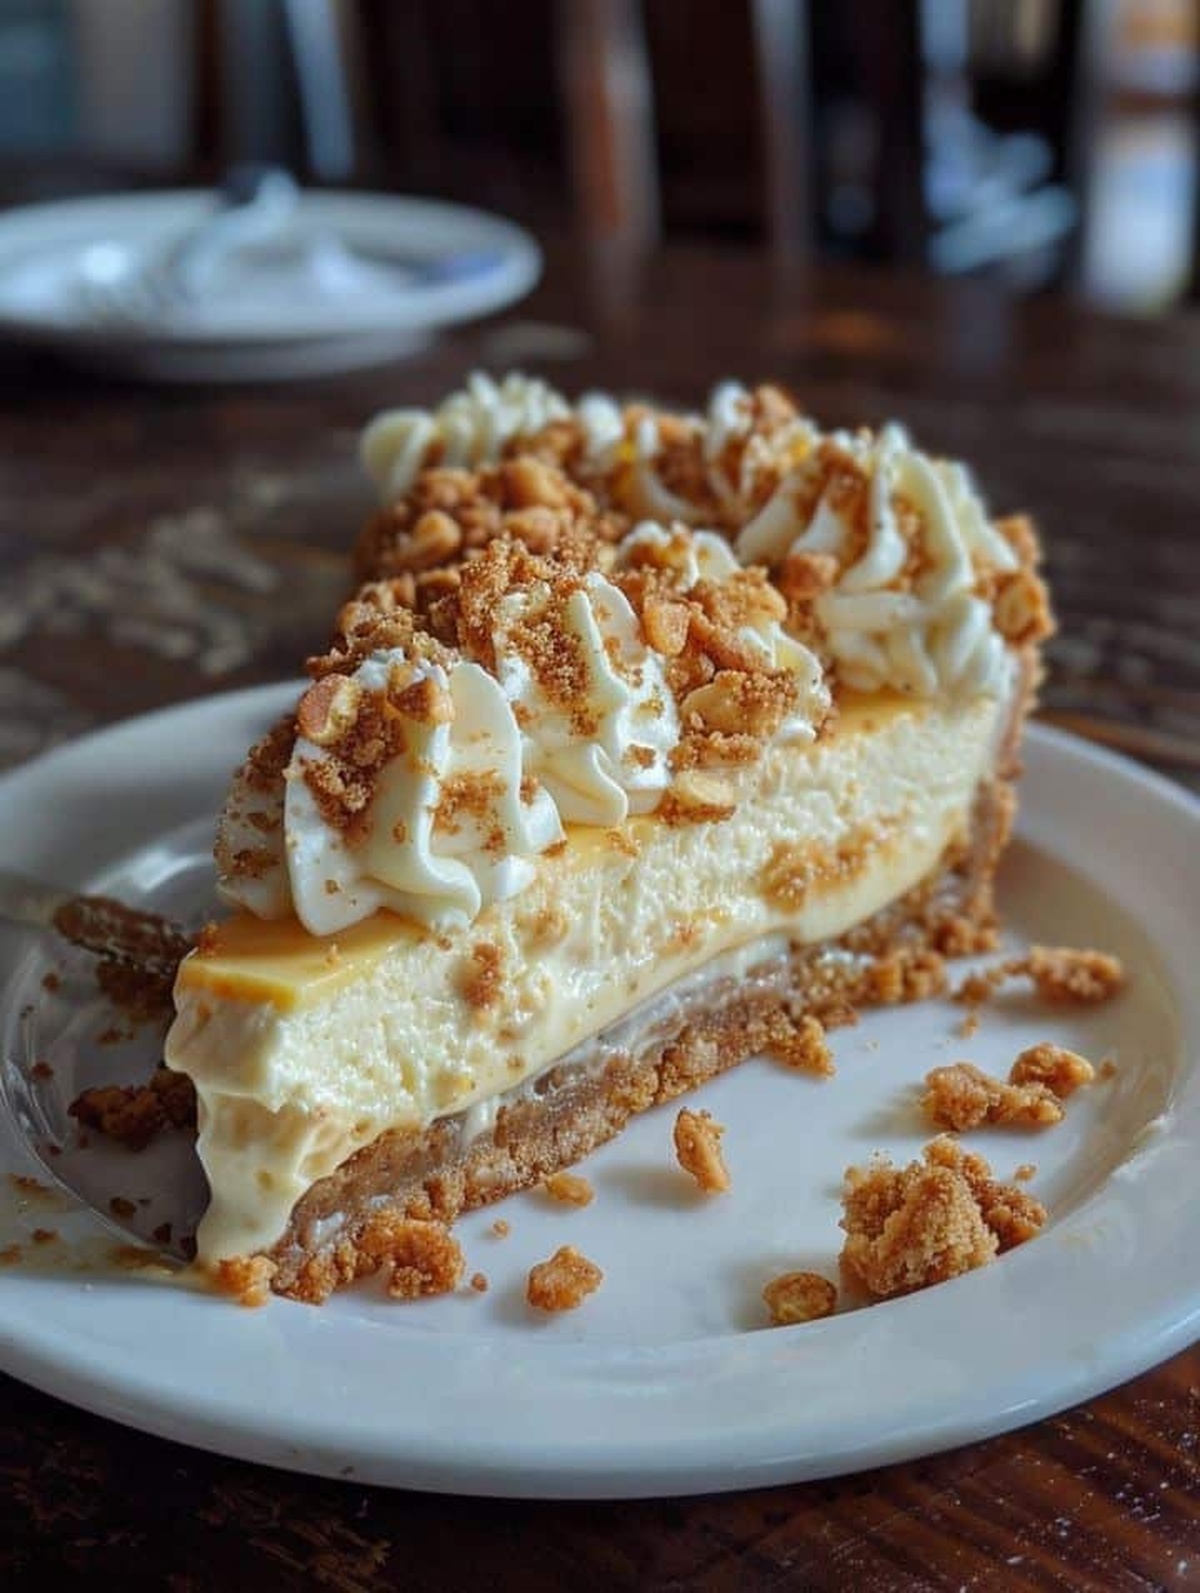
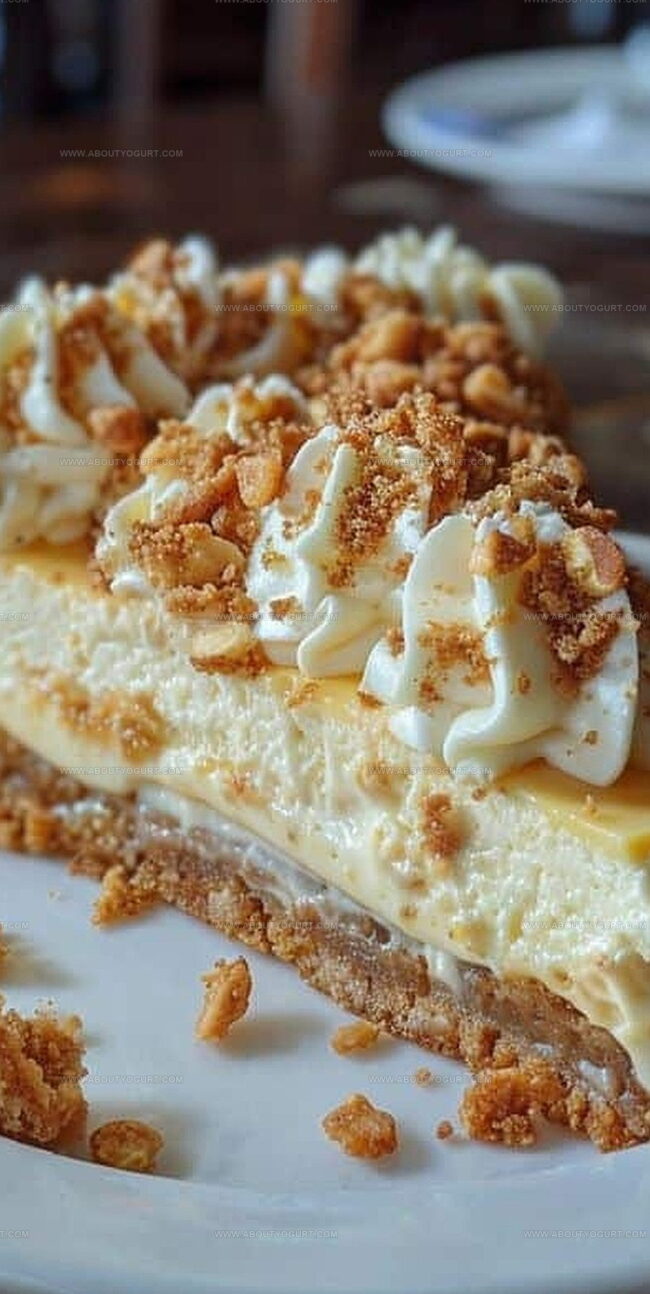
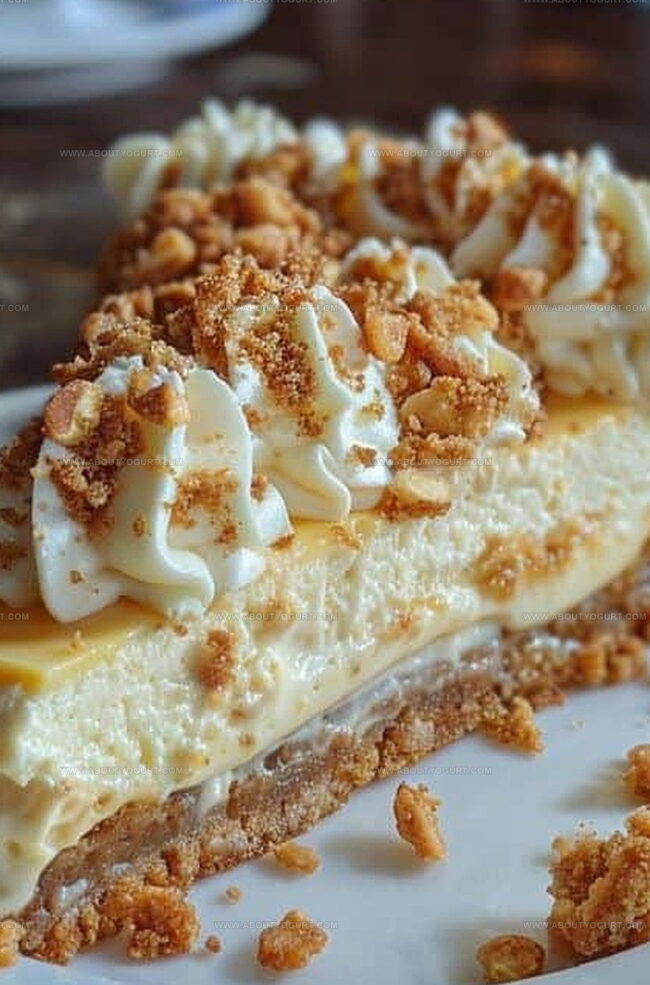
Banana Pudding Crunch Cheesecake Recipe with Layers
Sweet banana pudding meets creamy cheesecake in a delightful banana pudding crunch cheesecake that promises pure indulgence.
Layers of velvety goodness await your taste buds with each carefully crafted bite.
Crisp vanilla wafers provide a delectable textural contrast against smooth, silky filling.
Nostalgic flavors dance together, creating a dessert that feels both familiar and extraordinary.
Southern comfort blends seamlessly with gourmet elegance in this show-stopping treat.
Craving something special that impresses without complicated techniques?
One slice will transport you to dessert paradise.
Why Banana Pudding Crunch Cheesecake Is So Delicious
Ingredients Needed for Banana Pudding Crunch Cheesecake
Main Ingredients:
Cheesecake Base:Banana Components:Crust and Crunch Elements:Garnish:Instructions to Make Banana Pudding Crunch Cheesecake
Step 1: Prep the Oven and Pan
Warm up your oven to a cozy 325F (165C). Grab your 9-inch springform pan and give it a light coating of grease to prevent sticking.
Step 2: Create the Crunchy Crust
Grab a mixing bowl and combine:Press this delightful mixture firmly into the bottom of your prepared pan, creating a solid foundation for your cheesecake.
Step 3: Whip Up the Creamy Filling
In a large mixing bowl, beat the cream cheese until it’s silky smooth. Gradually add sugar, mixing until it’s perfectly blended. Gently incorporate eggs one at a time, beating thoroughly after each addition. Stir in vanilla extract and sour cream until the mixture is velvety and uniform.
Step 4: Build Layers of Flavor
Pour half of the cream cheese mixture over the crust. Dot the surface with:Add the remaining cream cheese mixture on top, creating a beautiful layered effect.
Step 5: Bake to Perfection
Place the pan on a baking sheet and slide it into the oven. Bake for 55-60 minutes, watching for the center to become almost set.
Step 6: Cool and Set
Remove from the oven and let cool on a wire rack for 10 minutes. Carefully run a knife around the pan’s edge to loosen. Allow to cool for an additional hour. Refrigerate overnight to let the flavors meld and the cheesecake set completely.
Step 7: Serve and Enjoy
When ready to serve, remove the pan’s sides. Top with:Slice and savor every creamy, crunchy bite of this incredible dessert!
Helpful Tips for Banana Pudding Crunch Cheesecake
Flavor Variations for Banana Pudding Crunch Cheesecake
Pairing Suggestions for Banana Pudding Crunch Cheesecake
Storage Advice for Banana Pudding Crunch Cheesecake
Frequently Asked Questions for Banana Pudding Crunch Cheesecake
Use room temperature ingredients, avoid overmixing the batter, and bake in a water bath. These techniques help create a smooth, crack-free surface by preventing sudden temperature changes.
Absolutely! Vanilla wafers are traditional, but you can substitute with graham crackers, shortbread, or digestive biscuits for a similar crunchy base.
Choose bananas with brown spots or very yellow bananas. These are sweeter and softer, making them perfect for mashing and adding rich banana flavor to the cheesecake.
Print
Banana Pudding Crunch Cheesecake Recipe
- Total Time: About 12 hours (including cooling and refrigeration)
- Yield: 12 1x
Description
Southern comfort meets creamy indulgence in this banana pudding crunch cheesecake, blending classic dessert flavors with a delightful textural twist. Rich layers of banana-infused cheesecake and crisp vanilla wafer crumble promise a delectable journey through sweet, nostalgic Southern hospitality you cannot resist.
Ingredients
Main Ingredients:
- 3 packages (8 oz / 226 g) cream cheese, softened
- 2 ripe bananas, mashed
- 3 eggs
- 1 cup (240 ml / 8 oz) sour cream
Crust Ingredients:
- 1 1/2 cups (180 g) graham cracker crumbs
- 1/2 cup (113 g) unsalted butter, melted
- 1/4 cup (50 g) granulated sugar
Topping and Garnish Ingredients:
- 1/2 cup (60 g) crushed vanilla wafers
- 1/2 cup (40 g) crushed banana chips
- 1 cup (200 g) granulated sugar
- 1 teaspoon vanilla extract
- Whipped cream
- Additional banana slices
Instructions
- Craft a buttery graham cracker foundation by blending crumbs with melted butter and sugar, firmly pressing into a greased 9-inch springform pan.
- Whip cream cheese until silky smooth, gradually incorporating sugar while beating consistently to create a velvety texture.
- Introduce eggs individually, gently folding after each addition to maintain a luxurious, uniform consistency.
- Blend vanilla extract and sour cream into the cream cheese mixture, ensuring a rich and creamy base.
- Create delectable layers by pouring half the cream cheese mixture over the crust, strategically distributing mashed bananas throughout.
- Sprinkle crushed vanilla wafers and banana chips across the initial layer, adding delightful crunch and texture.
- Carefully pour remaining cream cheese mixture, creating a seamless top layer that conceals the banana elements.
- Position the springform pan on a baking sheet and bake at 325°F (165°C) for 55-60 minutes, watching for a nearly set center.
- After baking, allow cheesecake to cool on a wire rack for 10 minutes, then delicately loosen edges with a knife.
- Refrigerate overnight to enhance flavor and structural integrity.
- Before serving, release springform pan sides and embellish with whipped cream, fresh banana slices, and reserved vanilla wafer and banana chip crumbles.
Notes
- Ensure cream cheese is at room temperature for smooth, lump-free mixing to achieve a silky cheesecake texture.
- Crush vanilla wafers and banana chips coarsely to provide delightful crunch and varied texture throughout each slice.
- Prevent cheesecake cracking by avoiding overmixing and using a water bath during baking for gentle, even heat distribution.
- Create gluten-free version by substituting graham cracker crumbs with almond flour or gluten-free cookie crumbs for those with dietary restrictions.
- Prep Time: 20 minutes
- Cook Time: 55-60 minutes
- Category: Desserts
- Method: Baking
- Cuisine: American
Nutrition
- Serving Size: 12
- Calories: 490 kcal
- Sugar: 37 g
- Sodium: 270 mg
- Fat: 33 g
- Saturated Fat: 19 g
- Unsaturated Fat: 13 g
- Trans Fat: 0.5 g
- Carbohydrates: 38 g
- Fiber: 2 g
- Protein: 8 g
- Cholesterol: 110 mg
Sarah Mitchell
Content Specialist & Home Cooking Enthusiast
Expertise
Education
Asheville-Buncombe Technical Community College – Asheville, NC
American Fitness Professionals & Associates – Online
Sarah’s passion for food was sparked by weekend trips to the farmers’ market and her belief that healthy meals should never feel boring.
After earning her culinary diploma and becoming a certified Nutrition and Wellness Consultant, she set out to help others fall in love with simple, wholesome cooking.
She’s all about celebrating the small wins in the kitchen: a colorful yogurt bowl, a new twist on a classic dish, or a homemade snack that feels just a little extra special.
Outside the kitchen, Sarah is a gardener at heart, a yoga enthusiast, and a believer that fresh herbs can brighten any meal, and any day.