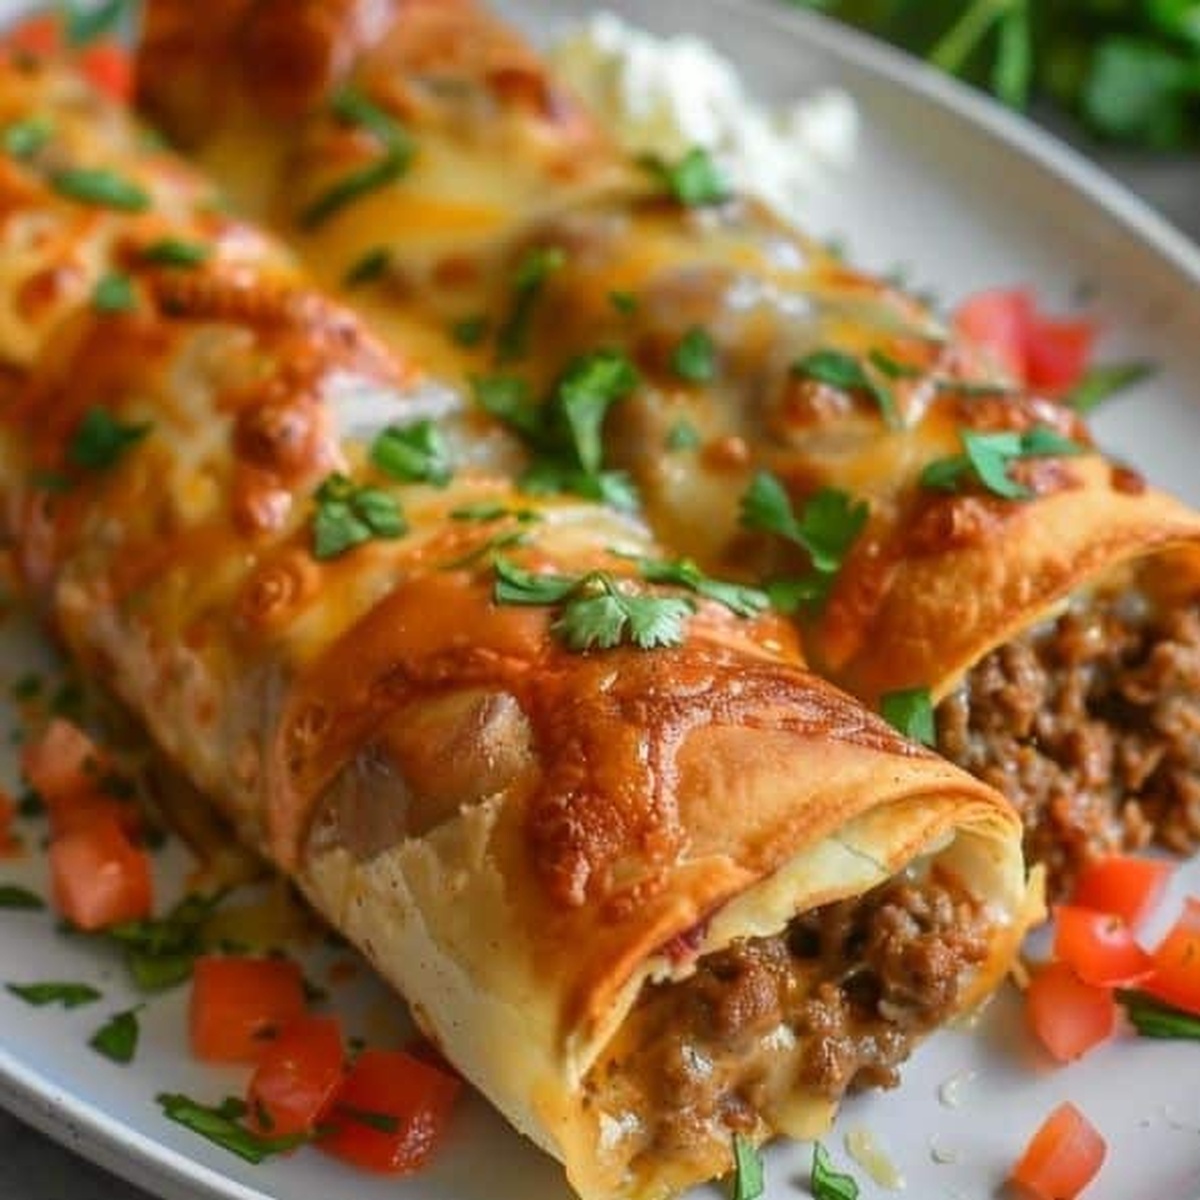
Beef and Cheese Chimichangas Recipe You’ll Want Again
Crafting a mouthwatering beef and cheese chimichangas recipe brings pure culinary excitement to your kitchen adventure.
Mexican cuisine offers incredible depth with these crispy delights.
Generous portions of seasoned ground beef blend perfectly with melted cheese inside warm tortillas.
Crisp golden exteriors promise a satisfying crunch that surprises with each bite.
Every family gathering becomes more special when these chimichangas arrive at the table.
Simple ingredients and straightforward techniques make this dish accessible for home cooks of all skill levels.
You’ll feel like a restaurant chef after mastering this delectable Mexican classic that promises to impress everyone around you.
Why Beef and Cheese Chimichangas Are Irresistible Treats
Ingredients Needed for Beef and Cheese Chimichangas
Protein Base:Cheese and Dairy:Wrap and Seasoning:Garnish:How to Make Crispy Beef and Cheese Chimichangas
Step 1: Brown the Beef
In a large skillet, combine ground beef and chopped onions. Cook over medium heat, breaking the meat into small pieces until it’s completely browned and no pink remains. Carefully drain away any excess fat from the skillet.
Step 2: Season the Meat
Sprinkle taco seasoning over the browned beef and onion mixture. Stir and cook for an additional 2 minutes to allow the flavors to blend together perfectly.
Step 3: Add Cheesy Goodness
Remove the skillet from heat and fold in shredded cheddar cheese until it’s evenly distributed throughout the beef mixture.
Step 4: Wrap the Chimichangas
Take your tortillas and spoon the beef and cheese mixture into the center of each one. Fold in the sides and roll tightly, creating a neat little package that will hold all the delicious filling inside.
Step 5: Prepare for Baking
Gently brush the outside of each wrapped chimichanga with olive oil. Place them seam-side down on a baking sheet, ensuring they’re not touching each other.
Step 6: Bake to Crispy Perfection
Slide the baking sheet into a preheated oven at 400°F (200°C). Bake for 20 minutes, watching for a golden-brown and crispy exterior.
Step 7: Serve and Enjoy
Transfer the hot chimichangas to serving plates. Offer sour cream and salsa on the side for dipping, letting everyone customize their meal to taste.
Expert Tips for Perfect Beef and Cheese Chimichangas
Variations to Customize Beef and Cheese Chimichangas
Pairing Suggestions to Serve with Beef and Cheese Chimichangas
How to Store Beef and Cheese Chimichangas Properly
FAQs About Beef and Cheese Chimichangas Explained
Chimichangas are deep-fried or baked tortillas filled with meat, typically beef or chicken, and cheese, originating from Mexican-American cuisine.
Yes, you can substitute ground beef with shredded chicken, ground turkey, or pulled pork for variety in the recipe.
While delicious, this dish is relatively high in calories and fat. Consider using lean ground beef and whole wheat tortillas to make it slightly healthier.
Ensure you roll the tortillas tightly and tuck in the sides firmly before placing them seam-side down on the baking sheet to keep the filling secure.
Print
Beef and Cheese Chimichangas Recipe
- Total Time: 32 minutes
- Yield: 4 1x
Description
Sizzling beef and cheese chimichangas promise a Mexican-inspired culinary adventure that dances with bold flavors and crispy textures. Hearty filling wrapped in golden tortillas delivers a mouthwatering experience you’ll crave again and again.
Ingredients
Protein:
- 1 pound (1 lb) ground beef
- 1 cup shredded cheddar cheese
Vegetables and Seasonings:
- 1 small onion, chopped
- 1 packet taco seasoning
Wrapper and Cooking Ingredients:
- 4 large flour tortillas
- 1 tablespoon (1 tbsp) olive oil
Optional Toppings:
- 1/4 cup sour cream
- 1/4 cup salsa
Instructions
- Warm the oven to 400F (200C) to prepare for baking the chimichangas.
- Sauté ground beef with diced onions in a skillet over medium heat, cooking until the meat turns completely brown and loses its raw appearance.
- Drain away any excess fat from the meat mixture to ensure a crisp final texture.
- Sprinkle taco seasoning into the beef and continue cooking for an additional 2 minutes to develop robust flavors.
- Remove the skillet from heat and gently fold shredded cheddar cheese into the warm meat mixture.
- Lay out tortillas and distribute the beef and cheese filling evenly, carefully rolling each tortilla into a tight cylinder while folding in the edges to prevent filling from escaping.
- Lightly coat the exterior of each chimichanga with olive oil, which will help create a crispy golden exterior during baking.
- Arrange the rolled chimichangas seam-side down on a clean baking sheet to prevent unraveling.
- Slide the baking sheet into the preheated oven and bake for 20 minutes until the tortillas turn crisp and develop a beautiful golden-brown color.
- Present the hot chimichangas immediately, offering sour cream and salsa as optional accompaniments for enhanced flavor.
Notes
- Choose lean ground beef to reduce excess fat and create a healthier version of the dish.
- Warm tortillas slightly before filling to prevent cracking and make them more pliable for rolling.
- Seal the edges of chimichangas carefully to prevent filling from leaking during baking.
- For a gluten-free option, use corn tortillas instead of flour tortillas and ensure taco seasoning is gluten-free.
- Prep Time: 10 minutes
- Cook Time: 22 minutes
- Category: Lunch, Dinner, Appetizer, Snacks
- Method: Baking
- Cuisine: Mexican
Nutrition
- Serving Size: 4
- Calories: 605 kcal
- Sugar: 3 g
- Sodium: 720 mg
- Fat: 40 g
- Saturated Fat: 15 g
- Unsaturated Fat: 22 g
- Trans Fat: 1 g
- Carbohydrates: 30 g
- Fiber: 3 g
- Protein: 33 g
- Cholesterol: 95 mg


Sarah Mitchell
Content Specialist & Home Cooking Enthusiast
Expertise
Education
Asheville-Buncombe Technical Community College – Asheville, NC
American Fitness Professionals & Associates – Online
Sarah’s passion for food was sparked by weekend trips to the farmers’ market and her belief that healthy meals should never feel boring.
After earning her culinary diploma and becoming a certified Nutrition and Wellness Consultant, she set out to help others fall in love with simple, wholesome cooking.
She’s all about celebrating the small wins in the kitchen: a colorful yogurt bowl, a new twist on a classic dish, or a homemade snack that feels just a little extra special.
Outside the kitchen, Sarah is a gardener at heart, a yoga enthusiast, and a believer that fresh herbs can brighten any meal, and any day.