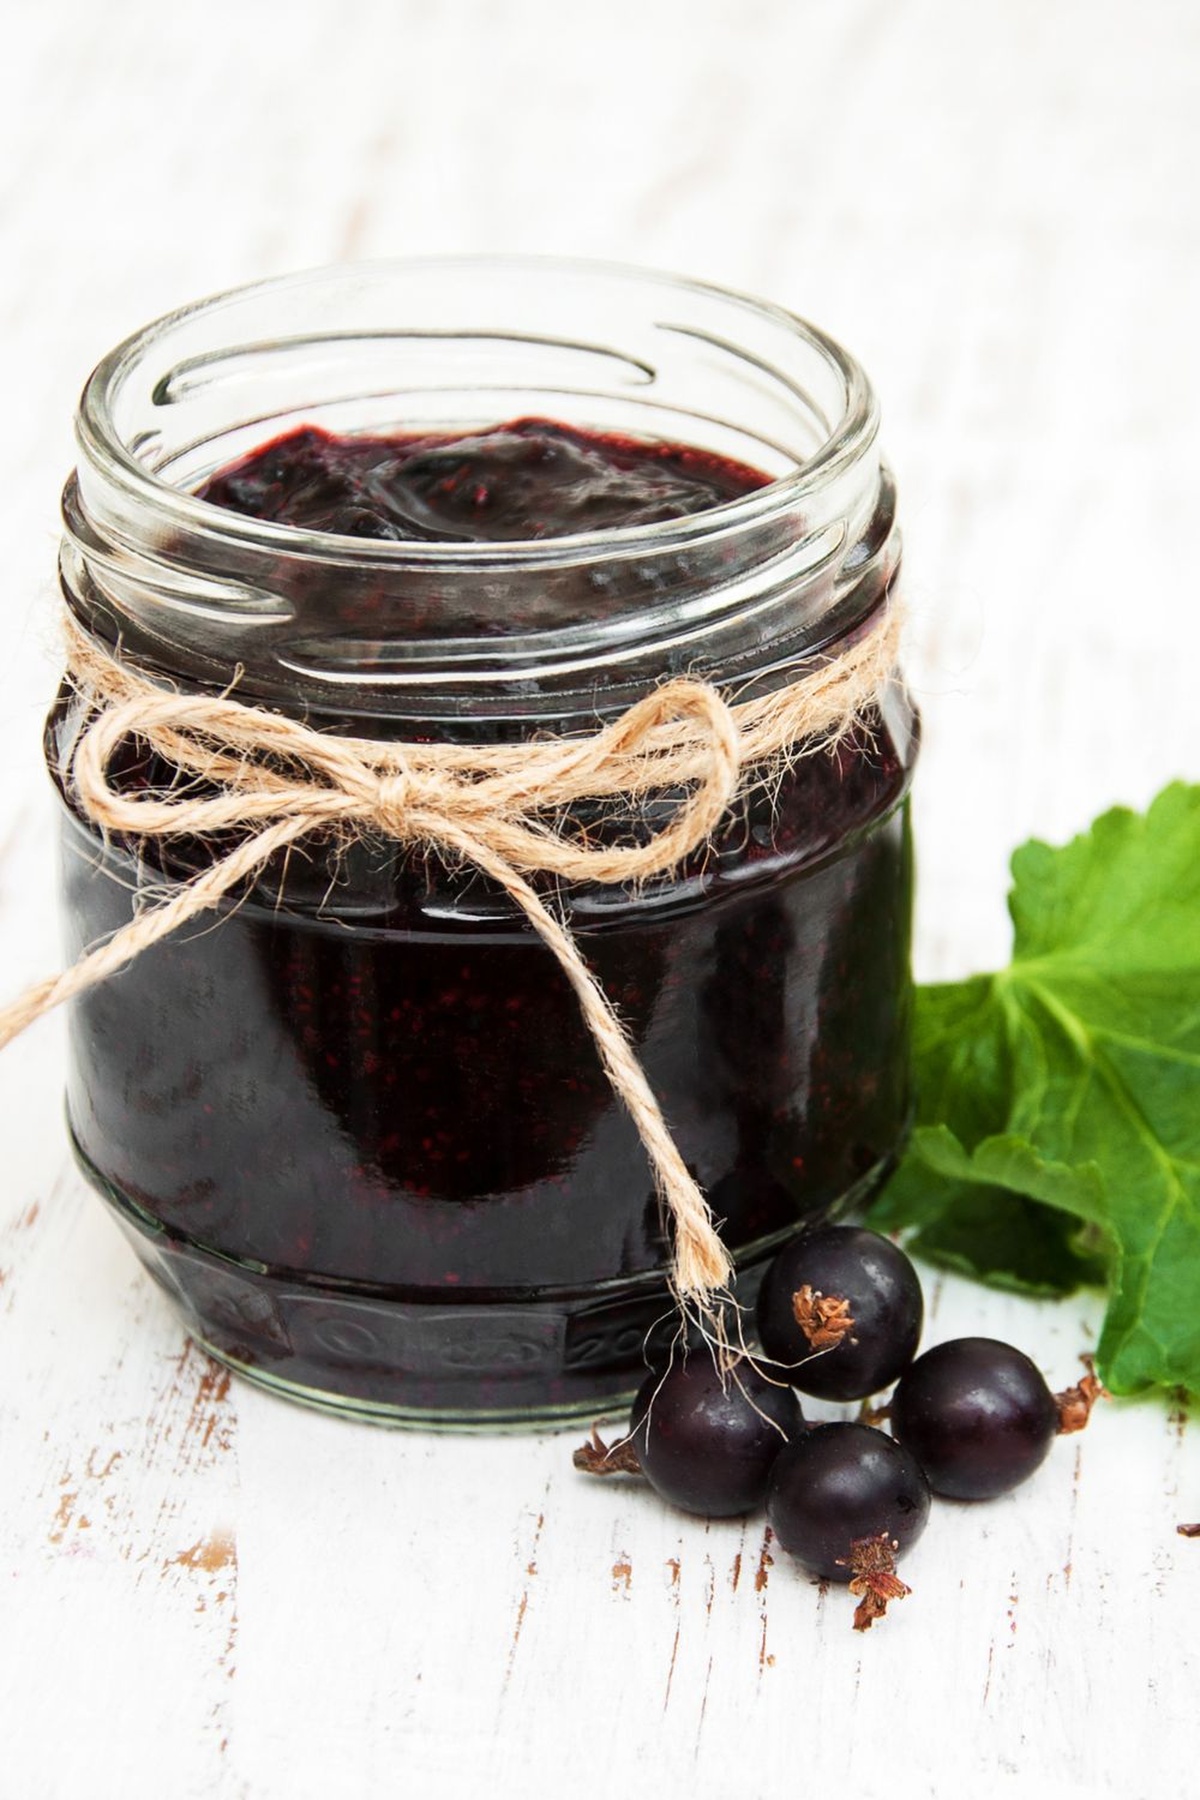
Quick Homemade Blackcurrant Jam Recipe: Tangy Summer Sweetness
Crafting a delightful blackcurrant jam brings pure culinary magic right to your kitchen.
Sweet berries burst with intense flavor that captures summer’s essence perfectly.
Ripe fruits transform into a luxurious spread through careful cooking techniques.
Passionate home cooks appreciate the simple ingredients and straightforward process.
Local gardens often yield these deep purple jewels waiting to become something extraordinary.
Each spoonful promises rich, concentrated taste that connects you to traditional preserving methods.
Grab a wooden spoon and start your delicious preservation adventure today!
Why You’ll Like Delia Smith Blackcurrant Jam Recipe

What’s Needed For Delia Smith Blackcurrant Jam Recipe
Fresh Fruit:Sweetener:Kitchen Essentials:Steps For Delia Smith Blackcurrant Jam Recipe

Step 1: Prepare Blackcurrants
Wash the blackcurrants thoroughly under cool running water. Carefully remove all stems and any leaves, leaving only the plump, deep purple berries ready for cooking.
Step 2: Soften Fruit
Place the cleaned blackcurrants in a large, heavy-bottomed pot. Add enough water to barely cover the fruit. Gently simmer over medium heat, stirring occasionally, until the berries become soft and begin to break down, which typically takes about 10 minutes.
Step 3: Add Sweetness
Pour granulated sugar into the softened blackcurrants. Stir continuously to help the sugar dissolve completely. Increase the heat and bring the mixture to a rolling boil, stirring frequently to prevent burning.
Step 4: Cook to Jam Consistency
Continue boiling the mixture, stirring regularly. The jam will start to thicken and become glossy. Watch for the mixture to reduce and become more concentrated, which usually takes around 15 minutes.
Step 5: Check Jam Setting
Test the jam’s readiness by placing a small amount on a chilled plate. Let it cool for a moment, then gently push the edge with your finger. If the surface wrinkles and doesn’t immediately flow back, the jam is ready. If not, continue boiling and retest after a few minutes.
Step 6: Jar and Preserve
Carefully pour the hot jam into clean, sterilized glass jars. Wipe the jar rims to ensure a clean seal. Close the lids tightly while the jam is still warm. Allow the jars to cool completely before storing in a cool, dark place.
Tips For Better Delia Smith Blackcurrant Jam Recipe
Ways To Tweak Delia Smith Blackcurrant Jam Recipe
Best Uses With Delia Smith Blackcurrant Jam Recipe
How To Keep Delia Smith Blackcurrant Jam Recipe Fresh
Delia Smith Blackcurrant Jam Recipe Questions Answered
Drop a small amount of jam on a cold saucer. After 1-2 minutes, push the jam with your finger. If it wrinkles and doesn’t run, it’s ready to set.
Blackcurrants are naturally low in pectin, so reducing sugar might prevent proper setting. For best results, follow the recipe’s sugar ratio exactly.
When stored in sterilised jars and sealed properly, the jam can last up to 12 months in a cool, dark pantry. Once opened, refrigerate and consume within 4-6 weeks.
Print
Blackcurrant Jam Recipe
- Total Time: 30 minutes
- Yield: 3 1x
Description
Sweet summer memories come alive with homemade blackcurrant jam, a delightful preserve bursting with rich, tangy flavor. Crafted with fresh berries and simple ingredients, this jam delivers a taste of pure countryside comfort you’ll savor with every spoonful.
Ingredients
Fruits:
- 450 grams (3 1/2 cups) blackcurrants
Liquid:
- 450 milliliters (1 pint) water
Sugar:
- 550 grams (2 1/2 cups) sugar
Instructions
- Thoroughly wash blackcurrants, carefully removing all stems and debris.
- Transfer blackcurrants to a heavy-bottomed pot and add just enough water to barely cover the fruit.
- Gently simmer over medium heat for 10-12 minutes, stirring occasionally, until fruits become soft and release their juices.
- Incorporate sugar gradually, stirring until completely dissolved.
- Increase heat and rapidly boil mixture, stirring frequently to prevent scorching, for approximately 15-20 minutes.
- Perform setting test by placing a small amount of jam on a chilled saucer – if it wrinkles when pushed with a finger, jam has reached setting point.
- If jam hasn’t set, continue boiling for additional 2-3 minute intervals, retesting after each interval.
- Remove from heat and let jam rest for 5 minutes to allow fruit particles to distribute evenly.
- Carefully ladle hot jam into pre-sterilized glass jars, leaving minimal headspace.
- Immediately seal jars with clean, dry lids while jam remains hot to ensure proper preservation.
Notes
- Test jam’s readiness by placing a small amount on a chilled plate; if it wrinkles when pushed, it’s perfectly set.
- Avoid stirring too vigorously during boiling to prevent sugar crystallization and maintain a smooth texture.
- Use fresh, ripe blackcurrants for maximum flavor and natural pectin content, which helps the jam set more easily.
- Sterilize jars thoroughly by washing in hot, soapy water and drying in a low oven to prevent bacterial growth and extend jam’s shelf life.
- Prep Time: 5 minutes
- Cook Time: 25 minutes
- Category: Breakfast, Snacks, Desserts
- Method: Boiling
- Cuisine: British
Nutrition
- Serving Size: 3
- Calories: 154
- Sugar: 38 g
- Sodium: 1 mg
- Fat: 0 g
- Saturated Fat: 0 g
- Unsaturated Fat: 0 g
- Trans Fat: 0 g
- Carbohydrates: 39 g
- Fiber: 2 g
- Protein: 1 g
- Cholesterol: 0 mg
Michael Thompson
Founder & Recipe Developer
Expertise
Education
Cascade Culinary Institute – Bend, OR
ServSafe Food Handler Certification – Portland, OR
Focus: Certified in core food safety and hygiene principles for both home and professional kitchens, with emphasis on ingredient handling, kitchen cleanliness, and safe preparation methods.
Mike’s kitchen journey began with a single goal: to make everyday meals feel like something worth celebrating.
After earning his Certificate in Culinary Arts from Cascade Culinary Institute, he spent years working with local farmers and small kitchens across Oregon, learning the beauty of seasonal, small-batch cooking.
Mike’s approach is simple, cook with what’s fresh, keep it approachable, and always leave room for a little creativity. When he’s not testing yogurt marinades or designing single-serving meals, you’ll find him hiking trails or hunting down the best berries at local markets.