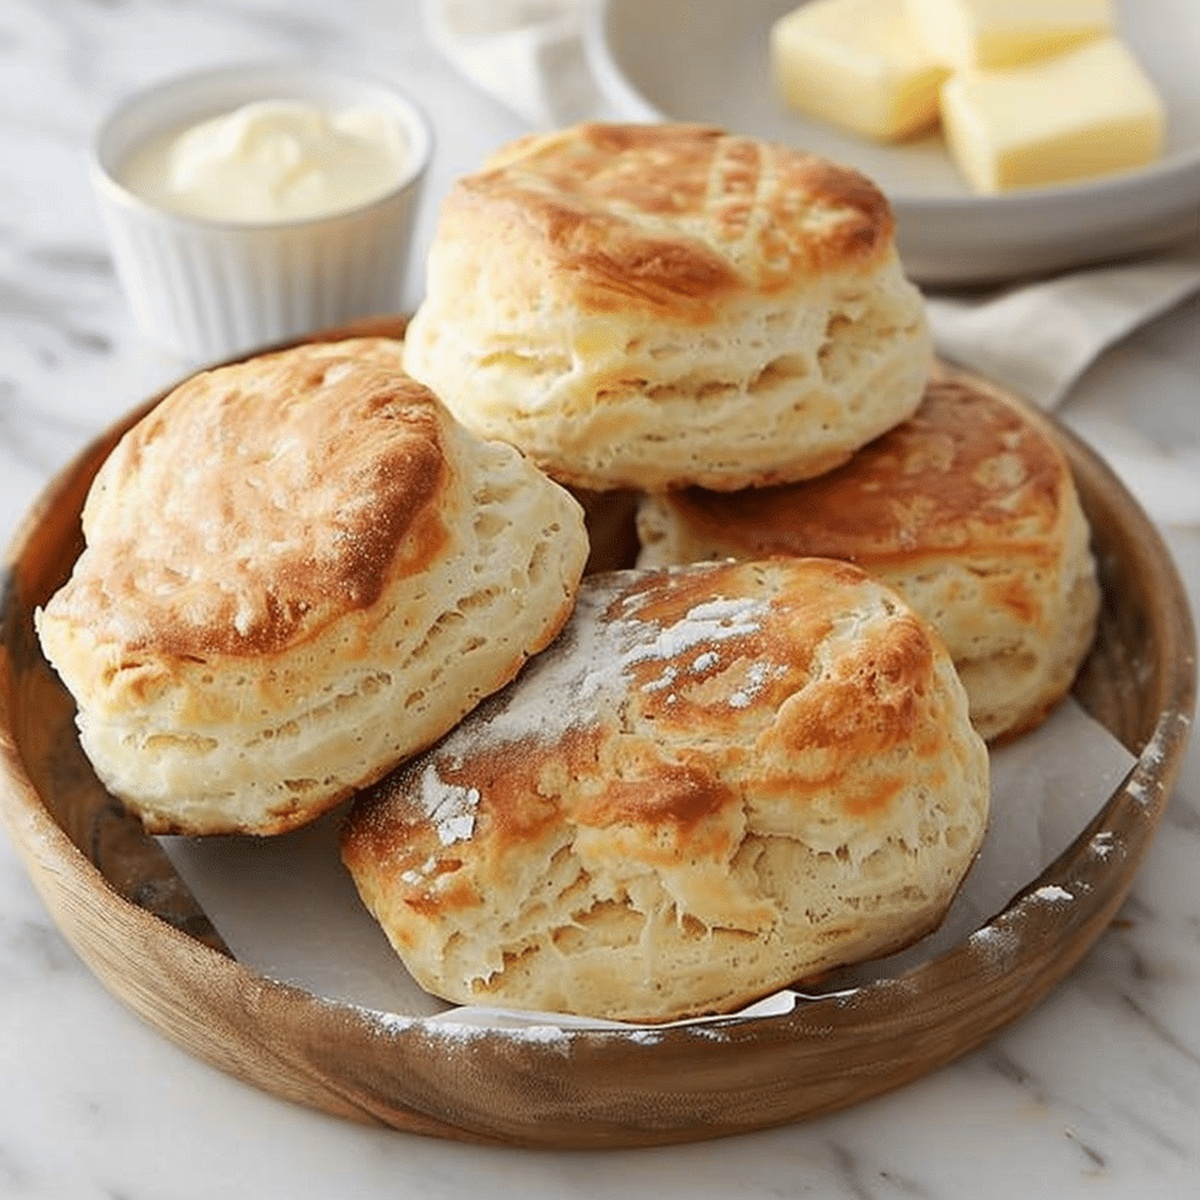
Flaky Butter Buttermilk Biscuits Recipe: Golden Homemade Joy
Warm, fluffy butter buttermilk biscuits whisper comfort straight from grandma’s kitchen.
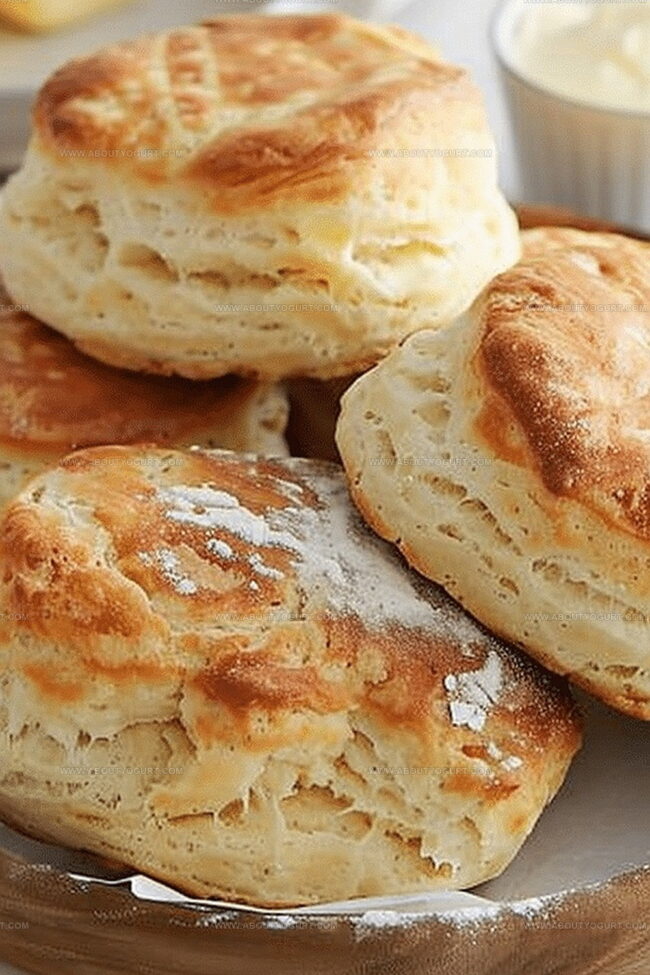
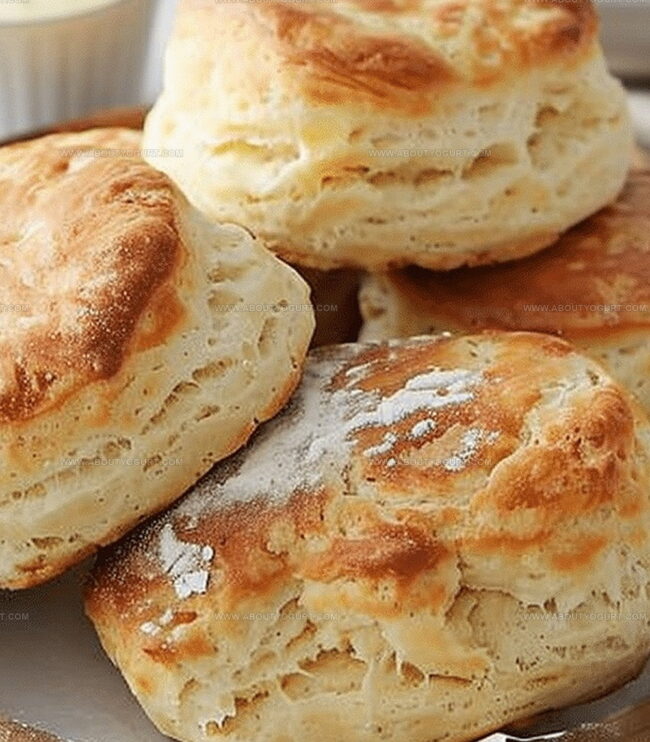
Golden edges promise crispy deliciousness waiting to melt in you.
Southern kitchens know these tender pastries create instant happiness.
Soft and pillowy, each bite connects memories of cozy mornings.
Flaky layers break apart with gentle touch, revealing steamy interiors.
Quick mixing and strategic folding unlock professional-level bakery results.
Fresh from the oven, these biscuits beckon you to savor every crumbly moment.
Why Butter Buttermilk Biscuits Are Irresistible
Ingredients You Need for Butter Buttermilk Biscuits
Dry Ingredients:Fats:Liquid Ingredients:How to Make Fluffy Butter Buttermilk Biscuits
Step 1: Prepare Dry Ingredients
Grab a spacious mixing bowl and toss in flour, baking powder, and salt. Whisk these dry ingredients together until they’re well combined and looking smooth and uniform.
Step 2: Work in Butter
Drop cold butter into the flour mixture. Using your fingertips or a pastry cutter, break down the butter until the entire mixture looks like grainy sand or coarse crumbs. This technique helps create those flaky, tender biscuit layers.
Step 3: Add Buttermilk
Create a small well in the center of your crumbly mixture. Pour buttermilk directly into this space. Stir gently with a wooden spoon or spatula until the dough just comes together – don’t overmix, as this can make biscuits tough.
Step 4: Shape the Dough
Transfer the shaggy dough onto a lightly floured surface. Softly knead the dough a few times, just enough to help it hold together. Pat the dough into a thick rectangle, approximately 1 inch high.
Step 5: Cut Biscuit Rounds
Use a round biscuit cutter to punch out beautiful circular biscuits. Place each cut biscuit onto a baking sheet, keeping them close but not touching. Re-roll any remaining dough scraps to maximize your biscuit yield.
Step 6: Bake to Golden Perfection
Slide the baking sheet into a preheated oven at 450°F. Bake for 12-15 minutes, watching for a gorgeous golden-brown color. Remove when they look irresistibly puffy and bronzed.
Step 7: Serve and Enjoy
Pull those hot, steamy biscuits from the oven and serve immediately. They’re perfect split open with a pat of butter or alongside your favorite breakfast or dinner spread.
Insider Tips for Buttermilk Biscuits
Variations on Classic Buttermilk Biscuits
Serving Suggestions for Buttermilk Biscuits
Best Ways to Store Butter Buttermilk Biscuits
FAQs About Butter Buttermilk Biscuits
Buttermilk helps create tender, flaky biscuits by adding acidity that breaks down gluten, resulting in a softer texture and slightly tangy flavor.
The mixture should look like coarse sand or small peas, with no large butter chunks remaining, which ensures flaky layers in the biscuits.
Yes, overworking causes tough biscuits by developing too much gluten. Knead gently and minimally to keep the biscuits light and tender.
Print
Butter Buttermilk Biscuits Recipe
- Total Time: 27-30 minutes
- Yield: 8 1x
Description
Southern comfort meets culinary magic in these classic Buttermilk Biscuits, where golden-brown layers promise flaky perfection. Warm kitchen memories and buttery goodness invite you to savor each tender, mouthwatering bite of homemade happiness.
Ingredients
Main Ingredients:
- 2 cups (480 ml) all-purpose flour
- 1/2 cup (115 g) unsalted butter, cold and cut into small pieces
- 3/4 cup (180 ml) buttermilk
Leavening and Seasoning:
- 1 tablespoon (15 ml) baking powder
- 1 teaspoon (5 ml) salt
Instructions
- Prepare the oven by heating to 450F (230C). In a spacious mixing bowl, combine flour, baking powder, and salt with a whisk.
- Incorporate cold butter into the dry ingredients using a pastry cutter or fingertips until the mixture resembles grainy texture like coarse sand.
- Create a central cavity in the flour mixture and pour in buttermilk. Gently stir until the dough just begins to cohesively form, avoiding overmixing.
- Transfer the tender dough onto a lightly dusted work surface. Delicately knead the dough a few times to bring it together.
- Shape the dough into a flat rectangle approximately 1-inch thick using gentle pressing motions.
- Use a circular biscuit cutter to precisely cut out rounds, placing each one carefully onto a baking sheet. Reassemble the remaining dough scraps and continue cutting additional biscuits.
- Position the baking sheet in the preheated oven and bake for 12-15 minutes until the biscuits develop a rich golden-brown exterior.
- Remove from oven and serve immediately while warm for optimal flavor and texture.
Notes
- Keep butter ice-cold to achieve flakiest, most tender biscuits with perfect layered texture.
- Handle dough minimally to prevent tough, dense results and maintain delicate, light crumb.
- Use full-fat buttermilk for richest flavor and best rise, ensuring tangy, tender biscuits.
- Experiment with gluten-free flour blend for celiac-friendly version without compromising traditional taste.
- Prep Time: 15 minutes
- Cook Time: 12-15 minutes
- Category: Breakfast, Lunch, Dinner, Snacks
- Method: Baking
- Cuisine: American
Nutrition
- Serving Size: 8
- Calories: 203 kcal
- Sugar: 1 g
- Sodium: 346 mg
- Fat: 10 g
- Saturated Fat: 6 g
- Unsaturated Fat: 4 g
- Trans Fat: 0.2 g
- Carbohydrates: 25 g
- Fiber: 1 g
- Protein: 4 g
- Cholesterol: 30 mg
Sarah Mitchell
Content Specialist & Home Cooking Enthusiast
Expertise
Education
Asheville-Buncombe Technical Community College – Asheville, NC
American Fitness Professionals & Associates – Online
Sarah’s passion for food was sparked by weekend trips to the farmers’ market and her belief that healthy meals should never feel boring.
After earning her culinary diploma and becoming a certified Nutrition and Wellness Consultant, she set out to help others fall in love with simple, wholesome cooking.
She’s all about celebrating the small wins in the kitchen: a colorful yogurt bowl, a new twist on a classic dish, or a homemade snack that feels just a little extra special.
Outside the kitchen, Sarah is a gardener at heart, a yoga enthusiast, and a believer that fresh herbs can brighten any meal, and any day.