Easy Homemade Butterfinger Caramel Crunch Bars Recipe
Crafting delectable butterfinger caramel crunch bars awakens childhood memories of sweet indulgence.
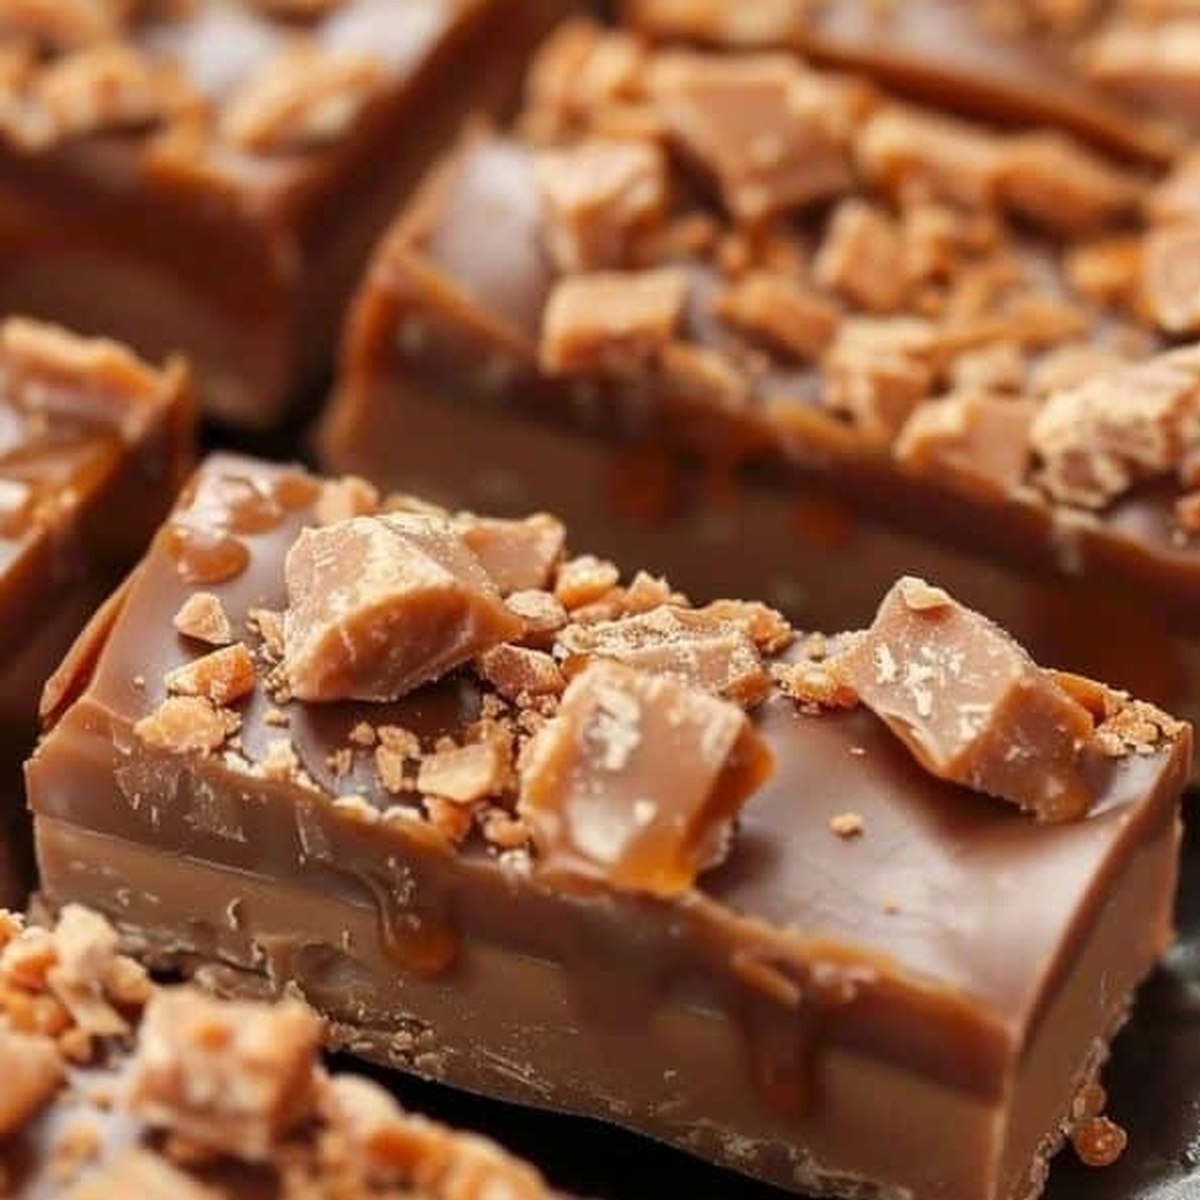
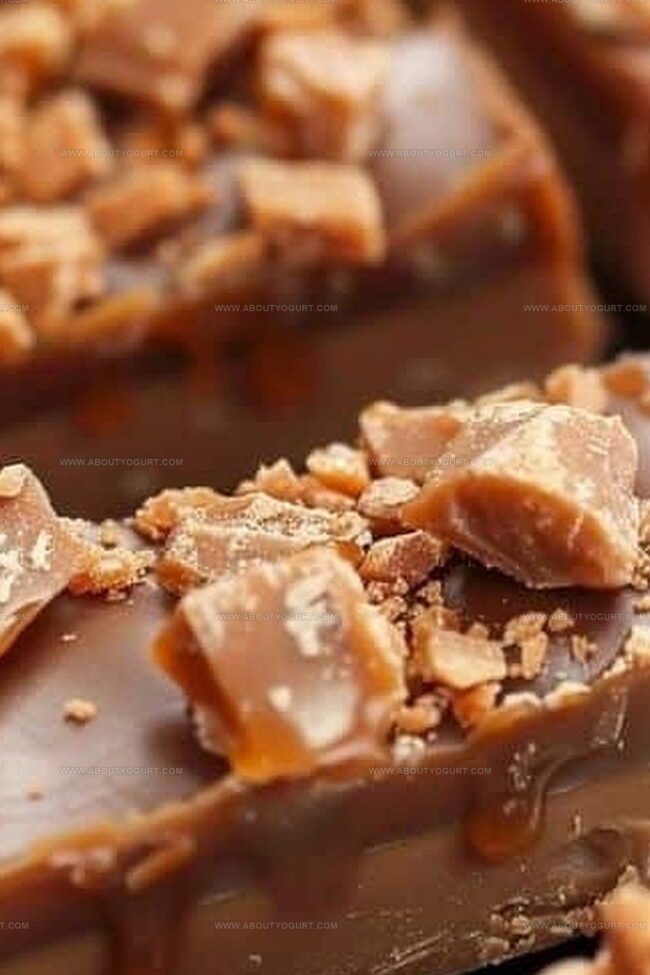
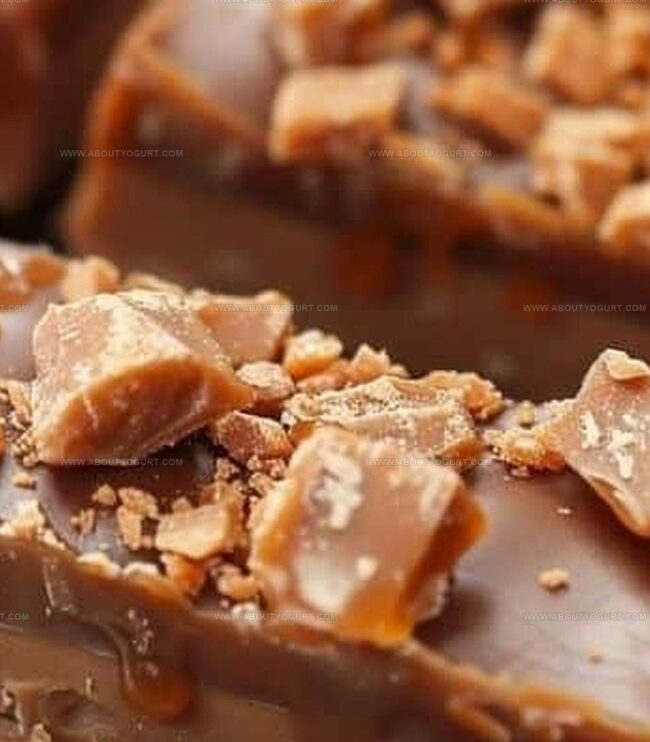
Layers of crunchy, golden candy and smooth caramel create an irresistible symphony of textures.
Chocolate enthusiasts will fall head over heels for this decadent treat.
Homemade desserts always taste better when made with passion and care.
Each bite promises a perfect balance of crisp, creamy, and rich flavors.
Gather your ingredients and prepare to embark on a mouthwatering adventure that will delight everyone at the table.
Let’s transform simple ingredients into an extraordinary dessert that screams pure deliciousness.
What Makes Butterfinger Caramel Crunch Bars So Irresistible
Must-Have Ingredients for Butterfinger Caramel Crunch Bars
Base Layer:Filling Layer:Topping Layer:Step-by-Step Guide to Butterfinger Caramel Crunch Bars
Step 1: Prepare Baking Station
Set your oven to 350F (175C). Line an 8×8 inch baking dish with parchment paper, allowing some overhang for easy removal later.
Step 2: Create Buttery Graham Cracker Base
In a mixing bowl, combine melted butter with finely crushed graham crackers. Press this mixture firmly into the bottom of the prepared baking dish, creating an even, compact layer.
Step 3: Add Creamy Caramel Layer
Gently pour sweetened condensed milk over the graham cracker crust. Drizzle caramel sauce in a zigzag pattern across the surface, ensuring even coverage.
Step 4: Sprinkle Decadent Toppings
Distribute these delightful ingredients across the caramel layer:Spread them evenly to ensure each bar will have maximum flavor and crunch.
Step 5: Bake to Golden Perfection
Place the baking dish in the preheated oven and bake for 20-25 minutes. Look for a golden-brown color and slightly bubbling edges as indicators of doneness.
Step 6: Cool and Slice
Remove from the oven and let the bars cool completely in the baking dish. Once cooled, use the parchment paper edges to lift out the entire dessert and slice into square bars.
Handy Tips for Baking Butterfinger Caramel Crunch Bars
Fun Variations on Butterfinger Caramel Crunch Bars
Perfect Pairings for Butterfinger Caramel Crunch Bars
Storage Advice for Butterfinger Caramel Crunch Bars
FAQs About Butterfinger Caramel Crunch Bars
Yes, you can substitute Butterfinger with other chocolate or candy bars like Snickers, Crunch, or Twix for a different flavor profile.
Absolutely! Use gluten-free graham crackers or graham cracker alternative like almond flour or gluten-free cookie crumbs to create the crust.
Balance the sweetness by using dark chocolate chips instead of milk chocolate, and choose a caramel sauce that isn’t overly sugary.
Yes, you can make these bars a day ahead. Store them in an airtight container at room temperature or in the refrigerator until ready to serve.
Print
Butterfinger Caramel Crunch Bars Recipe
- Total Time: 30-35 minutes
- Yield: 12 1x
Description
Butterfinger caramel crunch bars combine irresistible layers of chocolate, caramel, and crushed candy bars for an indulgent dessert experience. Sweet-salty notes and rich textures make these bars a perfect treat you cannot resist.
Ingredients
Main Ingredients:
- 1 can (14 oz) sweetened condensed milk
- 1 cup caramel sauce
- 1 cup crushed graham crackers
Candy and Chocolate:
- 1/2 cup crushed Butterfinger candy bars
- 1/2 cup chocolate chips
Base Ingredients:
- 1/2 cup (113 grams) unsalted butter, melted
Instructions
- Prepare the oven at 350F (175C) and line an 8-inch square baking dish with parchment paper, ensuring edges are covered for easy removal.
- Combine melted butter with finely ground graham cracker crumbs, mixing until the texture resembles wet sand.
- Firmly press the graham cracker mixture into the bottom of the prepared pan, creating an even, compact base layer.
- Gently pour sweetened condensed milk across the entire graham cracker crust, ensuring complete and uniform coverage.
- Drizzle rich caramel sauce in a zigzag pattern over the condensed milk layer, creating an appealing visual design.
- Generously scatter crushed Butterfinger pieces and chocolate chips across the surface, distributing them evenly for consistent flavor in every bite.
- Transfer the pan to the preheated oven and bake for 22-25 minutes, watching for a golden-brown appearance and slightly bubbling edges.
- Remove from the oven and allow the bars to cool completely at room temperature for approximately 1-2 hours, which helps them set and become easier to cut.
- Once cooled, lift the bars out using the parchment paper and slice into square or rectangular portions using a sharp knife.
Notes
- Crush Butterfinger bars finely to ensure even distribution and maximum candy crunch throughout the dessert.
- For a gluten-free version, swap graham crackers with gluten-free cookie crumbs or almond flour to maintain the base’s texture and flavor.
- Use room temperature sweetened condensed milk for smoother, more consistent coverage across the graham cracker crust.
- Chill bars completely before cutting to achieve clean, precise edges and help layers set properly, enhancing overall presentation and texture.
- Prep Time: 10 minutes
- Cook Time: 20-25 minutes
- Category: Desserts, Snacks
- Method: Baking
- Cuisine: American
Nutrition
- Serving Size: 12
- Calories: 340 kcal
- Sugar: 35 g
- Sodium: 120 mg
- Fat: 18 g
- Saturated Fat: 11 g
- Unsaturated Fat: 6 g
- Trans Fat: 0.5 g
- Carbohydrates: 45 g
- Fiber: 1 g
- Protein: 3 g
- Cholesterol: 30 mg
Sarah Mitchell
Content Specialist & Home Cooking Enthusiast
Expertise
Education
Asheville-Buncombe Technical Community College – Asheville, NC
American Fitness Professionals & Associates – Online
Sarah’s passion for food was sparked by weekend trips to the farmers’ market and her belief that healthy meals should never feel boring.
After earning her culinary diploma and becoming a certified Nutrition and Wellness Consultant, she set out to help others fall in love with simple, wholesome cooking.
She’s all about celebrating the small wins in the kitchen: a colorful yogurt bowl, a new twist on a classic dish, or a homemade snack that feels just a little extra special.
Outside the kitchen, Sarah is a gardener at heart, a yoga enthusiast, and a believer that fresh herbs can brighten any meal, and any day.