
Fluffy Buttermilk Scones Recipe: Golden Goodness Every Time
Crafting delightful buttermilk scones brings pure morning magic to your kitchen.
Soft, flaky pastries emerge from simple ingredients waiting to surprise you.
Bakers often overlook how straightforward these treats can be.
British traditions shine through each crumbly, tender bite of these classic breakfast delicacies.
Gentle mixing and careful folding create remarkable textures that feel like culinary poetry.
Warm, golden edges and a tender center promise a delectable experience that transforms ordinary moments.
Gather your ingredients and let’s bake something extraordinary that will make your breakfast memorable.
Why James Martin Buttermilk Scones Are A Favorite
Ingredients Needed For James Martin Buttermilk Scones
Dry Ingredients:Dairy Components:Optional Serving Accompaniments:How To Make James Martin Buttermilk Scones

Step 1: Warm Up The Oven
Set your oven to 400°F. Prepare a baking sheet by lightly greasing it or covering with parchment paper.
Step 2: Blend Dry Ingredients
In a large mixing bowl, combine flour, sugar, baking powder, salt, and a pinch of cinnamon. Whisk these ingredients together until they’re evenly mixed.
Step 3: Incorporate Chilled Butter
Using a box grater, quickly grate frozen butter directly into the dry ingredient mixture. Toss the butter shreds through the flour using your fingertips until the mixture resembles coarse breadcrumbs.
Step 4: Create Dough
Pour buttermilk into the flour-butter mixture. Gently fold the liquid into the dry ingredients using a wooden spoon or spatula. Stop mixing as soon as the dough comes together – avoid overworking.
Step 5: Shape The Scones
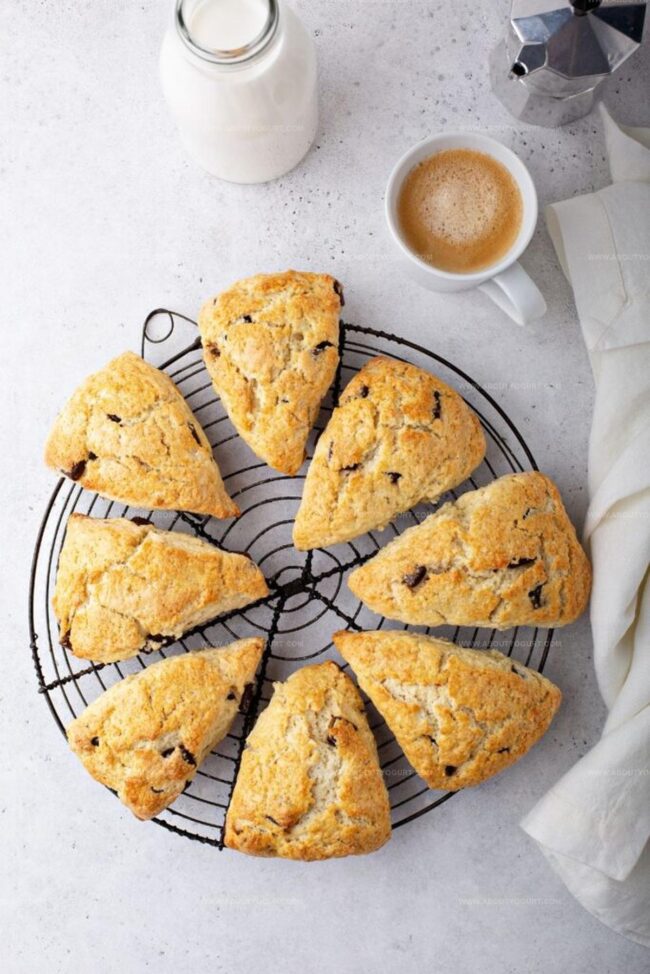
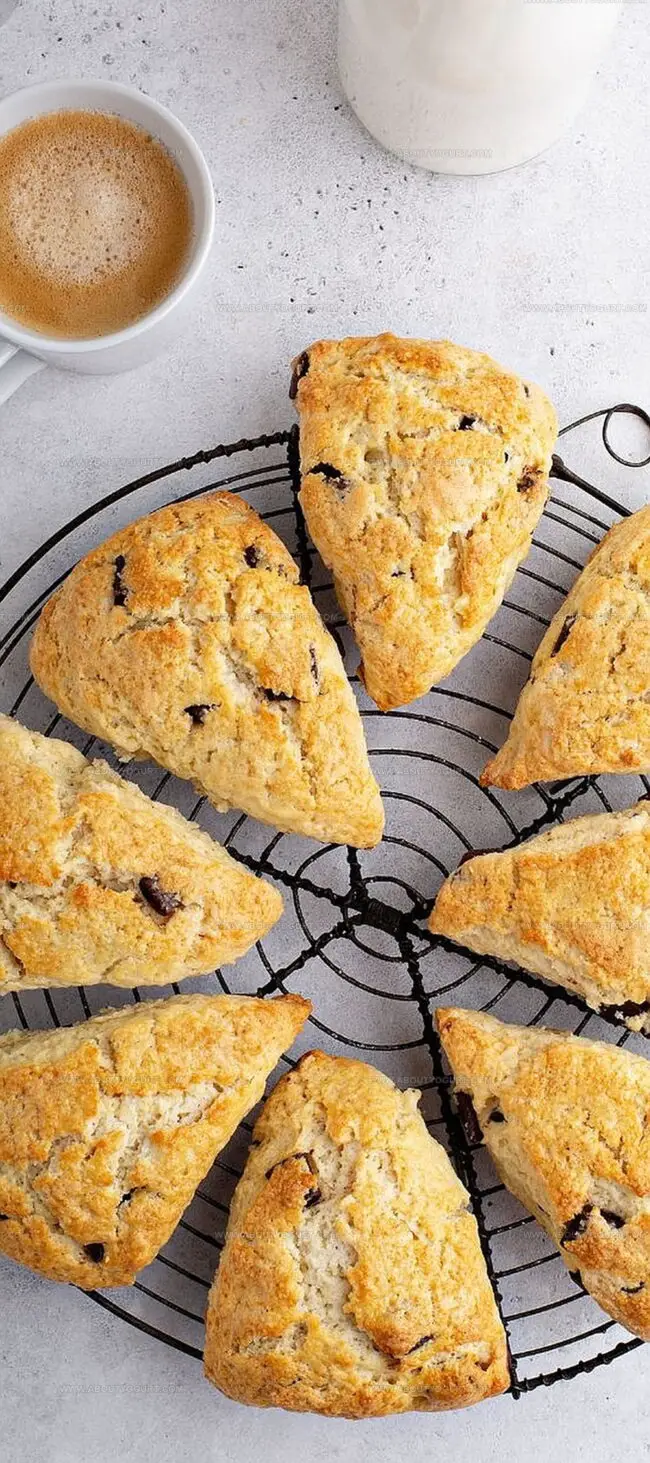
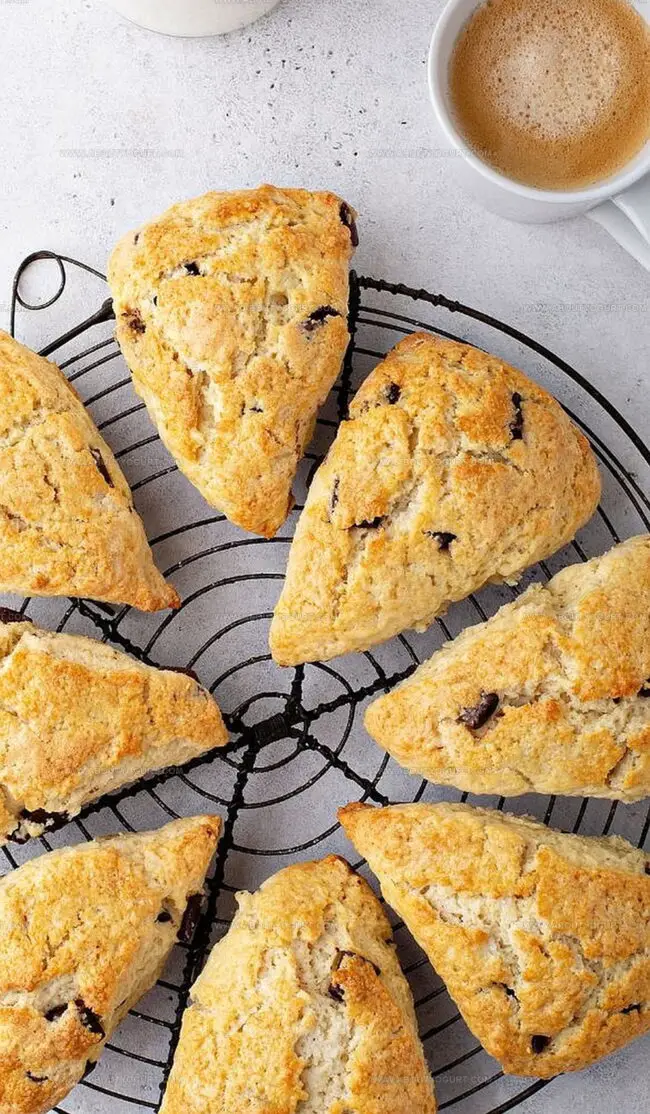
Transfer the dough onto a lightly floured surface. Quickly pat the dough into a circular shape about 3/4 inch thick. Use a sharp knife to cut the circle into 8 equal triangular wedges.
Step 6: Prepare For Baking
Arrange the scone wedges on the prepared baking sheet, leaving small spaces between each piece. For a golden finish, brush the tops with a little extra buttermilk.
Step 7: Bake To Perfection
Place the baking sheet in the preheated oven. Bake for 12-15 minutes until the scones turn a beautiful golden brown color and look slightly crisp on the edges.
Step 8: Serve And Enjoy
Remove scones from the oven and let them cool for a few minutes. Serve warm with your favorite jam, clotted cream, or a pat of soft butter.
Helpful Tips For James Martin Buttermilk Scones
Tasty Changes For James Martin Buttermilk Scones
Perfect Pairings For James Martin Buttermilk Scones
Storing James Martin Buttermilk Scones Made Simple
FAQs About James Martin Buttermilk Scones
Buttermilk helps create a tender, light texture and adds a subtle tangy flavor. It also helps activate baking powder for better rising and creates a softer crumb compared to regular milk.
Look for a golden-brown color on the edges and top. The scones should sound slightly hollow when tapped and have a crisp exterior with a soft, fluffy interior.
While possible, buttermilk is recommended. If you don’t have buttermilk, mix 1 tablespoon of lemon juice or white vinegar with 1 cup of milk and let it sit for 5 minutes to create a buttermilk substitute.
Print
Buttermilk Scones Recipe
- Total Time: 22-25 minutes
- Yield: 12 1x
Description
Delightful buttermilk scones bring British bakery charm straight to kitchen counters with golden, flaky perfection. Crisp edges and tender centers promise a delectable breakfast or afternoon tea companion you’ll savor down to the last crumbly bite.
Ingredients
Main Ingredients:
- 3 cups (360 grams) all-purpose flour
- 3/4 cup (170 grams) frozen, grated butter
- 1 cup (240 milliliters) buttermilk
Dry Seasonings:
- 1/3 cup (67 grams) sugar
- 1 teaspoon salt
- 2 1/2 teaspoons baking powder
- 1/2 teaspoon baking soda
Instructions
- Prepare the oven by heating to 400°F and preparing a baking sheet with parchment paper or light greasing.
- Combine all dry ingredients in a large mixing bowl, ensuring even distribution of components.
- Using a box grater, carefully shred the frozen butter directly into the dry mixture, quickly working to create a coarse, crumbly texture.
- Pour buttermilk into the dry ingredients, gently folding with minimal stirring to maintain a light, tender consistency.
- Transfer the delicate dough onto a lightly floured surface, carefully shaping into two circular discs approximately 3/4 inch thick.
- Slice each disc into six even wedges, separating them slightly to allow even heat circulation.
- Arrange the wedges on the prepared baking sheet, leaving small spaces between each piece for optimal browning.
- Bake in the preheated oven for 12-15 minutes, watching for a golden-brown exterior and light, flaky texture.
- Remove from oven and let cool briefly before serving alongside your favorite accompaniments like jam, clotted cream, or softened butter.
Notes
- Chill your butter thoroughly before grating to ensure flaky, tender scones with perfect texture.
- Use cold buttermilk and handle the dough minimally to prevent tough, dense results and maintain a light crumb.
- For gluten-free adaptation, substitute all-purpose flour with a high-quality gluten-free blend and add xanthan gum for better binding.
- Experiment with mix-ins like dried fruit, chocolate chips, or citrus zest to customize flavor without compromising the classic scone structure.
- Prep Time: 10 minutes
- Cook Time: 12-15 minutes
- Category: Breakfast, Snacks, Desserts
- Method: Baking
- Cuisine: British
Nutrition
- Serving Size: 12
- Calories: 175 kcal
- Sugar: 6 g
- Sodium: 230 mg
- Fat: 7 g
- Saturated Fat: 4 g
- Unsaturated Fat: 3 g
- Trans Fat: 0.2 g
- Carbohydrates: 25 g
- Fiber: 1 g
- Protein: 3 g
- Cholesterol: 15 mg
Michael Thompson
Founder & Recipe Developer
Expertise
Education
Cascade Culinary Institute – Bend, OR
ServSafe Food Handler Certification – Portland, OR
Focus: Certified in core food safety and hygiene principles for both home and professional kitchens, with emphasis on ingredient handling, kitchen cleanliness, and safe preparation methods.
Mike’s kitchen journey began with a single goal: to make everyday meals feel like something worth celebrating.
After earning his Certificate in Culinary Arts from Cascade Culinary Institute, he spent years working with local farmers and small kitchens across Oregon, learning the beauty of seasonal, small-batch cooking.
Mike’s approach is simple, cook with what’s fresh, keep it approachable, and always leave room for a little creativity. When he’s not testing yogurt marinades or designing single-serving meals, you’ll find him hiking trails or hunting down the best berries at local markets.