
Cheesy Taco Dip Recipe That’s Always a Party Hit
Crafting the ultimate cheesy taco dip sparks excitement in every kitchen gathering.
Layers of zesty flavors promise a crowd-pleasing experience that goes beyond ordinary appetizers.
Creamy textures blend with bold spices to create an irresistible combination.
Casual weekend parties or game-day celebrations become instantly more memorable with this mouthwatering recipe.
Cheese lovers will appreciate the rich, melted goodness that brings people together.
Comfort food meets Mexican-inspired delights in a dish you can whip up in minutes.
Let’s dive into a recipe that guarantees smiles and second helpings.
Why Cheesy Taco Dip Is Always a Party Favorite
Ingredients Behind the Perfect Cheesy Taco Dip
Main Protein:Cheese Ingredients:Flavor Enhancers:Serving Suggestions:How to Make Cheesy Taco Dip Step-by-Step
Step 1: Sizzle the Ground Beef
Cook ground beef in a large skillet over medium heat, breaking it into small crumbles. Make sure the meat is fully browned and cooked through. Carefully drain off any excess grease to keep the dip from becoming too oily.
Step 2: Melt the Cheesy Goodness
Add these ingredients to the skillet:Stir the mixture continuously, letting the cheeses melt and blend together until smooth and creamy.
Step 3: Spice It Up
Taste the dip and fine-tune the flavor. Want an extra punch? Sprinkle in more taco seasoning or add a tiny pinch of cayenne pepper to amp up the heat.
Step 4: Prepare for Serving
Transfer the steaming, cheesy mixture to a serving bowl. Alternatively, keep it warm in a slow cooker on the keep warm setting to maintain that perfect dippable temperature.
Step 5: Dive In
Grab some crispy tortilla chips or fresh veggie sticks for dipping. Call over your friends and family for an irresistible snack that’ll disappear in minutes!
Tips to Get the Best Cheesy Taco Dip Texture and Flavor
Fun Twists to Try With Your Cheesy Taco Dip
Ideal Snacks and Drinks to Pair With Cheesy Taco Dip
Keeping Cheesy Taco Dip Fresh and Ready to Serve
Frequently Asked Questions on Cheesy Taco Dip
Yes, ground turkey works perfectly and creates a leaner version of the dip while maintaining the same delicious flavor profile.
The dip has a mild to medium heat level from the taco seasoning and Rotel tomatoes. You can easily adjust the spiciness by adding more taco seasoning or cayenne pepper for extra kick.
Absolutely! This cheesy taco dip is super crowd-pleasing, easy to prepare, and perfect for game days, potlucks, or casual gatherings with friends and family.
Print
Cheesy Taco Dip Recipe
- Total Time: 15 minutes
- Yield: 12 1x
Description
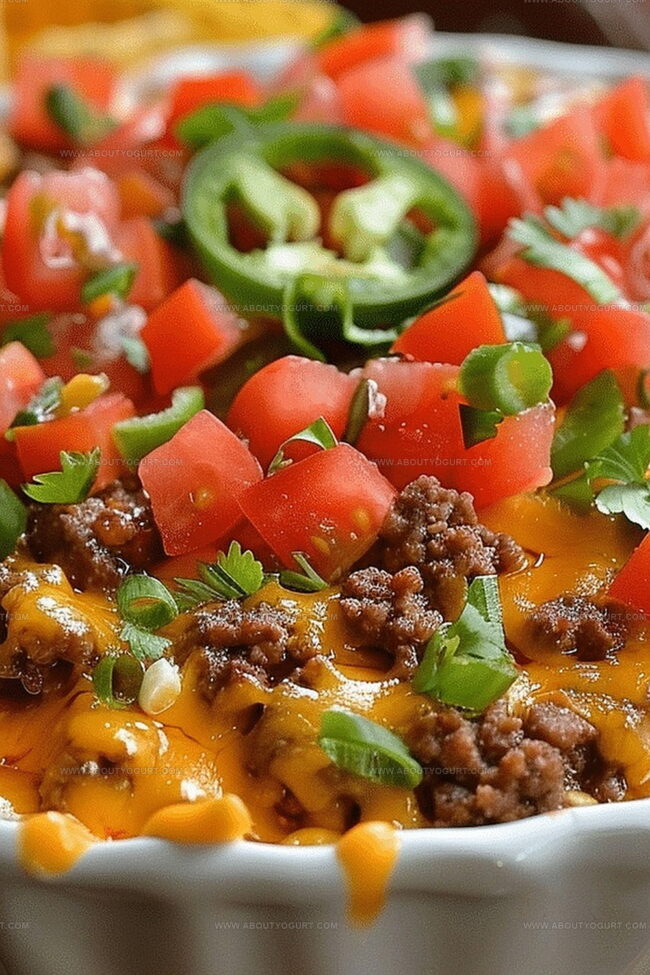
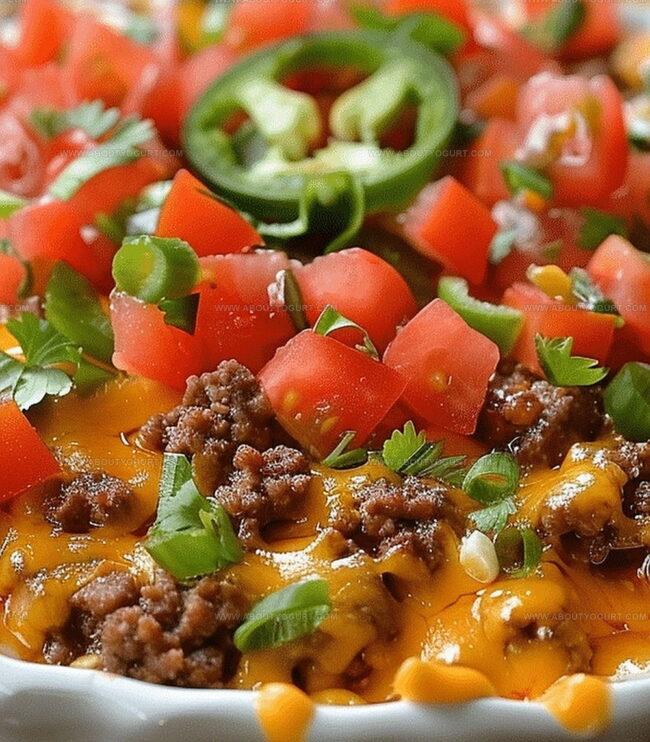
Savor layers of Mexican-inspired goodness in this irresistible Cheesy Taco Dip that brings zesty flavors and creamy textures to your gathering. Each spoonful promises a delicious blend of seasoned beef, melted cheese, and fresh toppings you’ll crave again and again.
Ingredients
Protein:
- 1 pound ground beef
Cheeses:
- 1 block (16 ounces / 454 grams) Velveeta cheese, cubed
- 1 package (8 ounces / 227 grams) cream cheese, softened
- 2 cups Fiesta Blend cheese or a mix of cheddar and Monterey Jack, shredded
Additional Ingredients:
- 1 can (10 ounces / 283 grams) Rotel diced tomatoes and green chilies, drained
- 2 tablespoons taco seasoning homemade or store-bought
Serving:
- Tortilla chips or sliced veggies
Instructions
- Brown ground beef in a large skillet over medium heat until fully cooked, then drain excess grease.
- Reduce heat and add Velveeta cheese, cream cheese, Fiesta Blend cheese, Rotel, and taco seasoning to the same skillet.
- Stir mixture continuously for 5-7 minutes until all cheeses melt completely and ingredients blend smoothly.
- Taste the dip and enhance flavor with additional taco seasoning or a sprinkle of cayenne pepper for extra heat.
- Transfer the creamy mixture to a serving bowl or maintain warmth in a slow cooker set to low temperature.
- Arrange tortilla chips or crisp vegetable slices around the dip for convenient scooping.
- Serve immediately while cheese remains warm and gooey, ensuring maximum flavor and texture enjoyment.
Notes
- Opt for lean ground beef to reduce excess grease and create a healthier version of the dip.
- Use dairy-free cheese alternatives like vegan Velveeta or nutritional yeast for a lactose-free option.
- Customize the heat level by adjusting taco seasoning or adding fresh jalapeños for extra spice.
- Prep ingredients beforehand and keep the dip warm in a slow cooker for easy entertaining and consistent temperature.
- Prep Time: 5 minutes
- Cook Time: 10 minutes
- Category: Appetizer, Snacks
- Method: Sautéing
- Cuisine: Mexican
Nutrition
- Serving Size: 12
- Calories: 345 kcal
- Sugar: 2 g
- Sodium: 650 mg
- Fat: 28 g
- Saturated Fat: 15 g
- Unsaturated Fat: 10 g
- Trans Fat: 0.5 g
- Carbohydrates: 6 g
- Fiber: 1 g
- Protein: 18 g
- Cholesterol: 65 mg
Michael Thompson
Founder & Recipe Developer
Expertise
Education
Cascade Culinary Institute – Bend, OR
ServSafe Food Handler Certification – Portland, OR
Focus: Certified in core food safety and hygiene principles for both home and professional kitchens, with emphasis on ingredient handling, kitchen cleanliness, and safe preparation methods.
Mike’s kitchen journey began with a single goal: to make everyday meals feel like something worth celebrating.
After earning his Certificate in Culinary Arts from Cascade Culinary Institute, he spent years working with local farmers and small kitchens across Oregon, learning the beauty of seasonal, small-batch cooking.
Mike’s approach is simple, cook with what’s fresh, keep it approachable, and always leave room for a little creativity. When he’s not testing yogurt marinades or designing single-serving meals, you’ll find him hiking trails or hunting down the best berries at local markets.