Buttery, Crisp Cheesy Texas Toast Recipe for All Occasions
Crafting the perfect cheesy texas toast requires more than just bread and melted cheese.
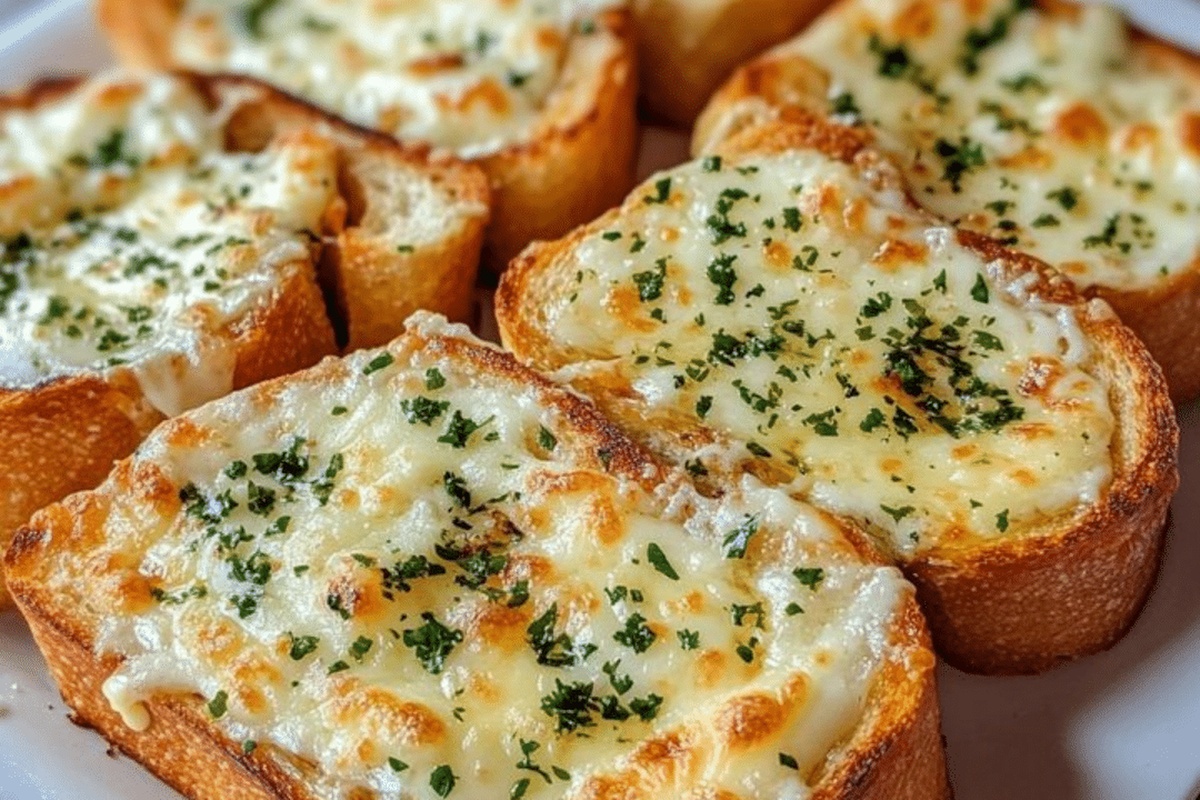
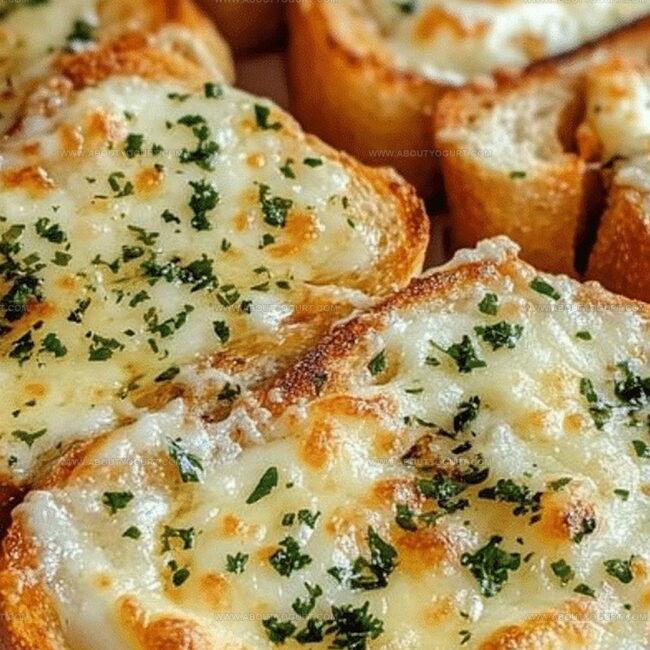
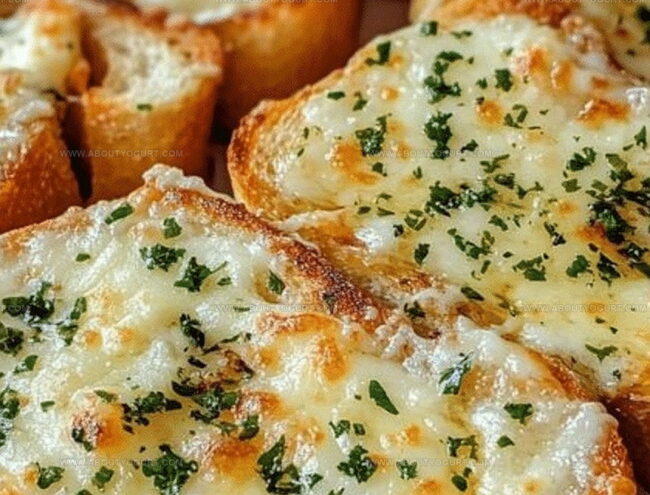
Crispy edges and a golden-brown surface hint at the deliciousness waiting to unfold.
Local diners and home kitchens across the Lone Star State have long celebrated this simple yet irresistible side dish.
Butter plays a crucial role in creating that signature crunch and rich flavor profile.
Each slice becomes a canvas for your culinary creativity, inviting you to experiment with different cheese blends and seasonings.
Layers of sharp cheddar or smooth mozzarella promise a mouthwatering experience that will have everyone asking for seconds.
Prepare to transform an ordinary piece of bread into a gourmet delight that sparks joy with every bite.
Why Cheesy Texas Toast Is So Irresistible
Ingredients for Cheesy Texas Toast
Bread Base:Cheese Topping:Flavor Enhancers:How to Make Cheesy Texas Toast
Step 1: Warm Up The Oven
Crank your oven to a toasty 375°F (190°C) so it’s perfectly ready for the cheesy magic about to happen.
Step 2: Blend Creamy Garlic Spread
In a small mixing bowl, combine softened butter with freshly minced garlic, creating a fragrant and rich mixture that will give your toast incredible flavor.
Step 3: Prepare Bread Base
Grab your French bread and slice it horizontally into two perfect halves, placing them cut-side up on a clean baking sheet.
Step 4: Lavish With Garlic Goodness
Generously spread the garlic butter mixture across every inch of the bread’s surface, ensuring an even and delectable coating.
Step 5: Shower With Cheese
Sprinkle a delightful blend of cheeses over the buttered bread:Distribute the cheeses evenly for maximum coverage and flavor.
Step 6: Bake To Melty Perfection
Slide the baking sheet into the preheated oven and let the toast bake for 10-12 minutes until the cheese transforms into a bubbling, golden landscape.
Step 7: Garnish And Finish
Remove the toast from the oven and dust with freshly chopped parsley for a pop of color and herbal freshness.
Step 8: Serve And Enjoy
Slice the toast into manageable pieces and serve immediately while the cheese is still warm and gooey.
Insider Tips for Cheesy Texas Toast
Variations to Try on Cheesy Texas Toast
Pairing Ideas for Cheesy Texas Toast
Storage Guidelines for Cheesy Texas Toast
FAQs for Cheesy Texas Toast
Yes, you can substitute French bread with sourdough, ciabatta, or Italian bread for a similar delicious result.
Watch for the cheese to become golden, bubbly, and slightly crispy around the edges, which typically takes 10-12 minutes in the oven.
Prepare the bread with garlic butter and cheese, but wait to bake until just before serving to ensure maximum crispiness and fresh flavor.
Absolutely! Consider adding crispy bacon bits, red pepper flakes, or everything bagel seasoning for extra flavor and texture.
Print
Cheesy Texas Toast Recipe
- Total Time: 20-22 minutes
- Yield: 8 1x
Description
Savory Cheesy Texas Toast brings bold Lone Star State flavors to your table with crispy, golden-edged bread smothered in melted cheese. Hearty slices promise a quick, irresistible side that makes you crave more with each delectable bite.
Ingredients
Main Ingredients:
- 1 loaf French bread
- 1 cup shredded mozzarella cheese
- 1/2 cup grated Parmesan cheese
Dairy and Spread:
- 1/2 cup (113 grams) unsalted butter, softened
Aromatics and Herbs:
- 2 cloves garlic, minced
- 1/4 cup chopped fresh parsley
Instructions
- Heat the oven to 375F (190C) and prepare a baking sheet with parchment paper for easy cleanup.
- Mix softened butter with finely minced garlic in a small mixing bowl until thoroughly combined.
- Cut the French bread horizontally into two equal halves to create a flat surface for topping.
- Generously coat each bread surface with the aromatic garlic butter mixture, ensuring complete and even coverage.
- Distribute mozzarella and Parmesan cheeses across the buttered bread, creating a rich and even cheese layer.
- Transfer the prepared bread to the preheated oven and bake for 10-12 minutes, watching for golden edges and completely melted, bubbling cheese.
- Once cheese is perfectly melted and bread edges turn crispy golden, carefully remove from the oven.
- Garnish the hot toast with freshly chopped parsley for a vibrant, herbaceous finish.
- Slice into manageable portions and serve immediately while warm and cheese is delightfully gooey.
Notes
- Use day-old bread for extra crispiness and better absorption of garlic butter.
- Experiment with different cheese blends like cheddar or provolone for unique flavor profiles.
- Adjust garlic quantity based on personal preference to control intensity.
- Transform into gluten-free version by using gluten-free bread alternatives.
- Prep Time: 10 minutes
- Cook Time: 10-12 minutes
- Category: Breakfast, Lunch, Dinner, Snacks, Appetizer
- Method: Baking
- Cuisine: American
Nutrition
- Serving Size: 8
- Calories: 290kcal
- Sugar: 1g
- Sodium: 360mg
- Fat: 22g
- Saturated Fat: 13g
- Unsaturated Fat: 8g
- Trans Fat: 0.3g
- Carbohydrates: 20g
- Fiber: 1g
- Protein: 10g
- Cholesterol: 45mg


Michael Thompson
Founder & Recipe Developer
Expertise
Education
Cascade Culinary Institute – Bend, OR
ServSafe Food Handler Certification – Portland, OR
Focus: Certified in core food safety and hygiene principles for both home and professional kitchens, with emphasis on ingredient handling, kitchen cleanliness, and safe preparation methods.
Mike’s kitchen journey began with a single goal: to make everyday meals feel like something worth celebrating.
After earning his Certificate in Culinary Arts from Cascade Culinary Institute, he spent years working with local farmers and small kitchens across Oregon, learning the beauty of seasonal, small-batch cooking.
Mike’s approach is simple, cook with what’s fresh, keep it approachable, and always leave room for a little creativity. When he’s not testing yogurt marinades or designing single-serving meals, you’ll find him hiking trails or hunting down the best berries at local markets.