
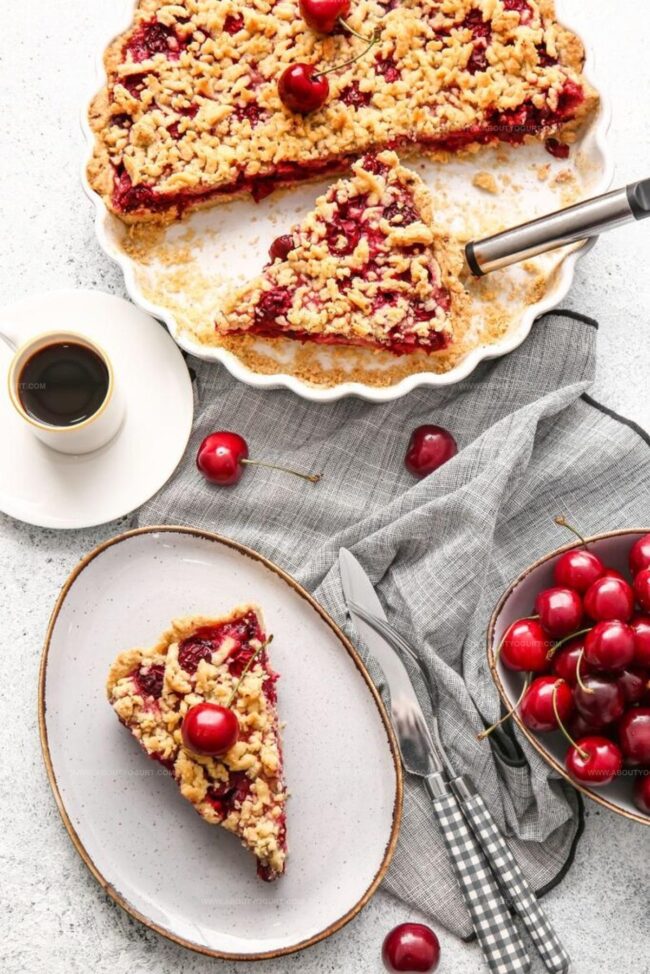
Best Cherry Pie Recipe for Weekend Family Treats
Sweet memories of grandma’s kitchen dance through my cherry pie recipe, filling the air with nostalgia and warmth.
Buttery pastry crusts promise a delightful experience waiting to unfold.
Ripe cherries burst with summer’s vibrant essence, creating a dessert that whispers comfort.
Baking this treat connects generations through simple, delicious ingredients.
Carefully selected fruits and classic techniques guarantee a spectacular result.
Each slice tells a story of love, tradition, and pure culinary joy.
Let’s embark on this delectable journey together and create something magical that will make everyone smile.
Why Mary Berry Cherry Pie Is So Sweet And Juicy
Mary Berry Cherry Pie Ingredient Guide
Pie Crust:Fruit Filling:Finishing Touches:Easy Steps For Mary Berry Cherry Pie
Step 1: Prepare Pie Dough
Whip up a delectable pie crust using a food processor. Blend flour, cold butter, and a splash of ice water until the mixture resembles coarse crumbs. Shape the dough into a disk, wrap in plastic, and let it chill in the refrigerator for half an hour to firm up.
Step 2: Create Cherry Filling
Grab a bowl and toss together fresh, juicy cherries with cornstarch and sugar. The cornstarch will help thicken the filling and create a luscious, glossy texture that’ll make your taste buds dance.
Step 3: Assemble Bottom Crust
Take your chilled dough and grate half of it directly into a pie dish. Gently press the shredded dough to create an even, delicate base that will cradle your cherry filling perfectly.
Step 4: Add Cherry Mixture
Pour the vibrant cherry filling into the pie dish, spreading it evenly across the bottom crust. Make sure every inch is covered with the sweet, ruby-red goodness.
Step 5: Create Lattice Top
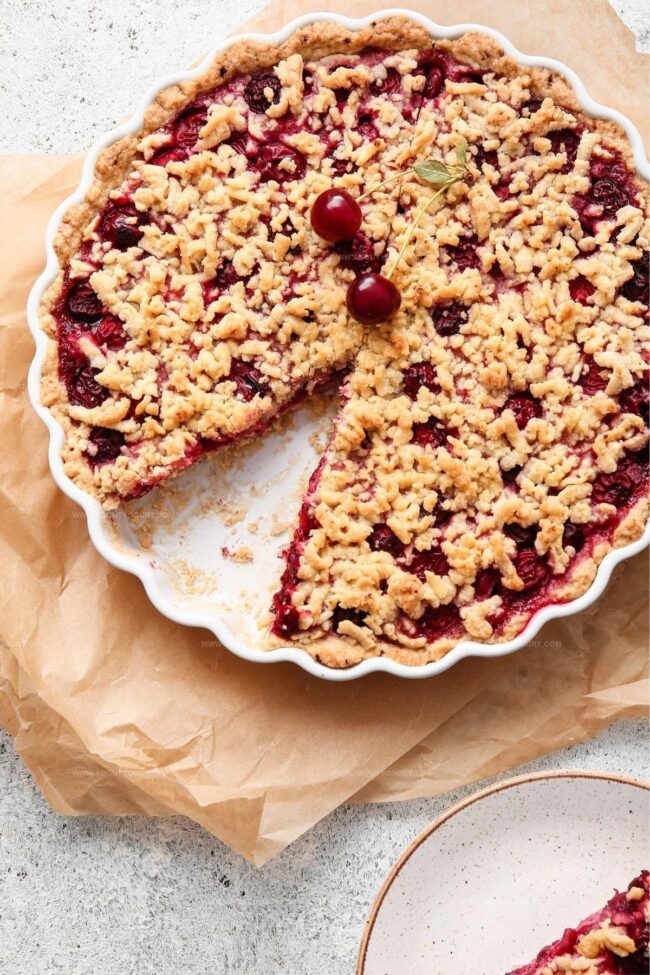
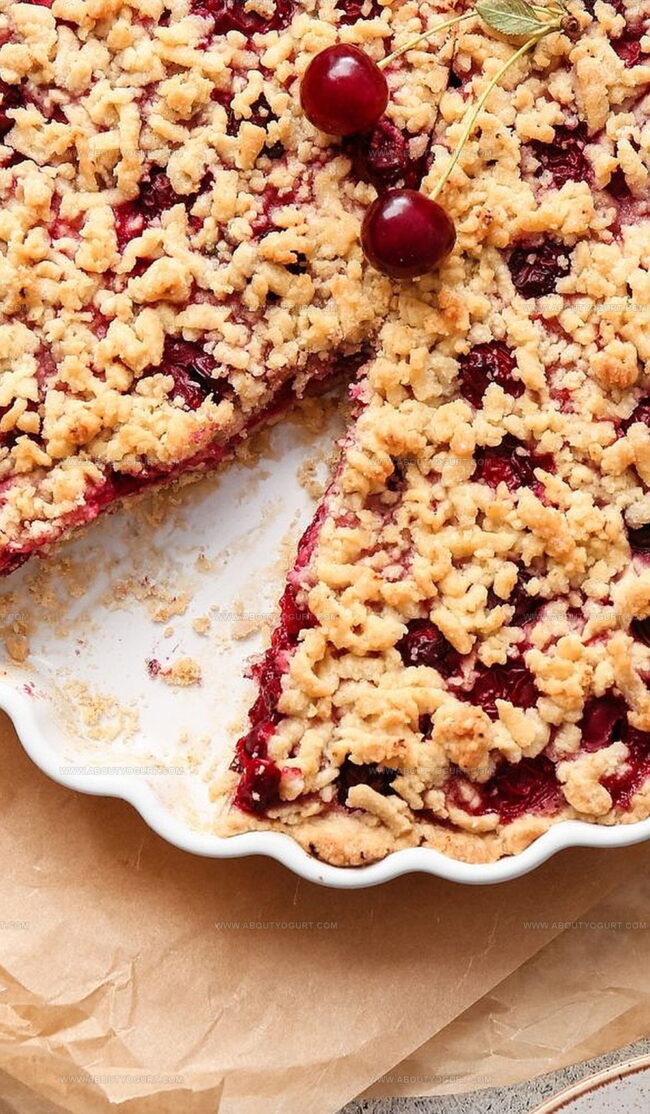
Grate the remaining dough and sprinkle it loosely over the cherry filling. Don’t press down – let the dough sit softly on top to create a rustic, beautiful lattice effect.
Step 6: Bake to Perfection
Slide the pie into a preheated oven at 350°F (180°C). Bake for 45-50 minutes until the crust turns golden brown and the filling bubbles with tempting excitement.
Step 7: Finish and Serve
Once out of the oven, dust the pie with a light snowfall of powdered sugar. Let it cool slightly so the filling sets, then slice and serve this irresistible cherry delight.
Baking Tips For Mary Berry Cherry Pie
Tasty Twists For Mary Berry Cherry Pie
Pairing Ideas For Mary Berry Cherry Pie
How To Store Mary Berry Cherry Pie Properly
Questions About Mary Berry Cherry Pie Answered
Cornflour helps thicken the cherry mixture and prevents a runny pie, ensuring a perfect consistency that holds together when you slice the pie.
Yes, frozen cherries work great! Just thaw and drain them completely before mixing with sugar and cornflour to avoid excess liquid in the pie.
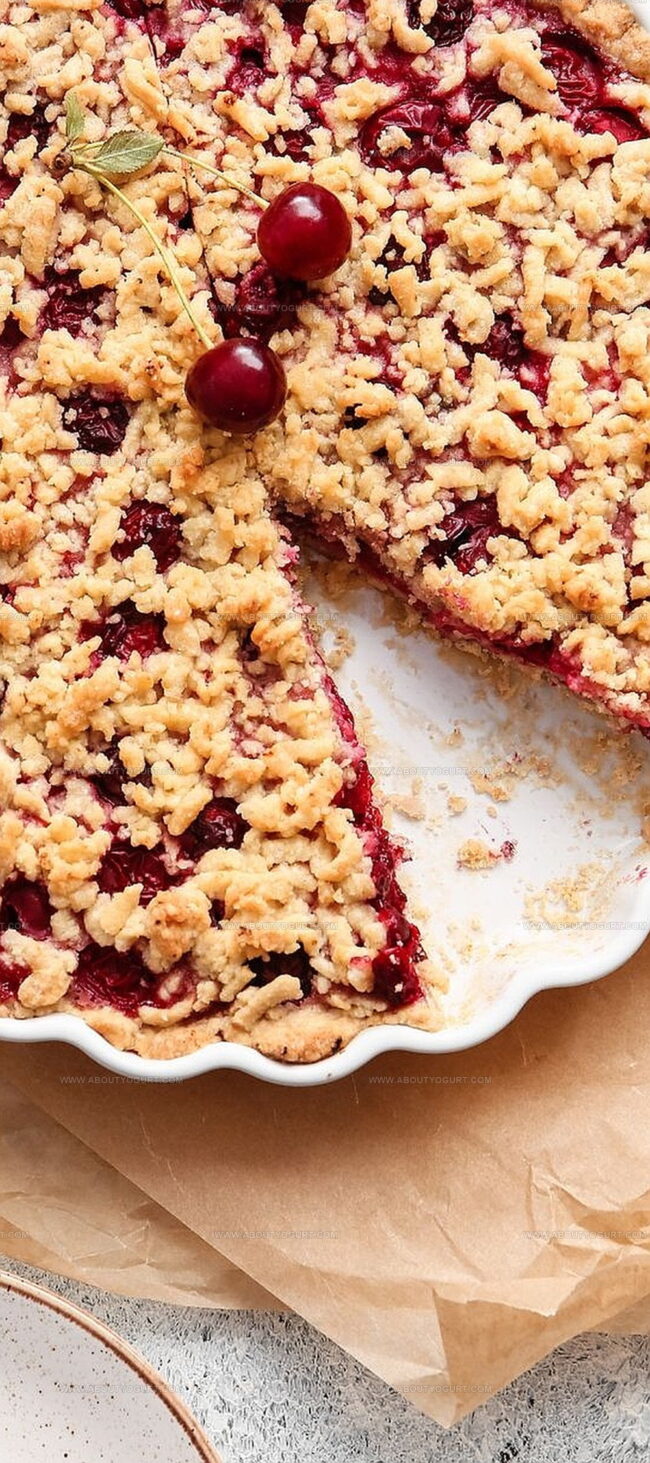
The pie is done when the top crust turns golden brown and the cherry filling is bubbling around the edges, which typically takes 45-50 minutes in the oven.
A food processor helps make the dough quickly, but you can also use a pastry cutter or your hands to mix the dough if needed.
Print
Cherry Pie Recipe
- Total Time: 75-80 mins
- Yield: 6 1x
Description
Sweet cherry pie promises a delightful journey through classic American dessert traditions. Homemade pastry envelops juicy cherries, delivering a perfect balance of buttery crust and luscious fruit that will enchant you with its irresistible charm.
Ingredients
Main Ingredients:
- 600 grams (21.2 ounces) cherries, pitted
- 250 grams (8.8 ounces) plain flour
- 175 grams (6.2 ounces) cold unsalted butter
Dry Ingredients:
- 50 grams (1.8 ounces) ground almonds
- 100 grams (3.5 ounces) caster sugar
- 2 teaspoons caster sugar
- 1 teaspoon cornflour
- Icing sugar (for dusting)
Liquid Ingredients:
- 2 egg yolks
- 3 tablespoons cream
- 1 tablespoon icy water
Instructions
- Prepare pie dough in food processor, then refrigerate for half an hour to enhance texture and firmness.
- Combine fresh cherries with cornflour and sugar, creating a glossy, sweet filling mixture.
- Carefully grate approximately half of the chilled dough directly into a pie dish, gently pressing to create an even base layer.
- Spread the cherry mixture uniformly across the prepared dough base, ensuring complete coverage.
- Delicately grate the remaining dough over the cherry filling, allowing a rustic, scattered appearance without pressing down.
- Position pie in preheated oven at 180°C (350°F), baking for 45-50 minutes until golden and bubbling.
- Remove from oven, allow brief cooling, then dust with powdered sugar and slice into delectable servings.
Notes
- Chill dough thoroughly to prevent shrinkage and ensure a flaky, tender crust that melts in your mouth.
- Use fresh or frozen cherries, ensuring they’re pitted and patted dry to prevent excess moisture from making the pie soggy.
- Add a splash of almond extract to enhance the cherry flavor and create a more complex, aromatic profile.
- Create decorative lattice top or use cookie cutters for fun shapes if you want to elevate the pie’s visual appeal and impress guests.
- Prep Time: 30 mins
- Cook Time: 45-50 mins
- Category: Desserts
- Method: Baking
- Cuisine: American
Nutrition
- Serving Size: 6
- Calories: 332 kcal
- Sugar: 20 g
- Sodium: 5 mg
- Fat: 21 g
- Saturated Fat: 11 g
- Unsaturated Fat: 9 g
- Trans Fat: 0.2 g
- Carbohydrates: 28 g
- Fiber: 3 g
- Protein: 5 g
- Cholesterol: 90 mg
Michael Thompson
Founder & Recipe Developer
Expertise
Education
Cascade Culinary Institute – Bend, OR
ServSafe Food Handler Certification – Portland, OR
Focus: Certified in core food safety and hygiene principles for both home and professional kitchens, with emphasis on ingredient handling, kitchen cleanliness, and safe preparation methods.
Mike’s kitchen journey began with a single goal: to make everyday meals feel like something worth celebrating.
After earning his Certificate in Culinary Arts from Cascade Culinary Institute, he spent years working with local farmers and small kitchens across Oregon, learning the beauty of seasonal, small-batch cooking.
Mike’s approach is simple, cook with what’s fresh, keep it approachable, and always leave room for a little creativity. When he’s not testing yogurt marinades or designing single-serving meals, you’ll find him hiking trails or hunting down the best berries at local markets.