Chicken Caesar Wrap Recipe That’s Crisp and Tasty
My latest chicken caesar wrap obsession combines crispy textures with creamy dressing in a handheld meal that feels like culinary magic.
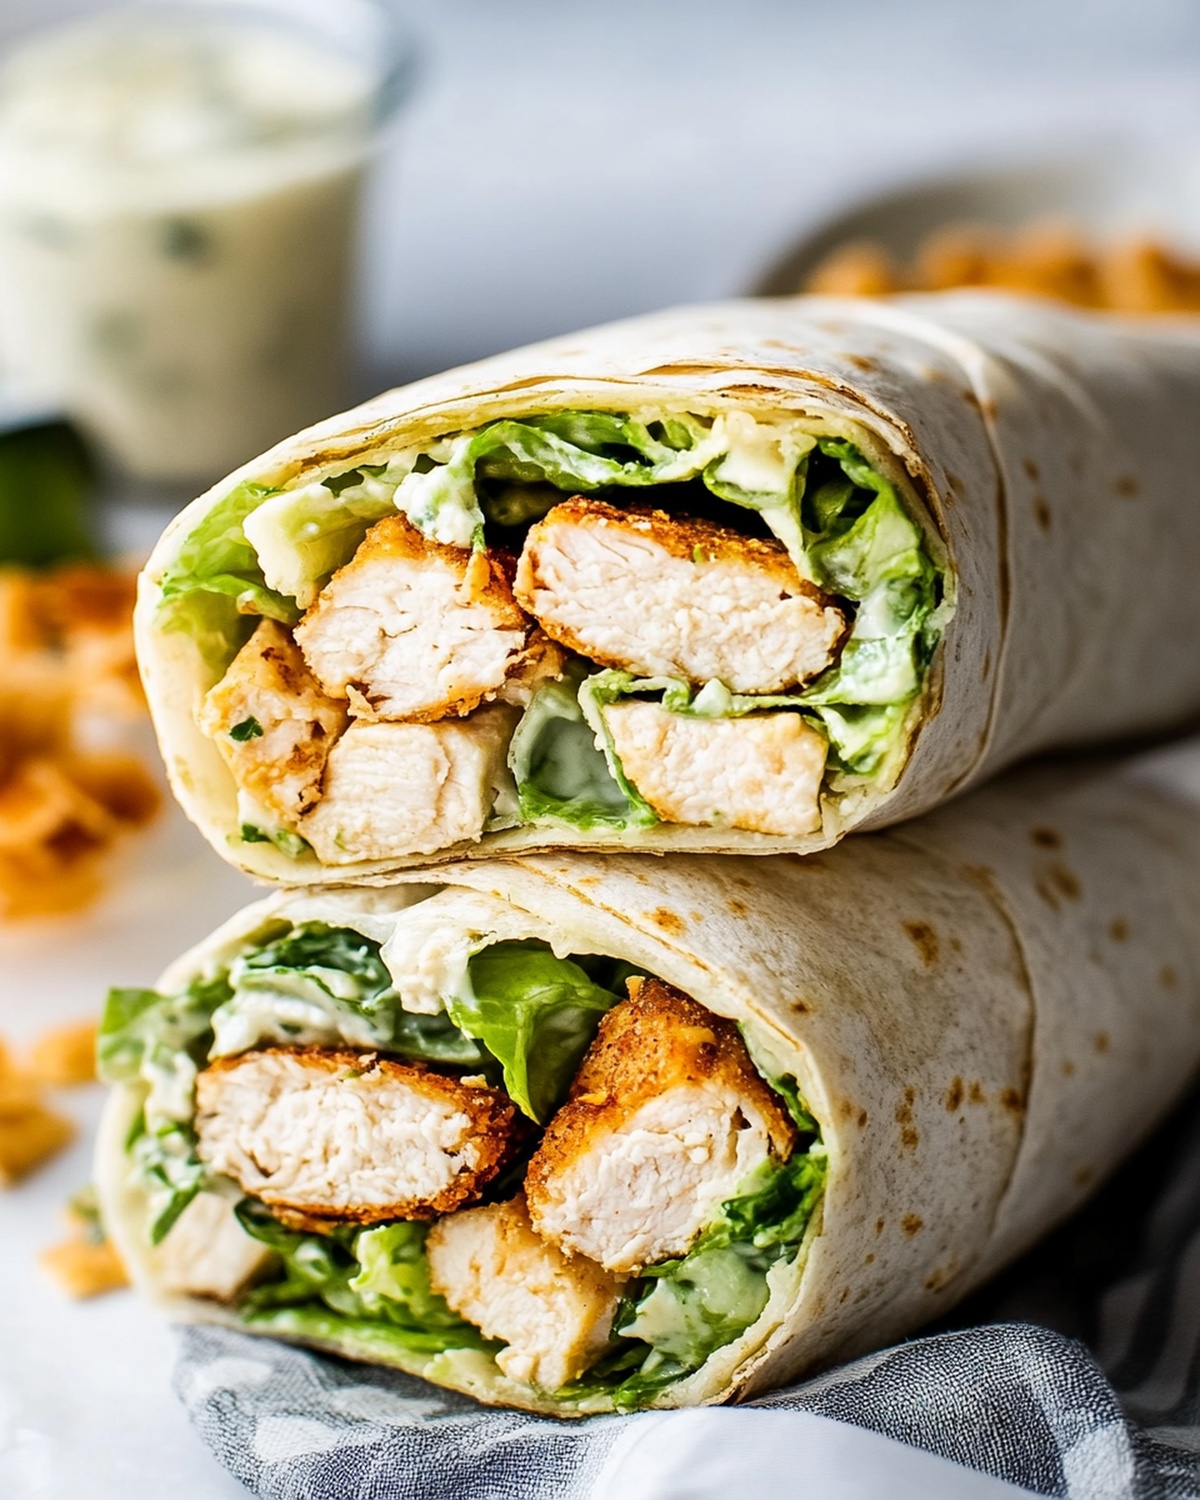
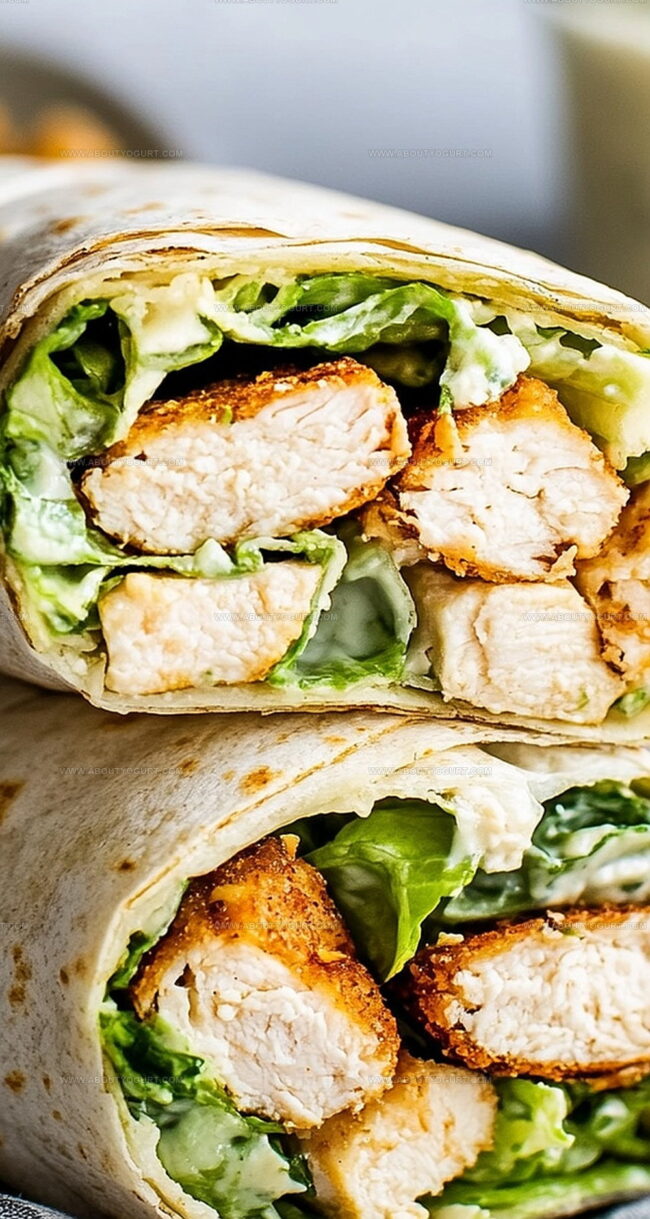
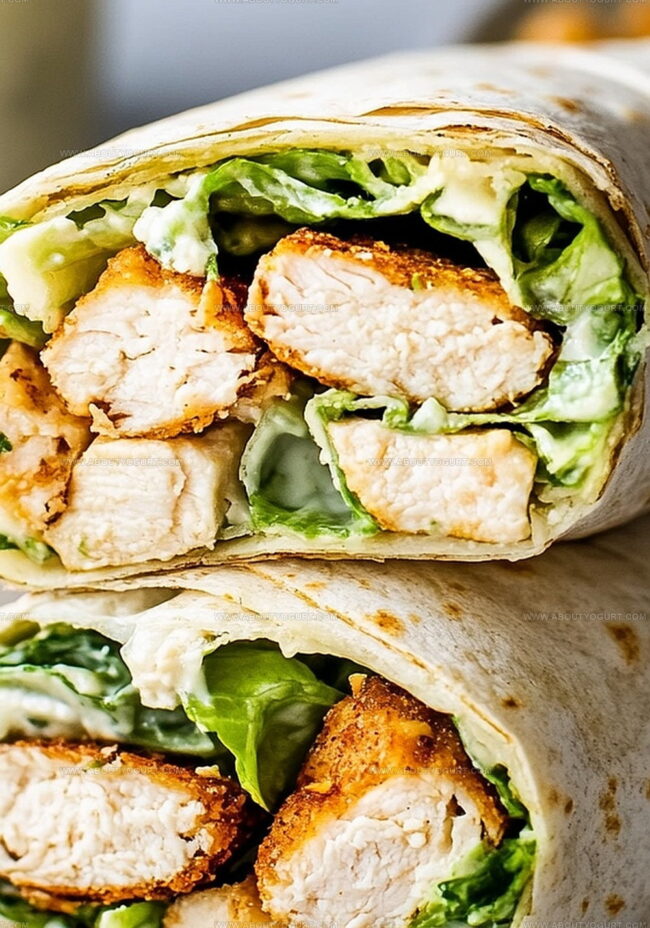
Perfectly seasoned chicken nestles against crisp romaine leaves inside a soft tortilla wrapper.
Crumbled parmesan cheese adds delightful sharpness to each delectable bite.
Homemade caesar dressing becomes the secret weapon, blending tangy and rich flavors that dance across your palate.
Quick assembly means you can whip up this lunch in minutes without sacrificing taste or satisfaction.
Restaurants charge premium prices for wraps like these, but now you can craft an incredible version right in your own kitchen.
Grab some ingredients and let’s make something delicious that’ll have everyone asking for your recipe.
Why Chicken Caesar Wrap Is Always A Win
What Goes In Chicken Caesar Wrap
Proteins:Greens and Base:Seasonings and Dressing:Preparation Extras:Steps For Making Chicken Caesar Wrap
Step 1: Whip Up Caesar Salad Filling
Grab a roomy mixing bowl and combine shredded romaine lettuce, tender diced chicken, creamy Caesar dressing, grated Parmesan cheese, and crunchy croutons. Use tongs to toss everything together until perfectly blended. Sprinkle in salt and pepper to enhance the flavors. Adjust the dressing amount for your preferred taste.
Step 2: Warm Tortillas with Finesse
Heat each tortilla in a large skillet over medium flame. Cook for 15 to 30 seconds on each side until they become soft and pliable. Transfer the warm tortillas to a plate and cover with a kitchen towel to maintain their warmth.
Step 3: Microwave Alternative for Tortillas
If you prefer, you can warm tortillas in the microwave. Place them between paper towels and heat for 15 to 30 seconds for a quick and easy method.
Step 4: Assemble Wrap Magic
Lay a warm tortilla on a clean surface. Spoon a generous portion of the Caesar salad mixture right in the center of the tortilla.
Step 5: Roll and Secure Wrap
Fold in the opposite sides of the tortilla, then roll it up tightly like a burrito. If needed, use a toothpick to keep the wrap securely closed. Repeat the process for remaining tortillas.
Step 6: Serve and Enjoy
Plate the wraps whole or slice them in half. Dive into your delicious Chicken Caesar Wrap and savor every bite!
Tips To Help With Chicken Caesar Wrap
Ways To Mix Up Chicken Caesar Wrap
What To Serve With Chicken Caesar Wrap
How To Keep Chicken Caesar Wrap Fresh
FAQs About Chicken Caesar Wrap
Use large, soft tortillas and don’t overfill. Fold the sides in first, then roll tightly. A toothpick can help keep everything secure.
Yes, prepare the filling and tortillas separately. Assemble just before serving to keep the wrap crisp and prevent soggy tortillas.
Grilled, roasted, or rotisserie chicken are perfect. Shred or chop the chicken into bite-sized pieces for easy eating.
Add hard-boiled eggs, grilled shrimp, or crispy bacon bits to boost the protein content and add extra flavor.
Print
Chicken Caesar Wrap Recipe
- Total Time: 6 minutes
- Yield: 4 1x
Description
Delightful Chicken Caesar Wraps bring restaurant-quality flavor right to home kitchens, combining crisp romaine, grilled chicken, and creamy dressing in a convenient handheld package. Packed with zesty parmesan and crunchy croutons, these wraps offer quick satisfaction for lunch or dinner seekers.
Ingredients
Main Protein:
- 1 1/2 cups chopped cooked chicken (grilled, fried, or rotisserie)
Vegetables and Dairy:
- 3 cups chopped romaine lettuce
- 1/3 cup freshly grated Parmesan cheese
- 1/2 cup homemade croutons
Condiments and Seasoning:
- 1/3 cup Caesar dressing
- Kosher salt (to taste)
- Freshly ground black pepper (to taste)
Wrap:
- 4 flour tortillas or wraps (10-inch)
Instructions
- Whisk together Caesar dressing, Parmesan cheese, salt, and pepper in a large mixing bowl to create a flavor base.
- Add chopped romaine lettuce and cooked chicken to the seasoned dressing, gently tossing until ingredients are evenly coated.
- Sprinkle croutons over the salad mixture, folding them in lightly to maintain their crunch.
- Warm tortillas in a skillet over medium heat for 15-20 seconds on each side, ensuring they become flexible without browning.
- Alternatively, microwave tortillas between paper towels for 15-20 seconds to achieve pliability.
- Place a warmed tortilla on a flat surface and center a generous portion of the Caesar salad mixture.
- Fold the bottom edge of the tortilla up and over the filling, then carefully fold in the side edges.
- Roll the wrap tightly from bottom to top, creating a compact and secure bundle.
- Optional: Secure the wrap with a toothpick to prevent unraveling.
- Slice wraps diagonally for easier handling and more appealing presentation.
- Serve immediately while ingredients remain fresh and crisp.
Notes
- Customize your wrap by grilling the chicken beforehand for a smoky flavor enhancement.
- Swap traditional tortillas with gluten-free or low-carb alternatives to accommodate dietary restrictions.
- Keep extra Caesar dressing on the side for those who enjoy more dressing or want to adjust the moisture level.
- Prep ingredients in advance and store separately to maintain crispness and prevent soggy wraps.
- Prep Time: 5 minutes
- Cook Time: 1 minute
- Category: Lunch, Dinner, Snacks
- Method: Sautéing
- Cuisine: American
Nutrition
- Serving Size: 4
- Calories: 390 kcal
- Sugar: 2 g
- Sodium: 670 mg
- Fat: 20 g
- Saturated Fat: 6 g
- Unsaturated Fat: 12 g
- Trans Fat: 0.1 g
- Carbohydrates: 28 g
- Fiber: 3 g
- Protein: 32 g
- Cholesterol: 65 mg
Michael Thompson
Founder & Recipe Developer
Expertise
Education
Cascade Culinary Institute – Bend, OR
ServSafe Food Handler Certification – Portland, OR
Focus: Certified in core food safety and hygiene principles for both home and professional kitchens, with emphasis on ingredient handling, kitchen cleanliness, and safe preparation methods.
Mike’s kitchen journey began with a single goal: to make everyday meals feel like something worth celebrating.
After earning his Certificate in Culinary Arts from Cascade Culinary Institute, he spent years working with local farmers and small kitchens across Oregon, learning the beauty of seasonal, small-batch cooking.
Mike’s approach is simple, cook with what’s fresh, keep it approachable, and always leave room for a little creativity. When he’s not testing yogurt marinades or designing single-serving meals, you’ll find him hiking trails or hunting down the best berries at local markets.