
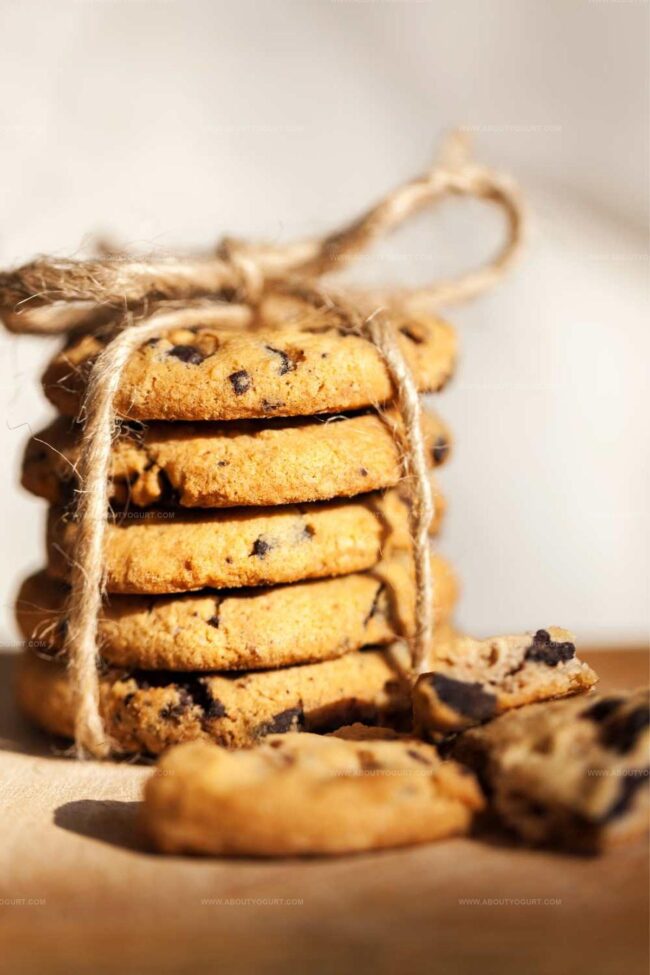
Chocolate Cookies Recipe That’s Soft and Bold
Warm chocolate cookies dance with rich, velvety comfort that melts hearts faster than butter in a skillet.
Crisp edges and soft centers promise pure indulgence for anyone seeking sweet satisfaction.
Crafting these delectable treats requires minimal ingredients and simple techniques anyone can master.
Cocoa’s deep aroma fills kitchens with nostalgic memories of childhood baking adventures.
Each batch brings delightful surprises – from unexpected texture to intense flavor profiles.
Small moments of joy emerge when you break these cookies and share their deliciousness.
Mixing, baking, and savoring become more than just steps – they’re a celebration of simple pleasures.
Let’s create magic with just a few ingredients and turn an ordinary afternoon into something extraordinary.
Why Mary Berry Chocolate Cookies Are Always A Hit

Mary Berry Chocolate Cookies Ingredient List
Main Ingredients:Chocolate Add-Ins:Baking Essentials:How To Bake Mary Berry Chocolate Cookies
Step 1: Warm Up the Oven
Crank your oven to a toasty 350°F. Grab some parchment paper and line your baking sheets, creating a perfect non-stick surface for your delicious chocolate cookies.
Step 2: Whip Up the Butter and Sugar
Grab your mixing bowl and beat the margarine and sugar together until they become light, fluffy, and look like a cloud of sweet goodness.
Step 3: Add the Eggs
Crack your eggs one by one into the butter-sugar mixture. Blend each egg completely before adding the next, creating a smooth and silky base for your cookies.
Step 4: Mix in the Flour
Gently fold the flour into your wet ingredients. Stir until everything comes together into a soft, pillowy dough that’s just begging to be turned into cookies.
Step 5: Sprinkle in Chocolate Chips
Toss in those delightful chocolate chips, stirring them throughout the dough so every bite will have a burst of chocolatey goodness.
Step 6: Shape the Cookies
Use a spoon to drop dollops of dough onto your prepared baking sheets. Give each cookie a gentle press to flatten them slightly, helping them spread into perfect circles.
Step 7: Bake to Golden Perfection
Slide the trays into the oven and bake for 15-20 minutes. Watch for that beautiful golden color and slight firmness that signals your cookies are ready.
Step 8: Cool and Enjoy
Transfer your freshly baked cookies to a wire rack. Let them cool down and become crisp on the outside while staying deliciously soft on the inside.
Helpful Tips For Mary Berry Chocolate Cookies
Fun Twists On Mary Berry Chocolate Cookies
What Goes With Mary Berry Chocolate Cookies
How To Store Mary Berry Chocolate Cookies Fresh
FAQs For Mary Berry Chocolate Cookies
Yes, you can substitute margarine with butter for a richer flavor. Just ensure the butter is softened at room temperature for easier mixing.
Chill the dough for 30 minutes before baking. This helps the cookies maintain their shape and prevents excessive spreading.
No, you can use chopped chocolate bars or chocolate chunks as alternatives. Dark, milk, or semi-sweet chocolate all work well in this recipe.
Absolutely! Chopped walnuts, pecans, or almonds can add extra crunch and flavor to your chocolate cookies. Add about 1/2 cup of chopped nuts when folding in the chocolate chips.
Print
Chocolate Cookies Recipe
- Total Time: 25-30 minutes
- Yield: 12 1x
Description
Irresistible chocolate cookies deliver pure bliss with rich cocoa and smooth melted chocolate. Homemade goodness melts in your mouth, inviting sweet comfort and pure indulgence that connects bakers to classic dessert magic.
Ingredients
Main Ingredients:
- 350 g (12.35 ounces) self-raising flour
- 2 eggs
- 225 g (7.9 ounces) caster sugar
- 100 g (3.5 ounces) chocolate chips
Supporting Ingredients:
- 175 g (6.2 ounces) soft margarine
Instructions
- Prepare the baking workspace by arranging oven racks and lining metal sheets with non-stick parchment, heating the oven to 180°C.
- Whip margarine and sugar together until achieving a light, airy texture with no visible sugar crystals.
- Incorporate eggs gradually, mixing thoroughly after each addition to ensure smooth integration.
- Gently fold flour into the creamy mixture, transforming the ingredients into a soft, cohesive dough.
- Distribute chocolate chips evenly throughout the dough, ensuring consistent chocolate distribution.
- Use a tablespoon to portion dough onto prepared baking sheets, pressing each mound slightly to create a flatter profile.
- Slide trays into preheated oven and bake for 15-20 minutes, watching for golden edges and a set center as indicators of doneness.
- Transfer cookies to wire cooling rack, allowing them to rest and firm up completely before serving or storing.
Notes
- Swap margarine for butter to enhance rich, traditional flavor and improve overall texture.
- Chill dough for 30 minutes before baking to prevent excessive spreading and create thicker, chewier cookies.
- Use high-quality dark chocolate chips for deeper, more complex chocolate taste and slightly less sweetness.
- For gluten-free version, replace wheat flour with almond or gluten-free blend, ensuring same soft cookie consistency.
- Prep Time: 10 minutes
- Cook Time: 15-20 minutes
- Category: Snacks, Desserts
- Method: Baking
- Cuisine: American
Nutrition
- Serving Size: 12
- Calories: 232 kcal
- Sugar: 15 g
- Sodium: 60 mg
- Fat: 11 g
- Saturated Fat: 2 g
- Unsaturated Fat: 7 g
- Trans Fat: 0.1 g
- Carbohydrates: 29 g
- Fiber: 1 g
- Protein: 3 g
- Cholesterol: 25 mg
Michael Thompson
Founder & Recipe Developer
Expertise
Education
Cascade Culinary Institute – Bend, OR
ServSafe Food Handler Certification – Portland, OR
Focus: Certified in core food safety and hygiene principles for both home and professional kitchens, with emphasis on ingredient handling, kitchen cleanliness, and safe preparation methods.
Mike’s kitchen journey began with a single goal: to make everyday meals feel like something worth celebrating.
After earning his Certificate in Culinary Arts from Cascade Culinary Institute, he spent years working with local farmers and small kitchens across Oregon, learning the beauty of seasonal, small-batch cooking.
Mike’s approach is simple, cook with what’s fresh, keep it approachable, and always leave room for a little creativity. When he’s not testing yogurt marinades or designing single-serving meals, you’ll find him hiking trails or hunting down the best berries at local markets.