
Chocolate Kiss Cookies Recipe with Soft Chocolate Flavor
Sweet memories dance through my chocolate kiss cookies, a delectable treat that whispers nostalgia with every bite.
Delicate crumbles melt against warm chocolate drops, creating magic on your plate.
Childhood comfort wraps around these simple yet irresistible morsels.
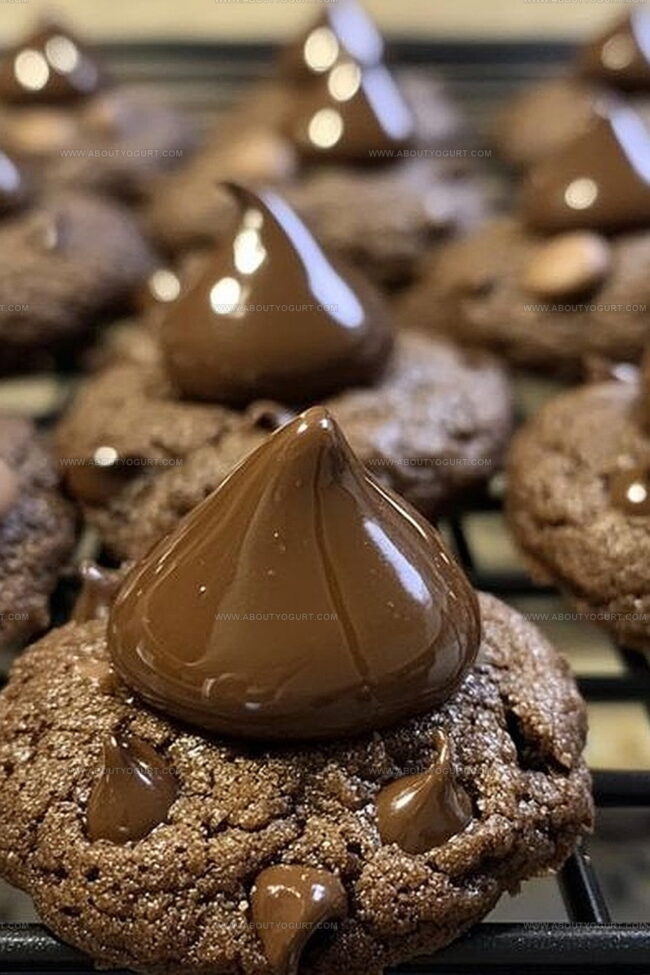
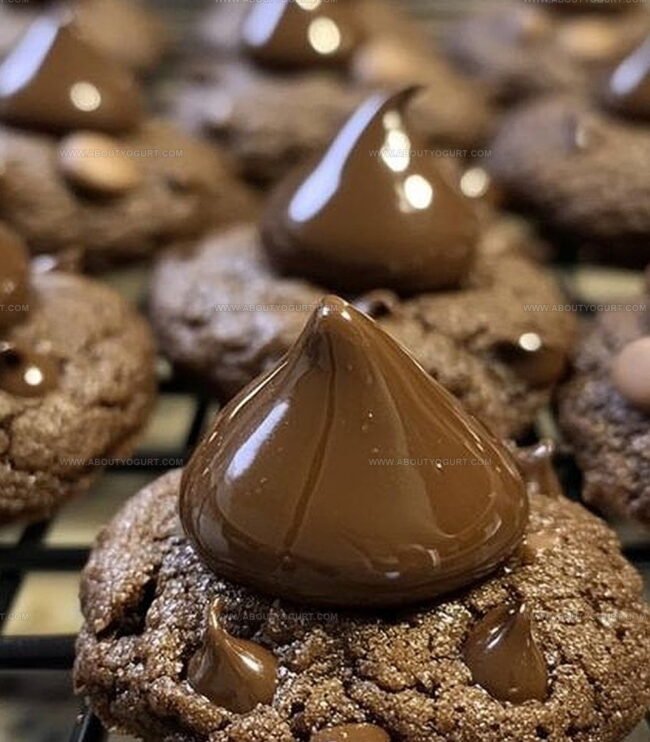
Soft, pillowy cookie bases cradle glossy chocolate kisses in a perfect embrace.
Grandma’s kitchen secrets infuse each carefully crafted morsel with love and warmth.
Baking these cookies connects generations through shared sweetness and joy.
Craving a moment of pure deliciousness?
These little treasures await your loving touch.
Why Chocolate Kiss Cookies Are an Irresistible Delight
Ingredients for Chocolate Kiss Cookies
Primary Ingredients:Dry Ingredients:Flavor Enhancers:How to Bake Chocolate Kiss Cookies to Perfection
Step 1: Warm Up The Oven
Crank your oven to a toasty 350F (175C), getting it ready for some delicious cookie magic.
Step 2: Whip Up The Butter Blend
In a spacious mixing bowl, blend these ingredients until they’re silky smooth:Step 3: Introduce Eggs And Flavor
Gently incorporate eggs one by one, then stir in vanilla extract for a delightful aroma.
Step 4: Create The Dry Mixture
In a separate bowl, combine these dry ingredients:Slowly fold the dry ingredients into the wet mixture until well combined.
Step 5: Shape The Cookie Dough
Roll the dough into adorable little balls, placing them on ungreased baking sheets with plenty of space between each one.
Step 6: Bake To Golden Perfection
Pop the cookies into the preheated oven and bake for 8-10 minutes until the edges turn a beautiful light golden color.
Step 7: Add Chocolate Kisses
Right after removing from the oven, press a chocolate kiss into the center of each warm cookie.
Step 8: Cool And Enjoy
Let the cookies rest on the baking sheet for a few minutes, then transfer to a wire rack to cool completely before devouring.
Expert Tips for Chocolate Kiss Cookies
Tasty Variations of Chocolate Kiss Cookies to Explore
Pairing Suggestions for Chocolate Kiss Cookies
Proper Storage for Chocolate Kiss Cookies
FAQs for Chocolate Kiss Cookies
The combination of butter, sugars, vanilla, and chocolate kisses creates a perfect blend of sweet, rich flavors that make these cookies irresistible.
Yes, you can experiment with various flavors like caramel, dark chocolate, or mint-filled kisses to create unique variations of the classic cookie.
Press the kiss into the warm cookie immediately after baking, but be gentle to maintain its shape. The residual heat will slightly soften the chocolate without completely melting it.
Absolutely! These chocolate kiss cookies are perfect for holiday gatherings, cookie exchanges, and gift-giving, especially during Christmas and Valentine’s Day.
Print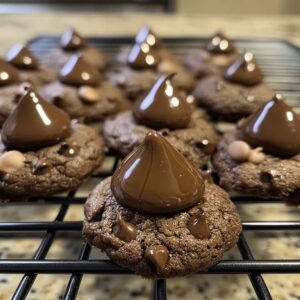
Chocolate Kiss Cookies Recipe
- Total Time: 23-25 minutes
- Yield: 24 1x
Description
Chocolate kiss cookies bring delightful comfort with their irresistible blend of rich chocolate and buttery sweetness. Delicate cookie rounds crowned with smooth chocolate kisses promise a perfect treat that melts hearts and satisfies sweet cravings.
Ingredients
Main Ingredients:
- 3 cups all-purpose flour
- 2 large eggs
- 1 cup unsalted butter, softened
Sugars:
- 1 cup granulated sugar
- 1 cup packed brown sugar
Flavor and Finishing Ingredients:
- 2 teaspoons vanilla extract
- 1 teaspoon baking soda
- 1/2 teaspoon salt
- 1 cup chocolate kisses, unwrapped
Instructions
- Prepare the kitchen workspace and gather all necessary equipment for precise cookie crafting.
- Blend butter and sugars using electric mixer until achieving a creamy, uniform consistency with no visible sugar granules.
- Incorporate eggs individually, ensuring complete integration after each addition, then mix in vanilla extract for enhanced flavor profile.
- Sift together dry ingredients in a separate vessel to eliminate potential lumps and ensure even distribution.
- Gently fold dry mixture into wet ingredients, mixing until a cohesive dough forms without overmixing.
- Shape dough into uniform spheres approximately 1-inch in diameter, maintaining consistent size for even baking.
- Arrange cookie balls on ungreased baking sheet, spacing them adequately to prevent merging during baking.
- Slide tray into preheated oven at 350°F and bake for 8-10 minutes until edges display a delicate golden hue.
- Immediately upon removal, gently press a chocolate kiss into the center of each warm cookie, allowing residual heat to slightly melt chocolate base.
- Transfer cookies to wire cooling rack, permitting them to stabilize and chocolate to set for optimal texture and presentation.
Notes
- Ensure butter is genuinely softened at room temperature for smooth, creamy cookie dough consistency.
- Chill the dough for 30 minutes before rolling to prevent excessive spreading during baking.
- Press chocolate kisses gently into warm cookies immediately after baking to create a perfect chocolate center that slightly melts.
- For gluten-free adaptation, substitute all-purpose flour with a 1:1 gluten-free baking blend to maintain cookie texture.
- Prep Time: 15 minutes
- Cook Time: 8-10 minutes
- Category: Snacks, Desserts
- Method: Baking
- Cuisine: American
Nutrition
- Serving Size: 24
- Calories: 181
- Sugar: 13 g
- Sodium: 98 mg
- Fat: 9 g
- Saturated Fat: 5 g
- Unsaturated Fat: 4 g
- Trans Fat: 0.2 g
- Carbohydrates: 26 g
- Fiber: 1 g
- Protein: 2 g
- Cholesterol: 22 mg
Sarah Mitchell
Content Specialist & Home Cooking Enthusiast
Expertise
Education
Asheville-Buncombe Technical Community College – Asheville, NC
American Fitness Professionals & Associates – Online
Sarah’s passion for food was sparked by weekend trips to the farmers’ market and her belief that healthy meals should never feel boring.
After earning her culinary diploma and becoming a certified Nutrition and Wellness Consultant, she set out to help others fall in love with simple, wholesome cooking.
She’s all about celebrating the small wins in the kitchen: a colorful yogurt bowl, a new twist on a classic dish, or a homemade snack that feels just a little extra special.
Outside the kitchen, Sarah is a gardener at heart, a yoga enthusiast, and a believer that fresh herbs can brighten any meal, and any day.