Magical Christmas Ooey Gooey Butter Cookies Recipe
Holiday magic sparkles through these christmas ooey gooey butter cookies that melt faster than snowflakes.
Sweet aromas drift from kitchen counters, promising delectable moments of pure joy.
Soft and decadent, these treats capture festive cheer in every delightful bite.
Powdered sugar cascades like gentle winter whispers across golden surfaces.
Creamy textures promise indulgence that makes spirits bright and taste buds dance.
Perfectly simple yet wonderfully rich, these cookies become instant celebrations of seasonal happiness.
Come savor a recipe that turns ordinary afternoons into extraordinary memories.
Why Christmas Ooey Gooey Butter Cookies Are So Irresistible

Ingredients for Christmas Ooey Gooey Butter Cookies
Base Ingredients:Dry Ingredients:Decorative Ingredient:How to Bake Ooey Gooey Butter Cookies
Step 1: Warm Up The Oven
Fire up your oven to 350F or 175C, ensuring it’s perfectly ready for cookie magic.
Step 2: Create Creamy Butter Base
In a large mixing bowl, blend butter and cream cheese until they become smooth and silky, creating a luxurious foundation for your cookies.
Step 3: Introduce Egg And Flavor
Add the egg and vanilla, whisking them into the creamy mixture until fully incorporated and beautifully combined.
Step 4: Blend Cake Mix
Pour in the cake mix and stir thoroughly, transforming the mixture into a delightful cookie dough that’s ready for shaping.
Step 5: Shape And Dust Cookies
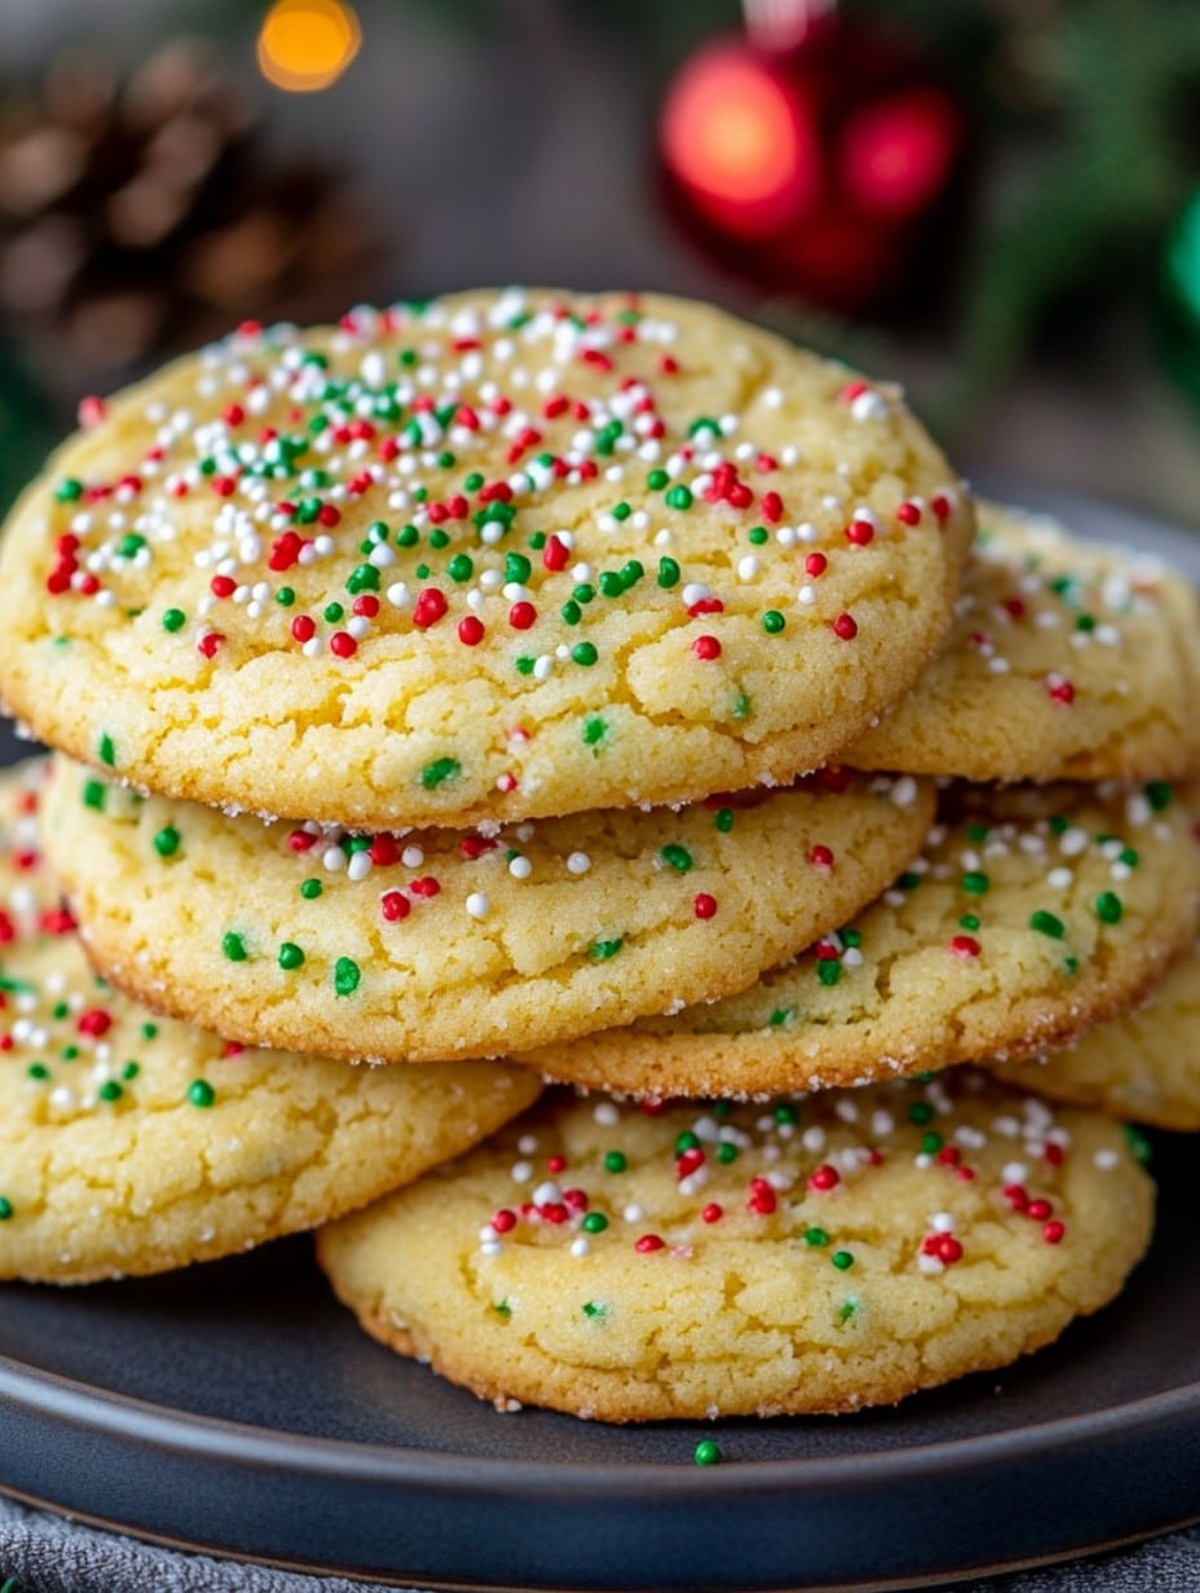
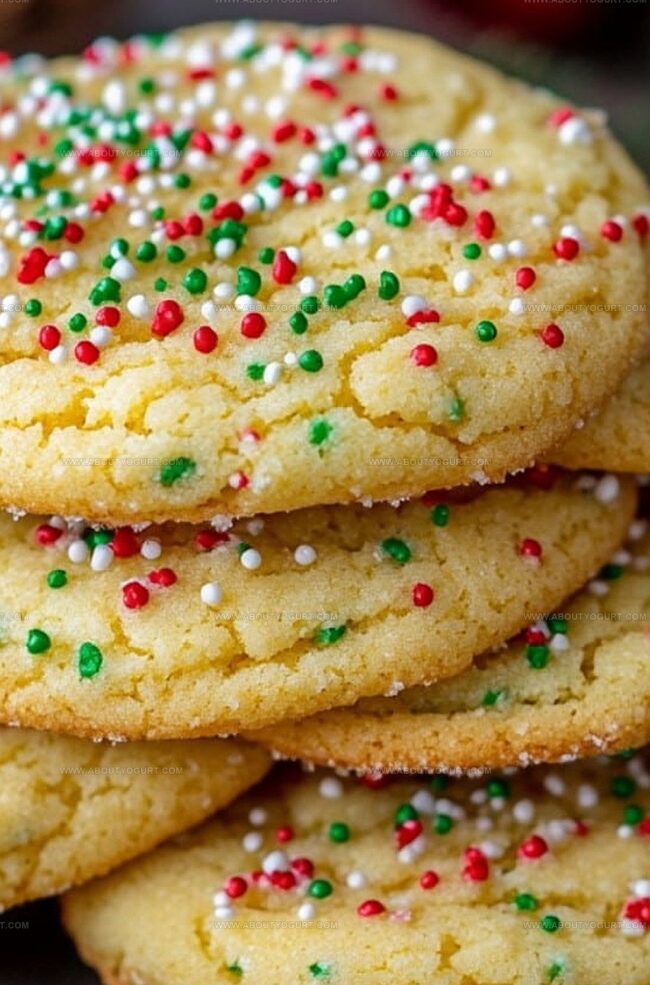
Roll the dough into small round balls, then generously coat each one in powdered sugar for a sweet, delicate exterior.
Step 6: Prepare Baking Surface
Place the sugar-coated dough balls onto ungreased cookie sheets, gently pressing down with the bottom of a glass to create a slightly flattened shape.
Step 7: Add Festive Sprinkles
If desired, sprinkle colorful decorations across the cookie tops for extra holiday cheer.
Step 8: Bake To Perfection
Slide the cookie sheets into the preheated oven and bake for 10 to 12 minutes. Watch carefully to avoid overbaking.
Step 9: Cool And Enjoy
Let the cookies rest on the baking sheet for 5 minutes, then transfer to a wire rack to cool completely before indulging in their soft, buttery goodness.
Pro Tips for Soft and Chewy Butter Cookies
Variations for Festive Butter Cookies
Pairing Suggestions for Butter Cookies
Storage Tips for Ooey Gooey Butter Cookies
FAQs on Christmas Ooey Gooey Butter Cookies
Yes, you can swap the cake mix flavor to create variety. Try chocolate, yellow, or funfetti cake mix for different taste experiences.
Chill the dough for 30 minutes before rolling and baking. This helps the cookies maintain their shape and prevents excessive spreading.
Cream cheese is crucial for creating the soft, rich texture of these butter cookies. It helps make them extra ooey and gooey.
Absolutely! You can prepare the dough in advance and refrigerate for up to 3 days before baking, or freeze the dough balls for up to 2 months.
Print
Christmas Ooey Gooey Butter Cookies Recipe
- Total Time: 25-27 minutes
- Yield: 36 1x
Description
Festive Christmas ooey gooey butter cookies melt hearts with their rich, buttery goodness. Warm holiday spices and powdered sugar create a delightful treat you’ll savor with each delectable bite.
Ingredients
Main Ingredients:
- 1 (18.25 ounces) yellow cake mix
- 1 (8 ounces) package cream cheese, softened
- 1/2 cup unsalted butter, softened
Binding Ingredients:
- 1 egg
- 1 teaspoon vanilla extract
Finishing Ingredients:
- 1/2 cup powdered sugar
- Sprinkles (optional)
Instructions
- Whip softened butter and cream cheese in a large mixing bowl until velvety and uniform in texture.
- Incorporate egg and vanilla extract, blending thoroughly until mixture becomes smooth and creamy.
- Gradually fold cake mix into the wet ingredients, stirring until a consistent dough forms without any dry pockets.
- Shape dough into compact, uniform spheres approximately 1 inch in diameter.
- Generously coat each dough ball by rolling in powdered sugar, ensuring complete coverage.
- Arrange cookies on an ungreased baking sheet, leaving sufficient space between each piece.
- Gently press down on each cookie using the flat bottom of a glass to create a slight flattened surface.
- Optional: Sprinkle festive decorative elements over the cookies for additional visual appeal.
- Position baking sheet in a preheated 350°F (175°C) oven and bake for 10-12 minutes, watching carefully to prevent over-browning.
- Remove from oven and let cookies rest on the baking sheet for 5 minutes to stabilize their structure.
- Transfer cookies to a wire cooling rack, allowing them to reach room temperature and achieve optimal texture.
Notes
- Softening butter and cream cheese at room temperature ensures smoother mixing and better cookie texture.
- Use white cake mix for classic flavor, or experiment with different cake mix varieties like yellow or red velvet for unique twists.
- For gluten-free option, swap regular cake mix with gluten-free cake mix and check ingredient compatibility.
- Roll cookies generously in powdered sugar for extra sweetness and festive snow-like appearance, creating a delightful Christmas cookie effect.
- Prep Time: 15 minutes
- Cook Time: 10-12 minutes
- Category: Desserts, Snacks
- Method: Baking
- Cuisine: American
Nutrition
- Serving Size: 36
- Calories: 164
- Sugar: 11 g
- Sodium: 133 mg
- Fat: 8 g
- Saturated Fat: 5 g
- Unsaturated Fat: 3 g
- Trans Fat: 0.2 g
- Carbohydrates: 22 g
- Fiber: 0.4 g
- Protein: 2 g
- Cholesterol: 28 mg
Michael Thompson
Founder & Recipe Developer
Expertise
Education
Cascade Culinary Institute – Bend, OR
ServSafe Food Handler Certification – Portland, OR
Focus: Certified in core food safety and hygiene principles for both home and professional kitchens, with emphasis on ingredient handling, kitchen cleanliness, and safe preparation methods.
Mike’s kitchen journey began with a single goal: to make everyday meals feel like something worth celebrating.
After earning his Certificate in Culinary Arts from Cascade Culinary Institute, he spent years working with local farmers and small kitchens across Oregon, learning the beauty of seasonal, small-batch cooking.
Mike’s approach is simple, cook with what’s fresh, keep it approachable, and always leave room for a little creativity. When he’s not testing yogurt marinades or designing single-serving meals, you’ll find him hiking trails or hunting down the best berries at local markets.