Classic Deviled Eggs Recipe for Every Kind of Party
Creamy, zesty classic deviled eggs capture the essence of comforting appetizers that everyone adores.
Memories of potlucks and summer gatherings flood my mind when I think about these delightful bites.
Smooth egg yolks blended with tangy mustard and rich mayonnaise create a perfect harmony of flavors.
Grandmothers and home cooks have long treasured this simple yet irresistible dish.
Each bite promises a delectable blend of creamy textures and savory notes that dance on your palate.
Simple ingredients come together to make something truly magical.
You won’t be able to resist these delicious morsels that are sure to disappear quickly at any gathering.
Why Classic Deviled Eggs Never Go Out Of Style
What You’ll Use For Classic Deviled Eggs
Egg Base:Filling Ingredients:Seasoning and Garnish:Optional Flavor Enhancers:How To Prepare Classic Deviled Eggs Easily
Step 1: Prepare Egg Whites
Carefully remove the shells from hard-boiled eggs by gently cracking and peeling. Slice each egg precisely in half lengthwise using a sharp knife. Gently scoop out the yellow yolks and transfer them to a mixing bowl. Arrange the empty white egg halves on a clean serving platter.
Step 2: Create Creamy Filling
Thoroughly mash the egg yolks using a fork or potato masher. Add the following ingredients to the bowl:Step 3: Blend Filling Mixture
Use a hand mixer or whisk to blend ingredients until the mixture becomes smooth and creamy. Taste the filling and adjust seasonings as needed. You can add extra mayo, salt, or pickle juice to enhance the flavor profile.
Step 4: Fill Egg Whites
Transfer the yolk mixture into the egg white halves using a spoon or piping bag. Ensure each egg half is evenly and generously filled.
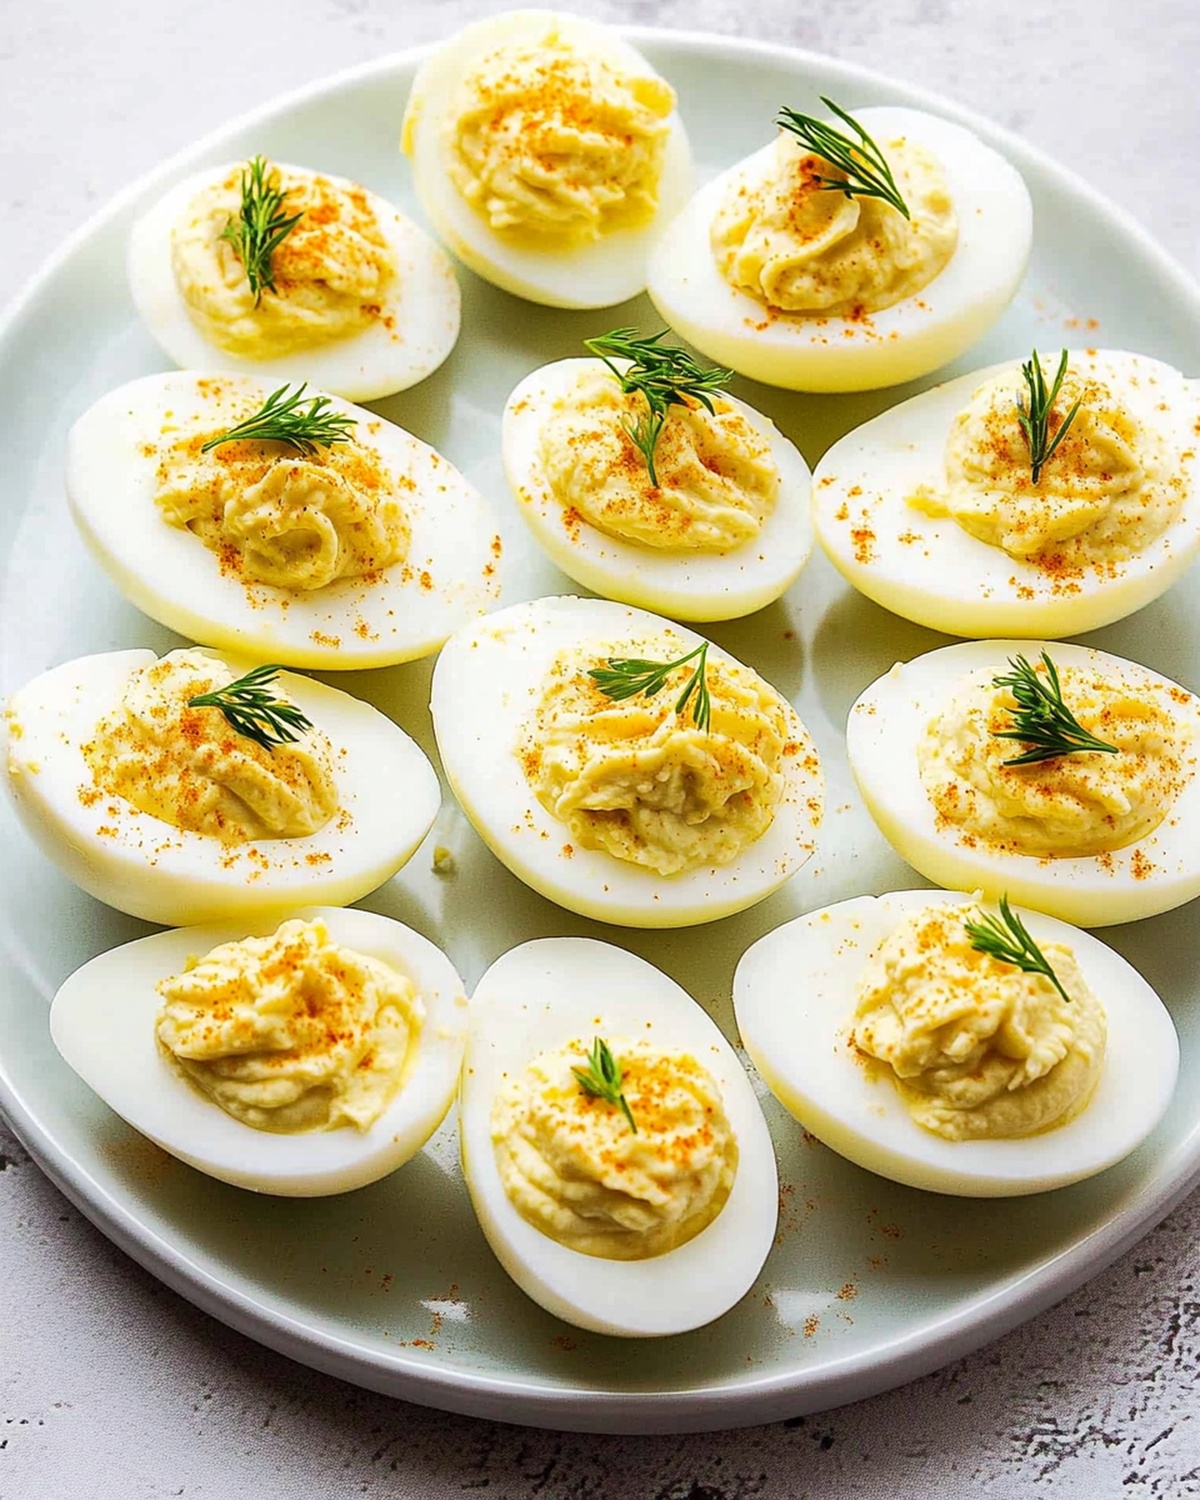
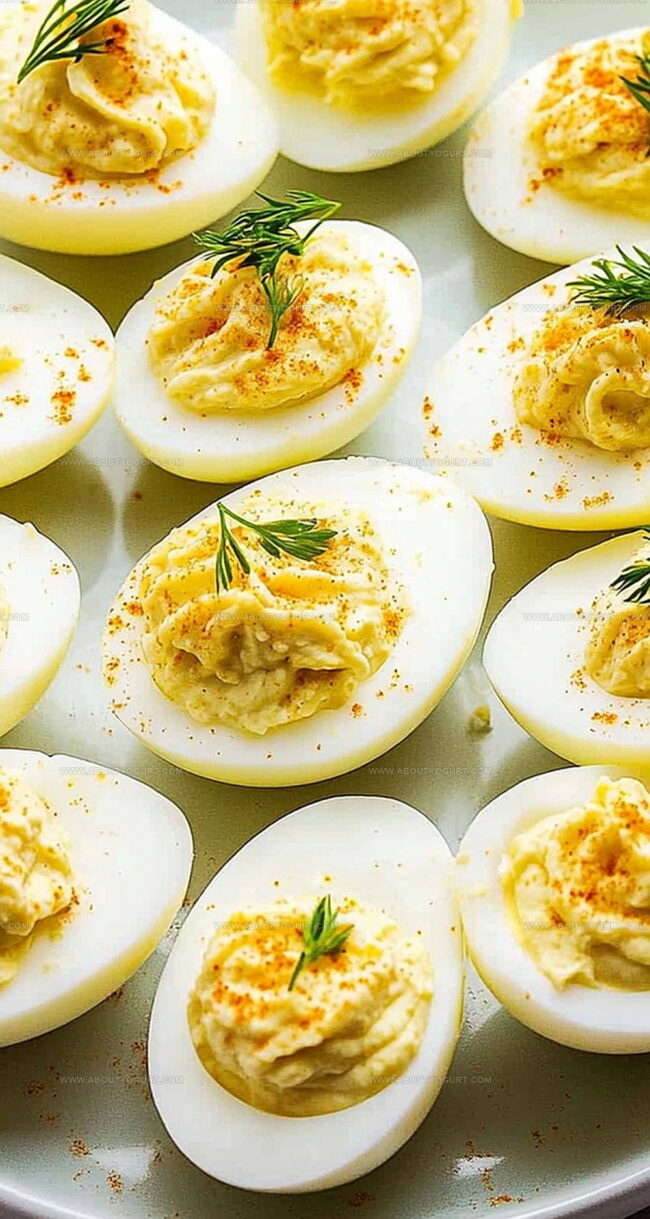
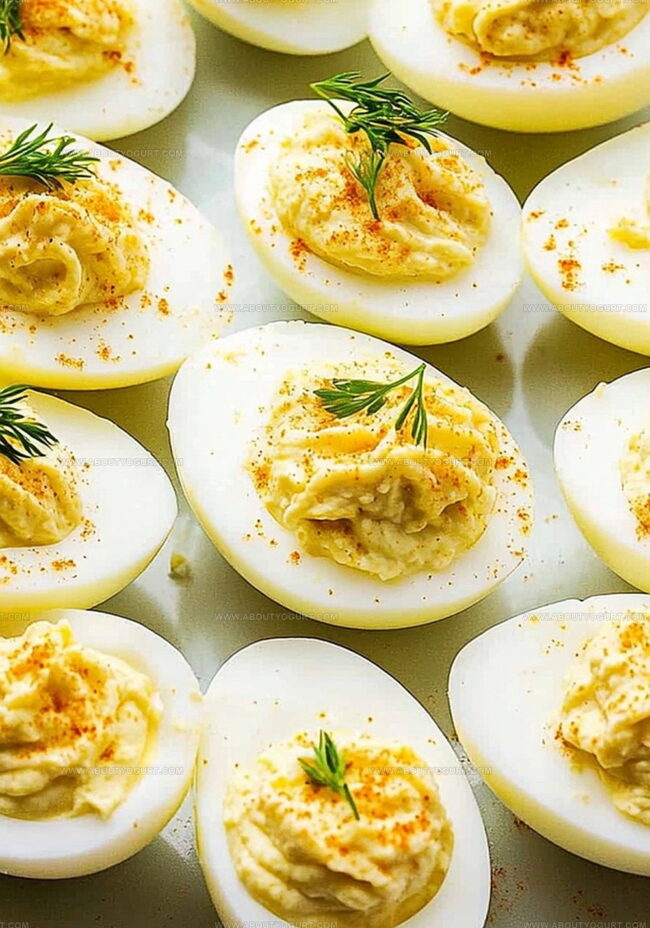
Step 5: Garnish and Serve
Sprinkle paprika over the filled eggs for color and added flavor. Optionally, garnish with fresh dill leaves or chopped chives. Serve immediately or refrigerate until ready to enjoy.
Handy Tips For Classic Deviled Eggs
Different Ways To Make Classic Deviled Eggs
What Pairs Well With Classic Deviled Eggs
How To Keep Classic Deviled Eggs Fresh
Questions About Classic Deviled Eggs Answered
The filling might be too thin because of excess mayo or liquid. Start with less mayonnaise and gradually add more until you reach the desired consistency. Avoid adding too much vinegar or pickle juice.
Yes, prepare the filling and egg whites separately and store them in the refrigerator. Fill the eggs just before serving to maintain their texture and prevent sogginess.
Use eggs that are a few days old, not fresh. Gently tap the egg on a hard surface and roll it to crack the shell. Peel under cool running water to help separate the shell more easily.
Print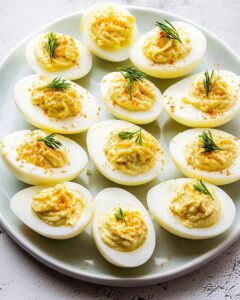
Classic Deviled Eggs Recipe
- Total Time: 15 minutes
- Yield: 6 1x
Description
Creamy, zesty classic deviled eggs dance with tangy mayonnaise and mustard, creating a nostalgic appetizer perfect for gatherings. Crisp chives and paprika sprinkle playful color, inviting guests to savor these irresistible bite-sized delights you’ll crave again and again.
Ingredients
Main Ingredients:
- 10–12 hard-boiled eggs
- 1/4 cup + 2 tablespoons (90 milliliters) mayonnaise
- 1/2 teaspoon (2.5 milliliters) Dijon mustard
- 1 teaspoon (5 milliliters) yellow mustard
Seasonings:
- 1/4 – 1/2 teaspoon (1.25 – 2.5 grams) kosher salt
- Pinch of ground black pepper
- 1/2 teaspoon (2.5 milliliters) white vinegar
- 3–4 teaspoons (15–20 milliliters) bread & butter pickle juice
Garnish:
- Paprika
- Dill leaves
- Chives
Instructions
- Carefully extract the hard-boiled egg yolks from their whites, placing yolks in a mixing bowl and positioning egg white halves on a serving platter.
- Create a smooth, rich filling by thoroughly blending egg yolks with mayonnaise, incorporating various mustards, salt, black pepper, and white vinegar.
- Use a hand mixer or whisk to transform the mixture into a velvety, consistent texture, ensuring no lumps remain.
- Taste the creamy filling and fine-tune the seasoning, potentially adding extra mayo, salt, or a splash of pickle juice to enhance the flavor profile.
- Transfer the yolk mixture into the egg white cavities using either a spoon or piping bag for a precise, elegant presentation.
- Enhance the visual appeal and flavor by dusting the filled eggs with a light sprinkle of paprika and delicately garnishing with fresh dill or chopped chives.
- For optimal taste and texture, serve immediately or refrigerate until ready to present, keeping the eggs chilled to maintain their fresh appearance and flavor.
Notes
- Master the egg boiling technique by starting eggs in cold water, which prevents cracking and ensures even cooking.
- Peel eggs easily by gently rolling them on a hard surface and removing the shell under running cool water.
- Create ultra-smooth filling by using a hand mixer or food processor instead of manually mashing, which eliminates lumps and creates a silky texture.
- Customize flavor profiles by experimenting with alternative mustards, adding hot sauce, or incorporating finely chopped herbs like tarragon or parsley for unexpected depth.
- Prep Time: 15 minutes
- Cook Time: 0 minutes
- Category: Appetizer, Snacks
- Method: Boiling
- Cuisine: American
Nutrition
- Serving Size: 6
- Calories: 134 kcal
- Sugar: 0.6 g
- Sodium: 260 mg
- Fat: 11 g
- Saturated Fat: 2.4 g
- Unsaturated Fat: 7.8 g
- Trans Fat: 0 g
- Carbohydrates: 1.3 g
- Fiber: 0.1 g
- Protein: 5.3 g
- Cholesterol: 164 mg
Michael Thompson
Founder & Recipe Developer
Expertise
Education
Cascade Culinary Institute – Bend, OR
ServSafe Food Handler Certification – Portland, OR
Focus: Certified in core food safety and hygiene principles for both home and professional kitchens, with emphasis on ingredient handling, kitchen cleanliness, and safe preparation methods.
Mike’s kitchen journey began with a single goal: to make everyday meals feel like something worth celebrating.
After earning his Certificate in Culinary Arts from Cascade Culinary Institute, he spent years working with local farmers and small kitchens across Oregon, learning the beauty of seasonal, small-batch cooking.
Mike’s approach is simple, cook with what’s fresh, keep it approachable, and always leave room for a little creativity. When he’s not testing yogurt marinades or designing single-serving meals, you’ll find him hiking trails or hunting down the best berries at local markets.