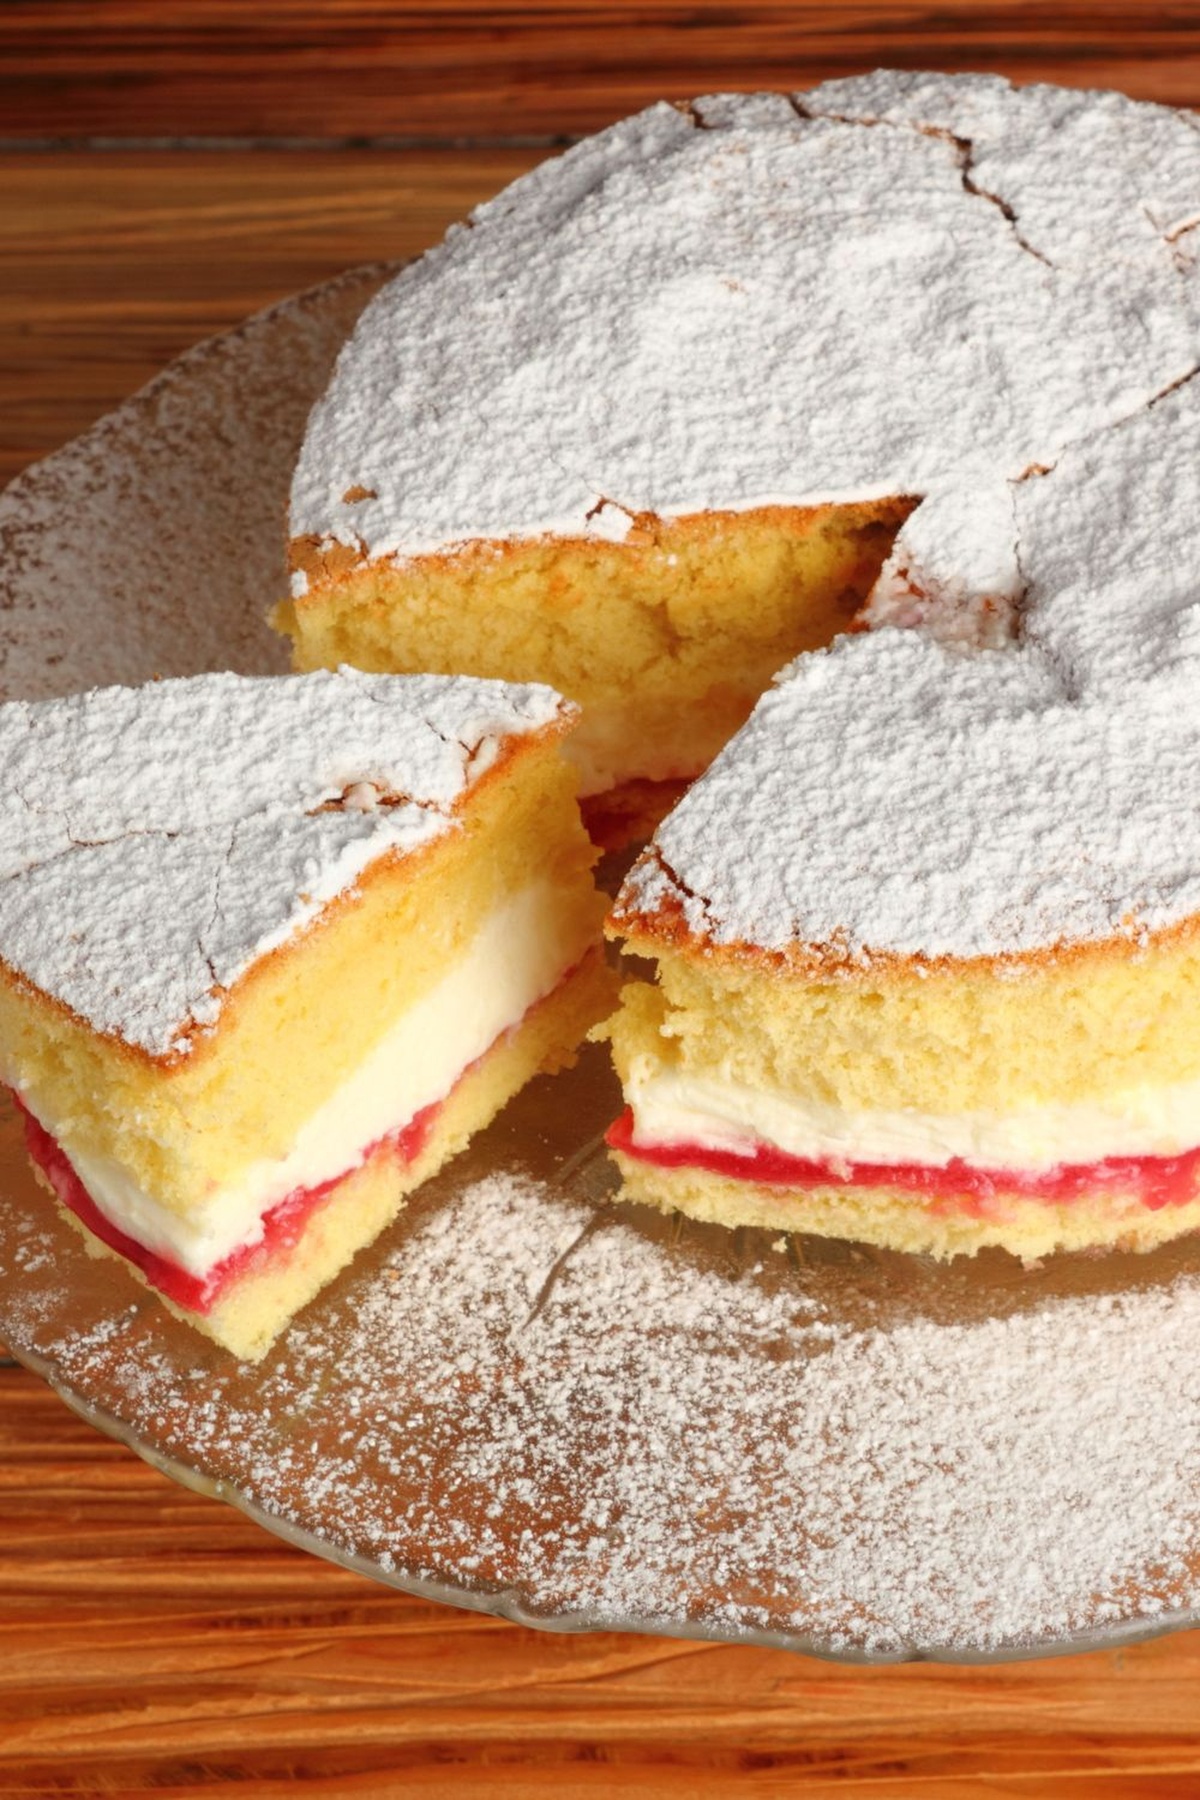
Coconut and Raspberry Cake Recipe That’s Soft and Sweet
Baking a delightful coconut and raspberry cake brings pure joy to any kitchen adventure.
Sweet aromas will soon fill your space with warmth and comfort.
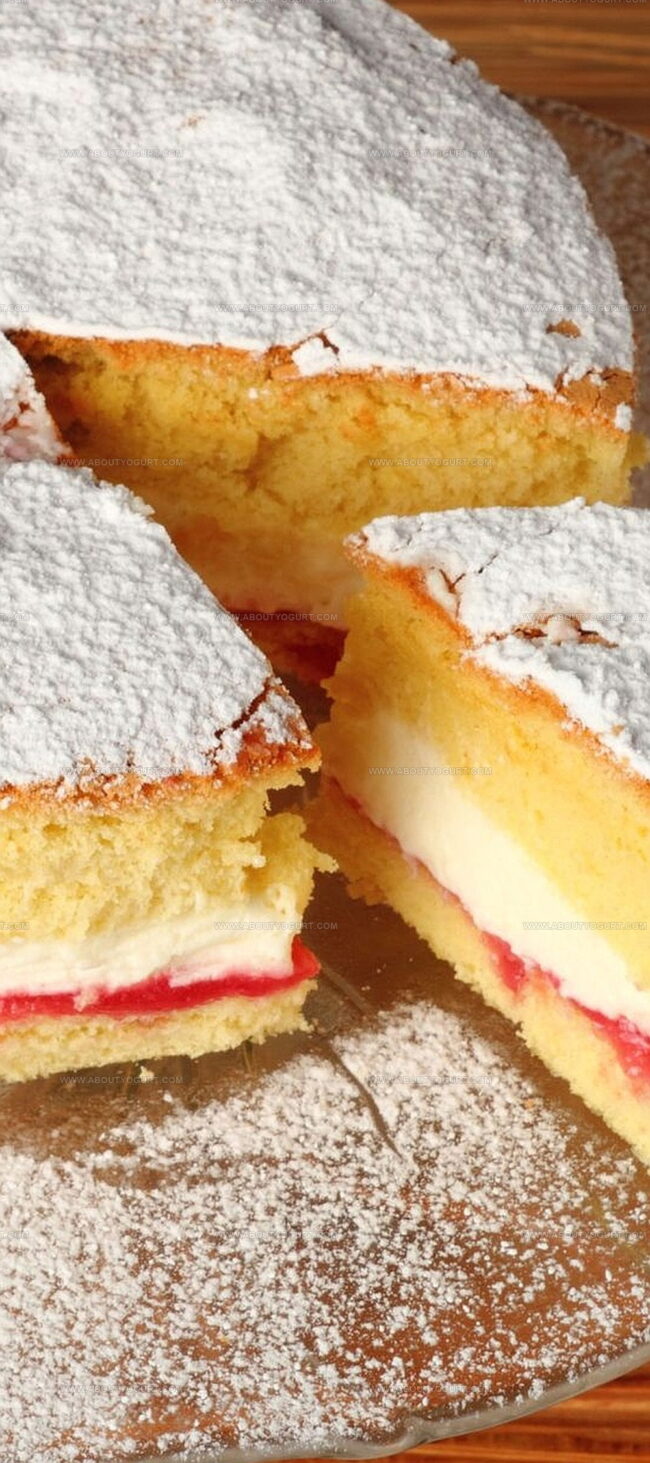
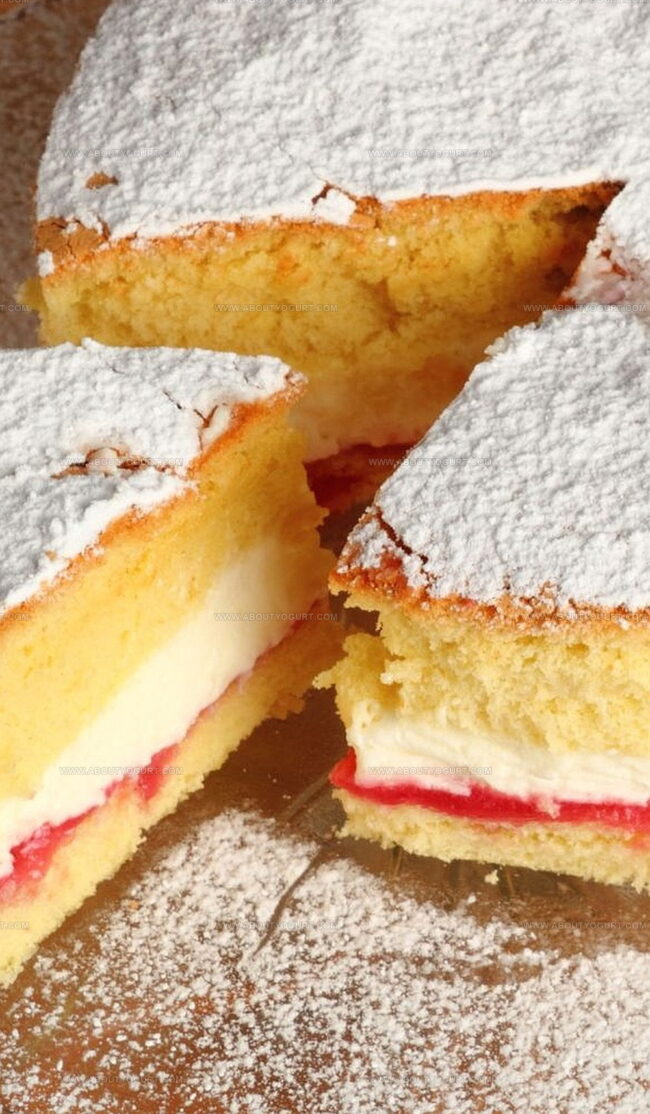
Layers of soft, moist texture promise a delectable experience for dessert enthusiasts.
Raspberries add a vibrant, tangy twist that complements the rich coconut perfectly.
Gentle mixing and careful folding create a magical balance of flavors.
Soft crumbs and luscious fruit make this cake an irresistible treat for everyone.
Trust me, you’ll want to slice into this heavenly creation right away.
Why Nigella Coconut And Raspberry Cake Is a Winner
Ingredients for Nigella Coconut And Raspberry Cake
Cake Base:Coconut Elements:Filling and Frosting:How to Make Coconut And Raspberry Cake Easily

Step 1: Prepare Baking Space
Warm up the oven to 180°C (360°F). Grab two 20cm cake pans and coat them with butter, then line with parchment paper for easy cake release.
Step 2: Create Silky Cake Batter
Toss these ingredients into a food processor:Blend everything until the mixture looks smooth and creamy.
Step 3: Enhance Cake Flavor
Gently fold into the batter:Mix carefully to keep the batter light and airy.
Step 4: Prepare for Baking
Divide the batter evenly between the prepared pans. Use a spatula to smooth the tops, ensuring an even surface.
Step 5: Bake to Golden Perfection
Slide the pans into the preheated oven. Bake for 25 minutes until the cakes turn golden and feel firm when lightly touched.
Step 6: Cool Down
Let the cakes rest in their pans for 5 minutes. Carefully transfer to wire cooling racks to reach room temperature.
Step 7: Whip Up Coconut Buttercream
In a mixing bowl, combine:Beat until the mixture becomes smooth and fluffy.
Step 8: Assemble Spectacular Cake
Spread raspberry jam across one cake layer. Top with half the coconut buttercream. Place the second cake layer on top.
Step 9: Final Frosting Flourish
Decorate the cake’s top with remaining buttercream, creating a beautiful spiral design for a stunning finish.
Tips to Perfect Nigella’s Coconut Raspberry Cake
Flavorful Variations of Coconut And Raspberry Cake
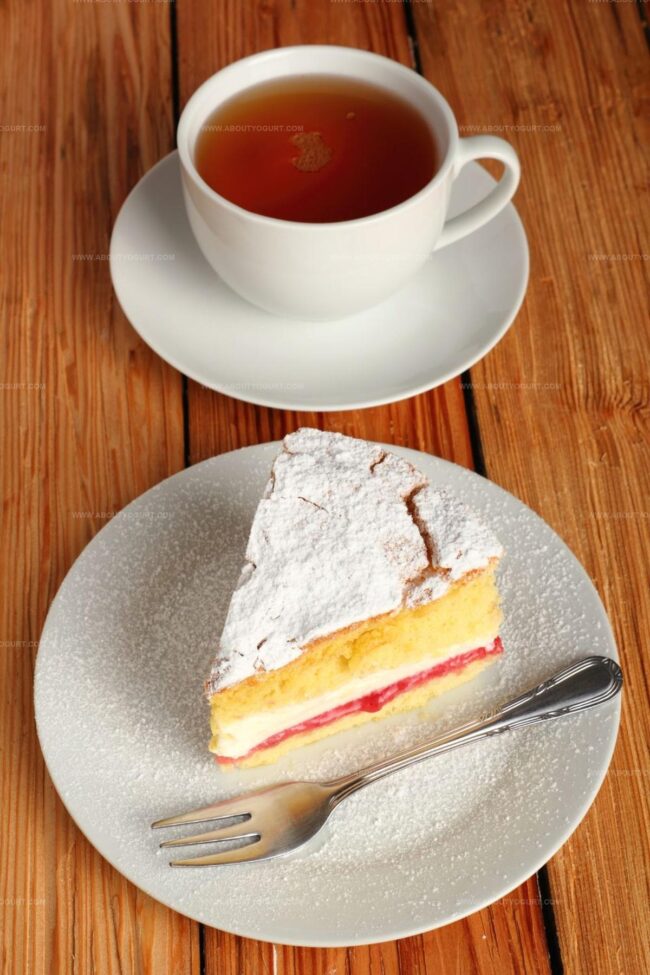
What to Pair with Coconut Raspberry Cake
Storage Tips for Coconut And Raspberry Cake
FAQs About Nigella Coconut And Raspberry Cake
Yes, frozen raspberries work perfectly. Thaw and drain them before using to prevent excess moisture in the cake.
Coconut cream adds rich flavor and moisture. If unavailable, you can substitute with full-fat coconut milk or regular cream.
Avoid overmixing the batter and don’t overbake. Check the cake at 20 minutes and use a toothpick to test doneness to ensure a moist texture.
Replace the regular flour with a gluten-free flour blend designed for baking. Add a teaspoon of xanthan gum to help bind the ingredients and maintain the cake’s structure.
Print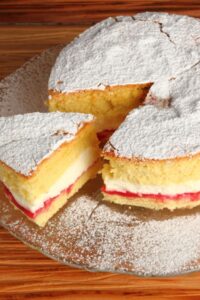
Coconut And Raspberry Cake Recipe
- Total Time: 40 minutes
- Yield: 8 1x
Description
Sweet raspberry dreams dance through this coconut and raspberry cake, delivering Mediterranean sunshine on a delightful plate. Rich layers of coconut and tangy raspberries create a heavenly dessert that whisks you straight to coastal bliss.
Ingredients
Cake Base:
- 3 medium eggs
- 175 grams (6.2 ounces) butter, softened
- 175 grams (6.2 ounces) golden caster sugar
- 175 grams (6.2 ounces) self-raising flour
- 50 grams (1.8 ounces) desiccated coconut
- 1/2 teaspoon baking powder
- 2 tablespoons coconut cream
Frosting:
- 280 grams (9.9 ounces) icing sugar
- 100 grams (3.5 ounces) butter, softened
- 3 tablespoons coconut cream
Filling:
- 5 tablespoons raspberry jam
Instructions
- Prepare the baking environment by setting the oven to 180°C and preparing two 20cm cake pans with gentle greasing and parchment lining.
- Combine butter, sugar, flour, baking powder, and eggs in a food processor, blending until the mixture achieves a silky, uniform consistency.
- Delicately incorporate desiccated coconut and coconut cream into the batter, ensuring even distribution without deflating the mixture.
- Evenly distribute the cake batter between the prepared pans, carefully leveling the surfaces for uniform baking.
- Place the cake pans in the preheated oven and bake for approximately 25 minutes, watching for a golden exterior and a firm texture when gently pressed.
- Allow the cakes to rest in their pans for 5 minutes, then carefully transfer to wire cooling racks to reach room temperature.
- Create the buttercream by whipping icing sugar, butter, and coconut cream until the mixture becomes smooth and spreadable.
- Spread raspberry jam across the surface of one cake layer, creating an even, vibrant base.
- Apply half of the prepared buttercream over the jam layer, ensuring complete coverage.
- Gently position the second cake layer on top and decorate the entire cake with the remaining buttercream, using a spiral motion for an elegant finish.
Notes
- Swap out regular flour for gluten-free flour blend to make this cake celiac-friendly without compromising texture.
- Reduce sugar content by using monk fruit sweetener or stevia for a lower-calorie version that maintains delicious flavor profile.
- Fresh raspberries can replace jam for a more vibrant, natural filling with added nutritional benefits and intense fruity burst.
- Toast desiccated coconut beforehand to enhance its nutty flavor and add depth to the cake’s overall taste experience.
- Prep Time: 15 minutes
- Cook Time: 25 minutes
- Category: Desserts
- Method: Baking
- Cuisine: British
Nutrition
- Serving Size: 8
- Calories: 493 kcal
- Sugar: 45 g
- Sodium: 78 mg
- Fat: 30 g
- Saturated Fat: 22 g
- Unsaturated Fat: 6 g
- Trans Fat: 0.5 g
- Carbohydrates: 53 g
- Fiber: 2 g
- Protein: 4 g
- Cholesterol: 90 mg
Michael Thompson
Founder & Recipe Developer
Expertise
Education
Cascade Culinary Institute – Bend, OR
ServSafe Food Handler Certification – Portland, OR
Focus: Certified in core food safety and hygiene principles for both home and professional kitchens, with emphasis on ingredient handling, kitchen cleanliness, and safe preparation methods.
Mike’s kitchen journey began with a single goal: to make everyday meals feel like something worth celebrating.
After earning his Certificate in Culinary Arts from Cascade Culinary Institute, he spent years working with local farmers and small kitchens across Oregon, learning the beauty of seasonal, small-batch cooking.
Mike’s approach is simple, cook with what’s fresh, keep it approachable, and always leave room for a little creativity. When he’s not testing yogurt marinades or designing single-serving meals, you’ll find him hiking trails or hunting down the best berries at local markets.