Fluffiest Coconut Biscuits Recipe with Homemade Charm
Crispy, golden coconut biscuits can transport you to a tropical paradise with their delightful crunch.
Sweet memories of childhood mornings drift through my kitchen whenever I mix these ingredients.
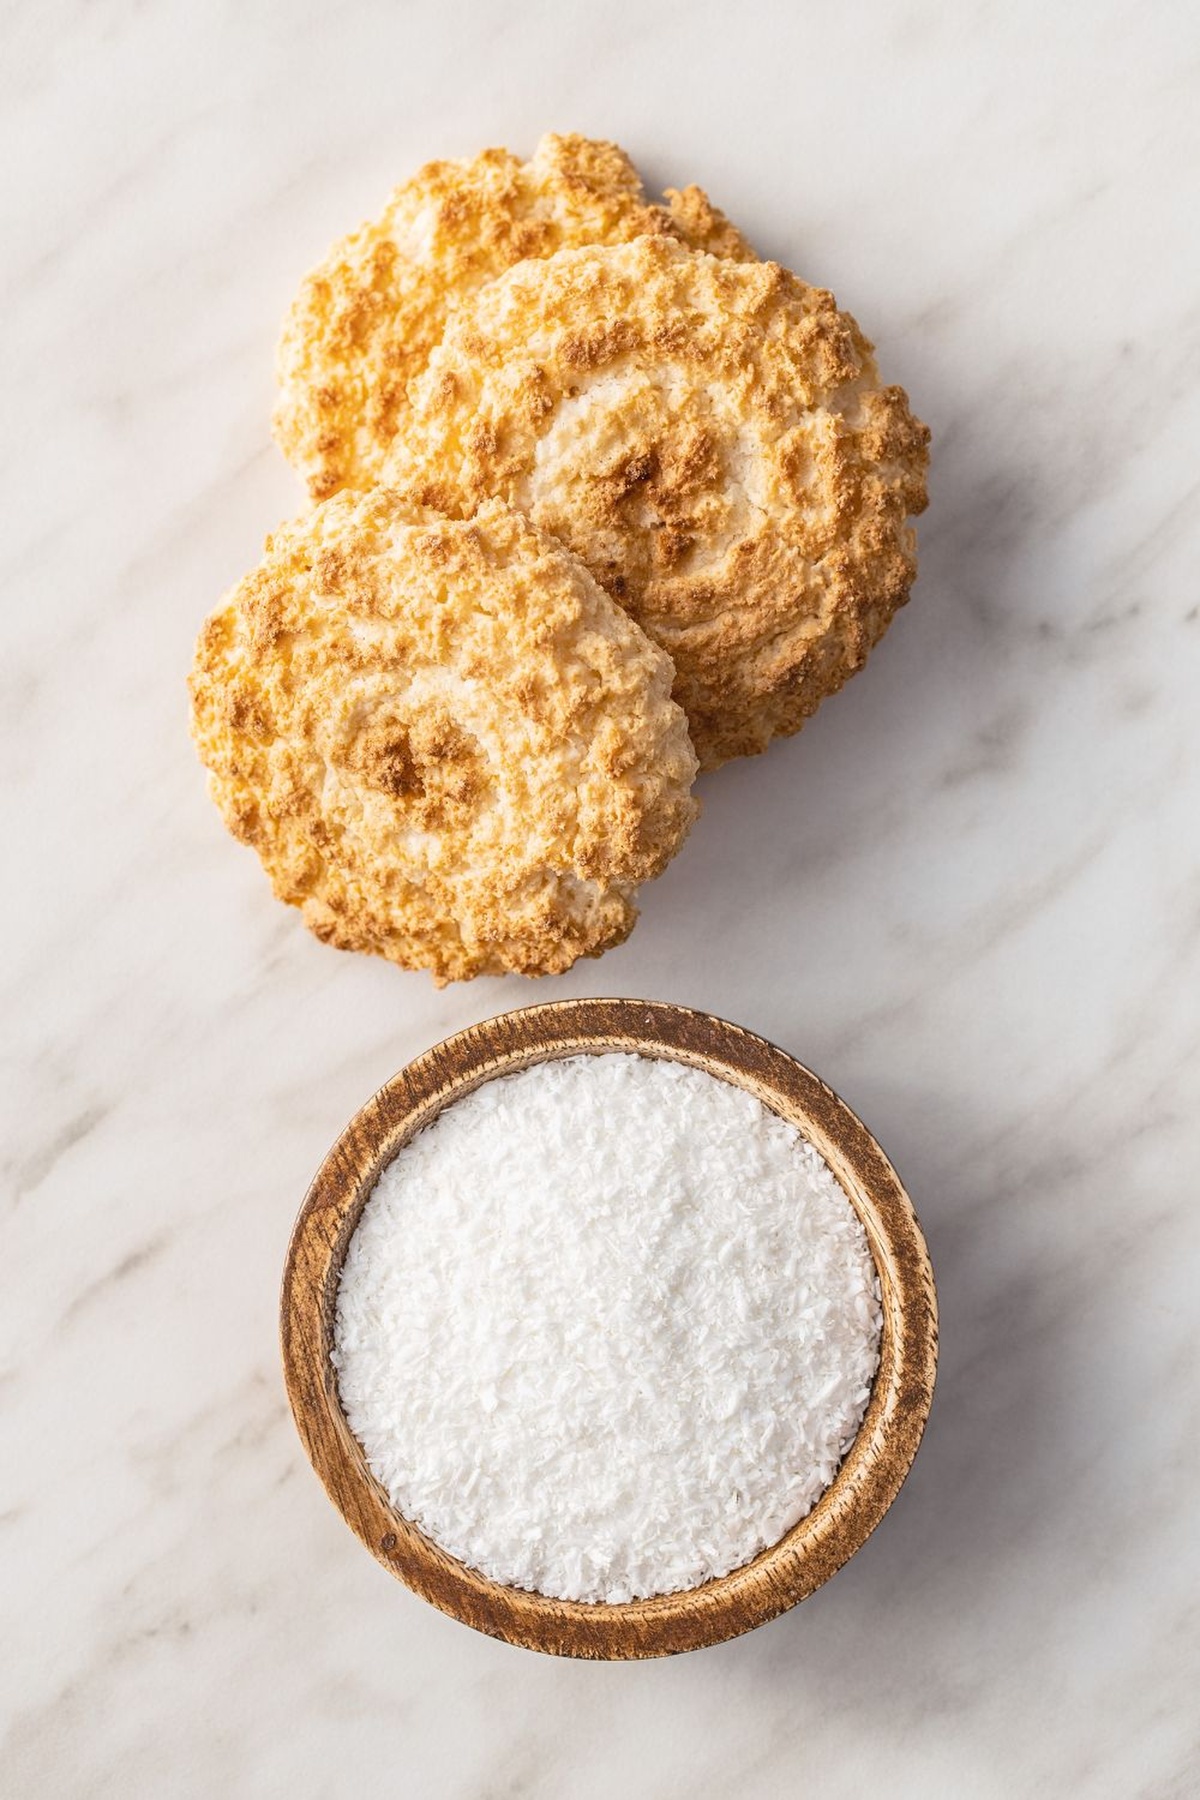
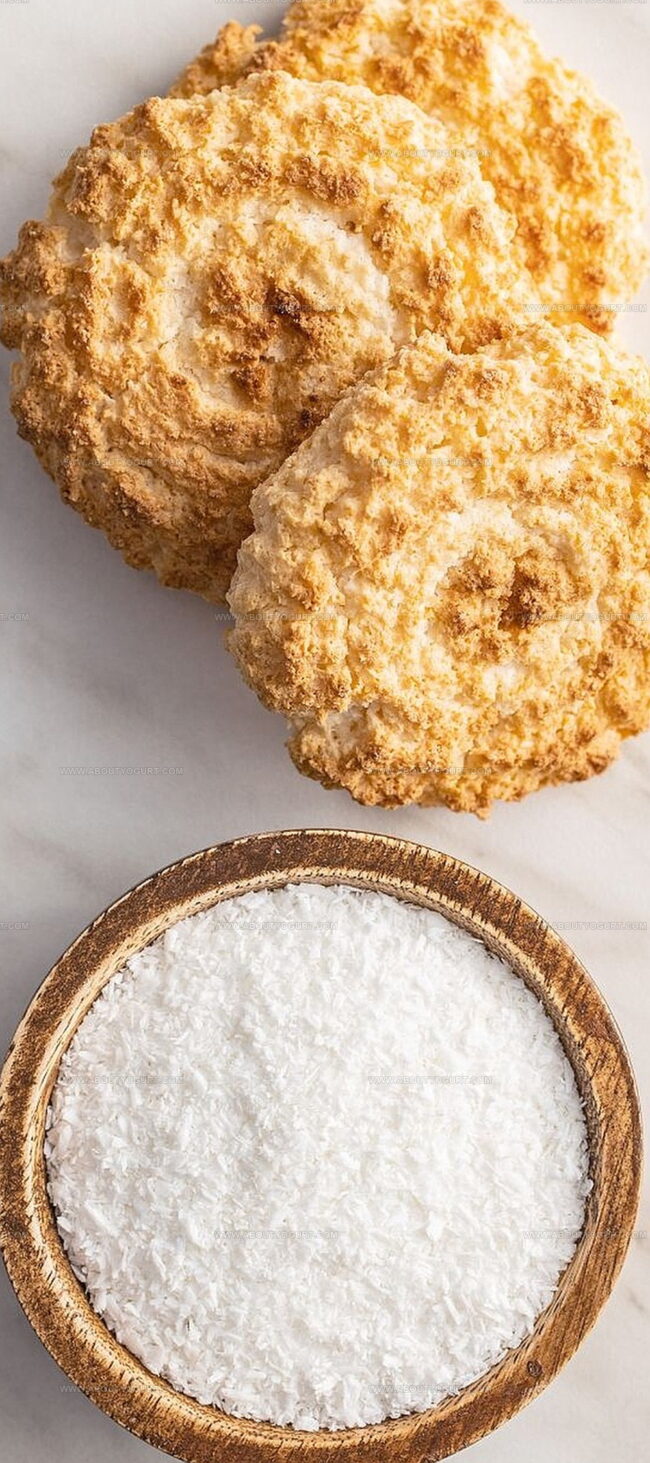
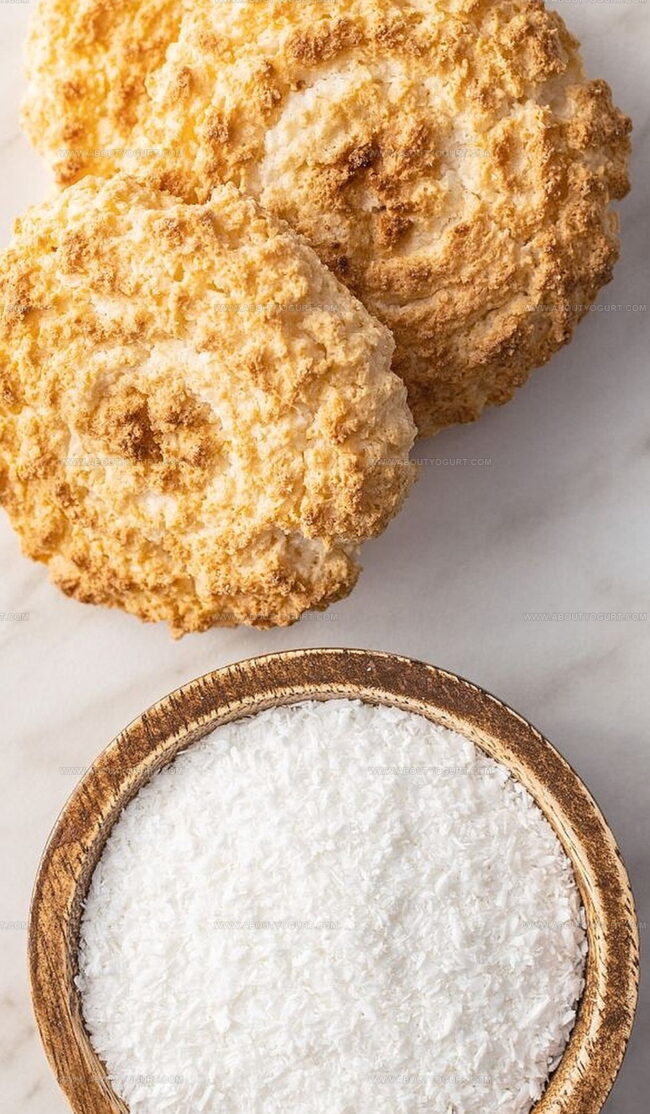
Shredded coconut adds a magical texture that makes every bite feel like a mini vacation.
Soft and buttery, these treats promise pure comfort in a single morsel.
A simple recipe that requires minimal effort but delivers maximum flavor awaits your baking skills.
Freshly baked and irresistibly aromatic, these biscuits will have everyone asking for seconds before the first batch cools.
Let’s whip up some coconut magic that’ll make your taste buds dance with joy!
Why Nigella Coconut Biscuits Are A Treat

What You’ll Need For Nigella Coconut Biscuits
Main Ingredients:Wet Ingredients:Preparation Ingredients:Steps To Make Nigella Coconut Biscuits
Step 1: Warm Up the Oven
Set your oven to 170°C (or between 160-180°C). Prepare a baking tray by lining it with parchment paper or lightly coating with cooking spray.
Step 2: Combine Dry Ingredients
In a mixing bowl, blend together:Mix these ingredients until they’re well combined and evenly distributed.
Step 3: Create Cookie Dough
Pour in the following ingredients:Stir the mixture thoroughly until it forms a slightly sticky and cohesive dough.
Step 4: Shape the Cookies
Scoop out small portions of dough and roll them into bite-sized balls. Place these cookie balls on the prepared baking tray, leaving some space between each one to allow for spreading.
Step 5: Bake to Golden Perfection
Slide the tray into the preheated oven and bake for approximately 12 minutes. Watch for the edges to turn a beautiful golden brown color, indicating they’re perfectly done.
Step 6: Cool and Enjoy
Remove the tray from the oven and let the cookies cool directly on the baking tray. Once they’ve reached room temperature, they’re ready to be served and savored.
Helpful Baking Tips For Nigella Coconut Biscuits
Fun Flavors To Try With Nigella Coconut Biscuits
What Goes With Nigella Coconut Biscuits
Best Way To Store Nigella Coconut Biscuits
Your Questions On Nigella Coconut Biscuits
Yes, both work well. Shredded coconut will give a slightly more textured biscuit, while desiccated coconut will create a more uniform texture.
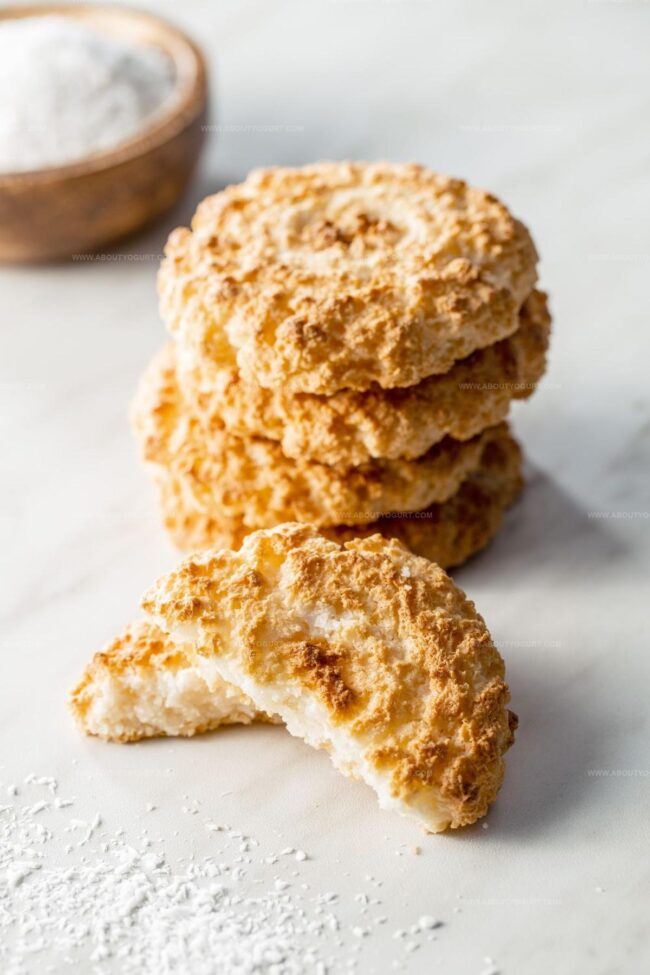
Look for golden edges and a light golden color overall. They should be slightly firm to the touch but not dark brown.
Either works fine. If using salted butter, you might want to reduce or omit any additional salt in the recipe.
Yes, simply substitute the regular flour with a gluten-free flour blend that’s suitable for baking. The texture might be slightly different, but the taste will remain similar.
Print
Coconut Biscuits Recipe
- Total Time: 22 minutes
- Yield: 4 1x
Description
Tropical Brazilian coconut biscuits promise a delightful journey through sweet, crumbly textures that melt in your mouth. Rich coconut flavors blend seamlessly, inviting you to savor a delectable taste of Brazil’s beloved culinary tradition.
Ingredients
Main Ingredients:
- 1 cup self-rising flour
- 1 cup unsweetened shredded coconut
- 1 egg
Sweeteners:
- 1 cup sugar
Fats:
- 1/2 cup (120 milliliters) melted butter
Instructions
- Prepare the oven at 170°C and prepare a baking tray with parchment paper or light oil coating.
- Combine dry ingredients – flour, sugar, and shredded coconut – in a mixing bowl, ensuring even distribution.
- Incorporate melted butter and egg into the dry mixture, gently stirring until a cohesive, slightly tacky dough forms.
- Using a teaspoon, portion and shape the dough into small round balls, placing them evenly across the prepared baking tray with sufficient spacing.
- Position the tray in the preheated oven and bake for approximately 12 minutes, watching for a delicate golden-brown coloration along the biscuit edges.
- Remove from oven and allow biscuits to rest and firm up on the tray for several minutes before transferring to a serving plate.
- Serve at room temperature, enjoying the crisp exterior and soft, tender interior of these delightful coconut treats.
Notes
- Toast the coconut beforehand to enhance its nutty flavor and add a deeper, richer taste to the biscuits.
- Use unsweetened shredded coconut for a less sweet and more authentic coconut texture.
- For a gluten-free version, swap regular flour with almond or coconut flour to accommodate dietary restrictions.
- Experiment with adding a pinch of cinnamon or vanilla extract to elevate the biscuits’ aromatic profile and create a more complex flavor experience.
- Prep Time: 10 minutes
- Cook Time: 12 minutes
- Category: Snacks, Desserts
- Method: Baking
- Cuisine: Indian
Nutrition
- Serving Size: 4
- Calories: 390
- Sugar: 25 g
- Sodium: 350 mg
- Fat: 22 g
- Saturated Fat: 15 g
- Unsaturated Fat: 6 g
- Trans Fat: 0.5 g
- Carbohydrates: 45 g
- Fiber: 3 g
- Protein: 4 g
- Cholesterol: 40 mg
Michael Thompson
Founder & Recipe Developer
Expertise
Education
Cascade Culinary Institute – Bend, OR
ServSafe Food Handler Certification – Portland, OR
Focus: Certified in core food safety and hygiene principles for both home and professional kitchens, with emphasis on ingredient handling, kitchen cleanliness, and safe preparation methods.
Mike’s kitchen journey began with a single goal: to make everyday meals feel like something worth celebrating.
After earning his Certificate in Culinary Arts from Cascade Culinary Institute, he spent years working with local farmers and small kitchens across Oregon, learning the beauty of seasonal, small-batch cooking.
Mike’s approach is simple, cook with what’s fresh, keep it approachable, and always leave room for a little creativity. When he’s not testing yogurt marinades or designing single-serving meals, you’ll find him hiking trails or hunting down the best berries at local markets.