
Crispy Homemade Fried Apple or Peach Pies Recipe
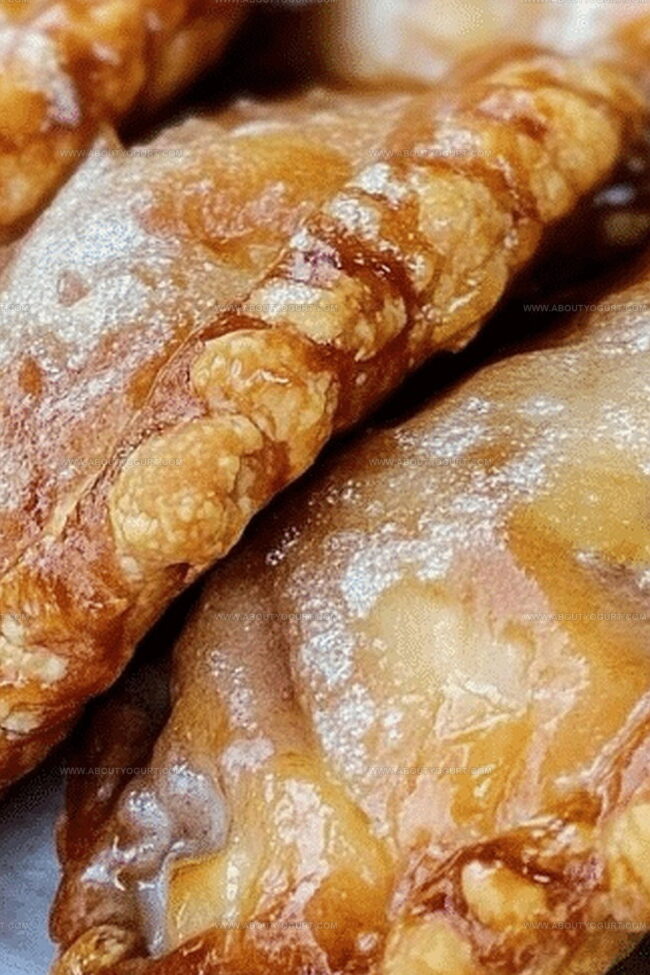
Crispy golden pies filled with warm, spiced apple or peach fillings spark memories of grandma’s kitchen.
Sweet fruit nestles inside delicate pastry, creating a nostalgic dessert that feels like a warm hug.
Homemade treats always taste better than store-bought versions.
Southern kitchens know the secret to making these handheld delights irresistible.
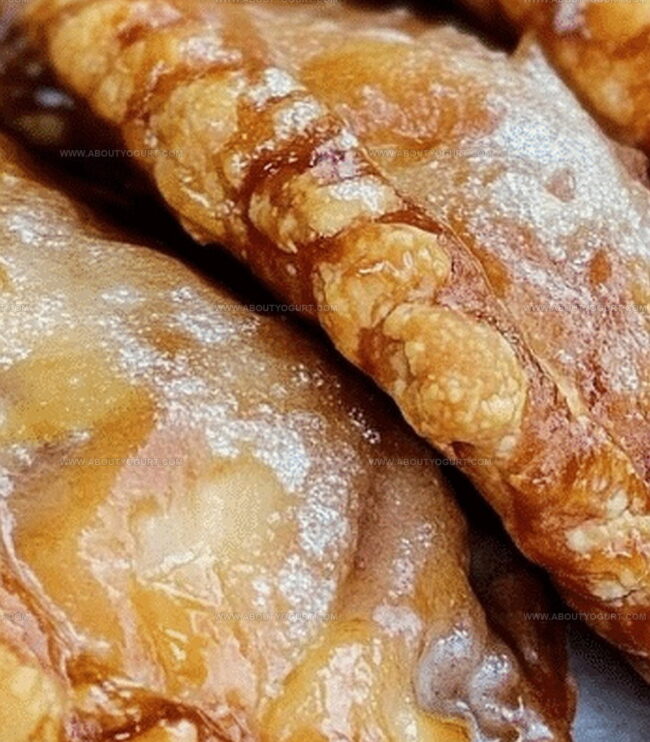
Flaky crusts and caramelized fruit interiors promise a delectable experience for anyone who loves comfort food.
Rich flavors and simple ingredients combine to make these pies a crowd-pleasing favorite.
What Makes Fried Apple or Peach Pies So Crispy and Delicious
Ingredients to Make the Best Fried Apple or Peach Pies
Pie Crusts:Filling Base:Glaze and Finishing:Step-by-Step Guide to Crispy Fried Apple or Peach Pies
Step 1: Warm Up the Oven
Crank the oven to a toasty 425F (220C). Let those pie crusts relax and come to room temperature while you get ready to work some baking magic.
Step 2: Craft the Fruity Filling
Grab a shallow bowl and pour in your favorite fruit pie filling. Take a fork and knife and chop those peaches or apples into tiny, bite-sized pieces. Sprinkle in a generous dash of cinnamon and mix until every morsel is coated with spicy goodness.
Step 3: Shape the Pie Crusts
Unroll those pie crusts and use a 4-inch biscuit cutter to create perfect circles. Don’t waste a single scrap – re-roll those extras to squeeze out every last circle you can.
Step 4: Assemble the Hand Pies
Place a dollop of fruit filling right in the center of each crust circle. Fold the circle in half, creating a delightful half-moon shape. Pinch those edges together with love, then fold them over and press with a fork to create a beautiful seal. Poke a few fork holes to prevent any explosive pie incidents.
Step 5: Prepare for Baking
Whip up the egg white until it’s light and frothy. Gently brush this magical coating over the top of each hand pie. Carefully arrange the pies on a parchment-lined baking sheet, giving them a little breathing room.
Step 6: Bake to Golden Perfection
Slide the baking sheet into the preheated oven. Let the pies bake for about 15 minutes until they turn a gorgeous golden brown that’ll make your mouth water.
Step 7: Add the Finishing Glaze
While the pies are baking, whip up a quick glaze by whisking powdered sugar and milk until smooth and silky. Once the pies come out of the oven, dunk each warm pie into the glaze, making sure every inch gets covered. Use two forks to handle these delicate treats carefully. Place them back on the parchment paper and let the glaze set for a few minutes.
Get ready to bite into the most incredible hand pies you’ve ever tasted!
Tips to Fry Apple or Peach Pies to Golden Perfection
Flavor Variations to Refresh Fried Apple or Peach Pies
Pairings That Go Perfectly with Fried Apple or Peach Pies
How to Store Fried Apple or Peach Pies for Maximum Freshness
FAQs About Fried Apple or Peach Pies You Should Know
Yes, you can! Homemade filling works great. Just make sure it’s not too runny and you chop the fruits into small, even pieces.
Seal the edges tightly by pinching and using a fork. Always poke small holes to release steam and prevent bursting during baking.
Use any round object like a cup or small bowl. Trace around it with a knife to create perfect circles for your hand pies.
Absolutely! Assemble the pies, place them on a baking sheet, and freeze until solid. Then transfer to a freezer bag. Bake directly from frozen, adding a few extra minutes to cooking time.
Print
Crackling Fried Apple or Peach Pies Recipe
- Total Time: 30 minutes
- Yield: 8 1x
Description
Crispy “fried apple or peach pies” deliver southern comfort on a plate, celebrating sweet fruit nestled in golden pastry. Homemade goodness awaits you with this classic dessert that brings warmth and nostalgia to any gathering.
Ingredients
Main Ingredients:
- 1 can (21 ounces / 595 grams) peach pie filling (or apple pie filling)
- 2 boxes (14.1 ounces / 400 grams each) refrigerated pie crust
Spices and Flavoring:
- 1 teaspoon cinnamon
Glaze and Binding:
- 1 egg white, beaten
- 2 cups (240 grams) powdered sugar
- 1/2 cup (120 milliliters) milk
Instructions
- Prepare the oven at 425F (220C), allowing pie crusts to soften at room temperature while readying the filling.
- Chop peach or apple pie filling into small, uniform pieces using a fork and knife in a shallow bowl. Mix in cinnamon thoroughly for even flavor distribution.
- Carefully unroll pie crusts and utilize a 4-inch biscuit cutter to create 6 precise circles from each crust. Reprocess any remaining dough to complete the full number of circles.
- Delicately position a tablespoon of fruit filling at the center of each circular crust. Fold edges precisely, creating a half-moon shape. Crimp borders with a fork to ensure complete sealing, preventing filling leakage.
- Gently whisk egg white until light and foamy. Brush surface of each hand pie with the egg white, creating a glossy finish. Arrange pies on parchment-lined baking sheet, maintaining slight separation.
- Bake for approximately 15 minutes, monitoring until pies transform into a rich golden brown color. Meanwhile, whisk powdered sugar and milk into a smooth, consistent glaze.
- Remove pies from oven and immediately dip each warm pastry into glaze. Use two forks to carefully coat and transfer, allowing excess to drip off. Place on parchment paper and permit glaze to set for 5 minutes before serving.
Notes
- Customize your filling by experimenting with different fruit preserves or fresh chopped fruits for unique flavor combinations.
- Cut pie crusts precisely using a sharp-edged biscuit cutter to ensure clean, uniform hand pies that seal perfectly.
- Prevent soggy bottoms by chilling the assembled pies for 10 minutes before baking, which helps maintain crisp pastry edges.
- Adjust the glaze consistency by adding more milk for a thinner drizzle or more powdered sugar for a thicker coating that clings to the pies.
- Prep Time: 15 minutes
- Cook Time: 15 minutes
- Category: Desserts, Snacks
- Method: Baking
- Cuisine: American
Nutrition
- Serving Size: 8
- Calories: 295 kcal
- Sugar: 21 g
- Sodium: 210 mg
- Fat: 15 g
- Saturated Fat: 5 g
- Unsaturated Fat: 8 g
- Trans Fat: 0.5 g
- Carbohydrates: 38 g
- Fiber: 1 g
- Protein: 3 g
- Cholesterol: 10 mg
Sarah Mitchell
Content Specialist & Home Cooking Enthusiast
Expertise
Education
Asheville-Buncombe Technical Community College – Asheville, NC
American Fitness Professionals & Associates – Online
Sarah’s passion for food was sparked by weekend trips to the farmers’ market and her belief that healthy meals should never feel boring.
After earning her culinary diploma and becoming a certified Nutrition and Wellness Consultant, she set out to help others fall in love with simple, wholesome cooking.
She’s all about celebrating the small wins in the kitchen: a colorful yogurt bowl, a new twist on a classic dish, or a homemade snack that feels just a little extra special.
Outside the kitchen, Sarah is a gardener at heart, a yoga enthusiast, and a believer that fresh herbs can brighten any meal, and any day.