Creamy Lemon Pie Recipe with Sweet Tart Filling
Whipping up a delectable lemon pie brings pure joy to your kitchen adventures.
Zesty citrus notes dance through this creamy dessert, promising a delightful escape from ordinary sweets.
Smooth and velvety textures mingle with bright, tangy flavors that spark excitement.
Each carefully crafted slice tells a story of comfort and indulgence.
Seasonal ingredients blend seamlessly, creating a dessert that feels both familiar and extraordinary.
Your taste buds will thank you for exploring this irresistible culinary creation.
Dive into a world of lemony bliss that transforms an ordinary moment into something magical.
Why Creamy Lemon Pie Is a Refreshing Classic Dessert
Ingredients for Creamy Lemon Pie
Crust:Filling:Topping:How to Make Creamy Lemon Pie
Step 1: Fire Up the Oven
Crank your oven to a toasty 350F (175C), getting ready for some pie magic.
Step 2: Craft the Crunchy Base
Grab your mixing bowl and combine:Press this mixture firmly into a 9-inch pie plate, creating a solid foundation for your lemony delight.
Step 3: Golden Crust Creation
Slide the crust into the oven and bake for 10 minutes until it turns a beautiful golden brown. Rescue it from the heat and let it cool completely.
Step 4: Whip Up the Zesty Filling
In a fresh bowl, blend together:Stir until the mixture becomes silky smooth and bursting with citrusy goodness.
Step 5: Layer the Lemony Goodness
Pour the sunny filling into the cooled crust, spreading it evenly to create a perfect layer of tangy deliciousness.
Step 6: Chill and Set
Tuck the pie into the refrigerator for at least 2 hours, allowing it to firm up and develop its rich flavors.
Step 7: Crown with Fluffy Clouds
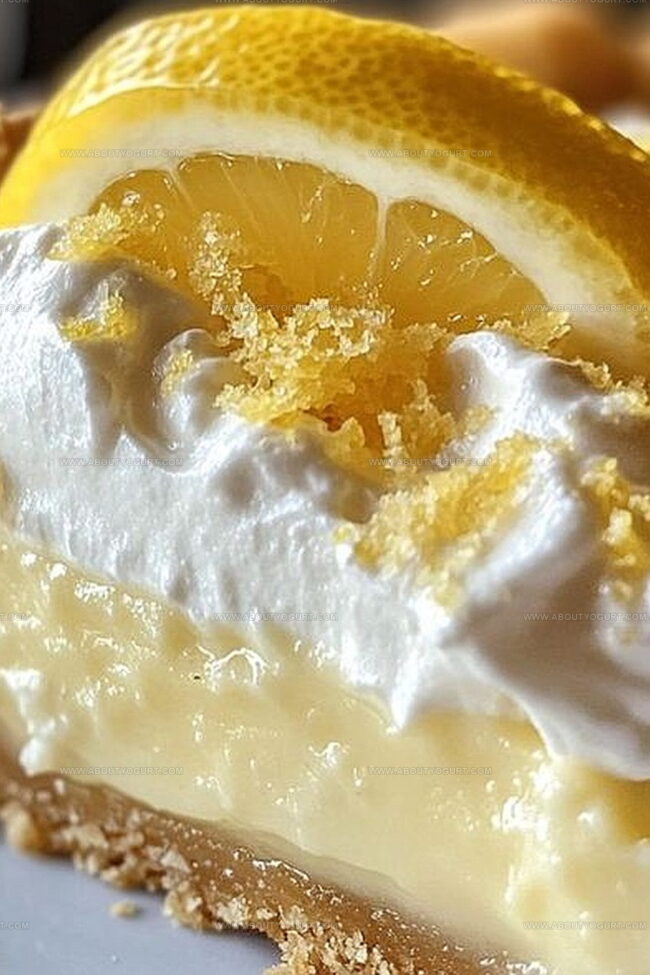
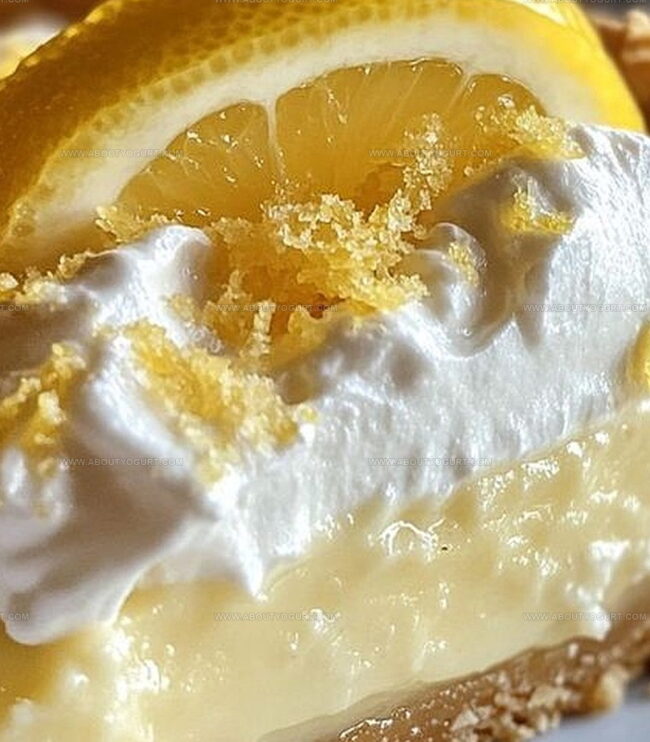
Just before serving, whip the heavy cream with powdered sugar until it forms dreamy, stiff peaks. Generously spread this cloudlike topping over the chilled lemon filling.
Step 8: Final Flourish
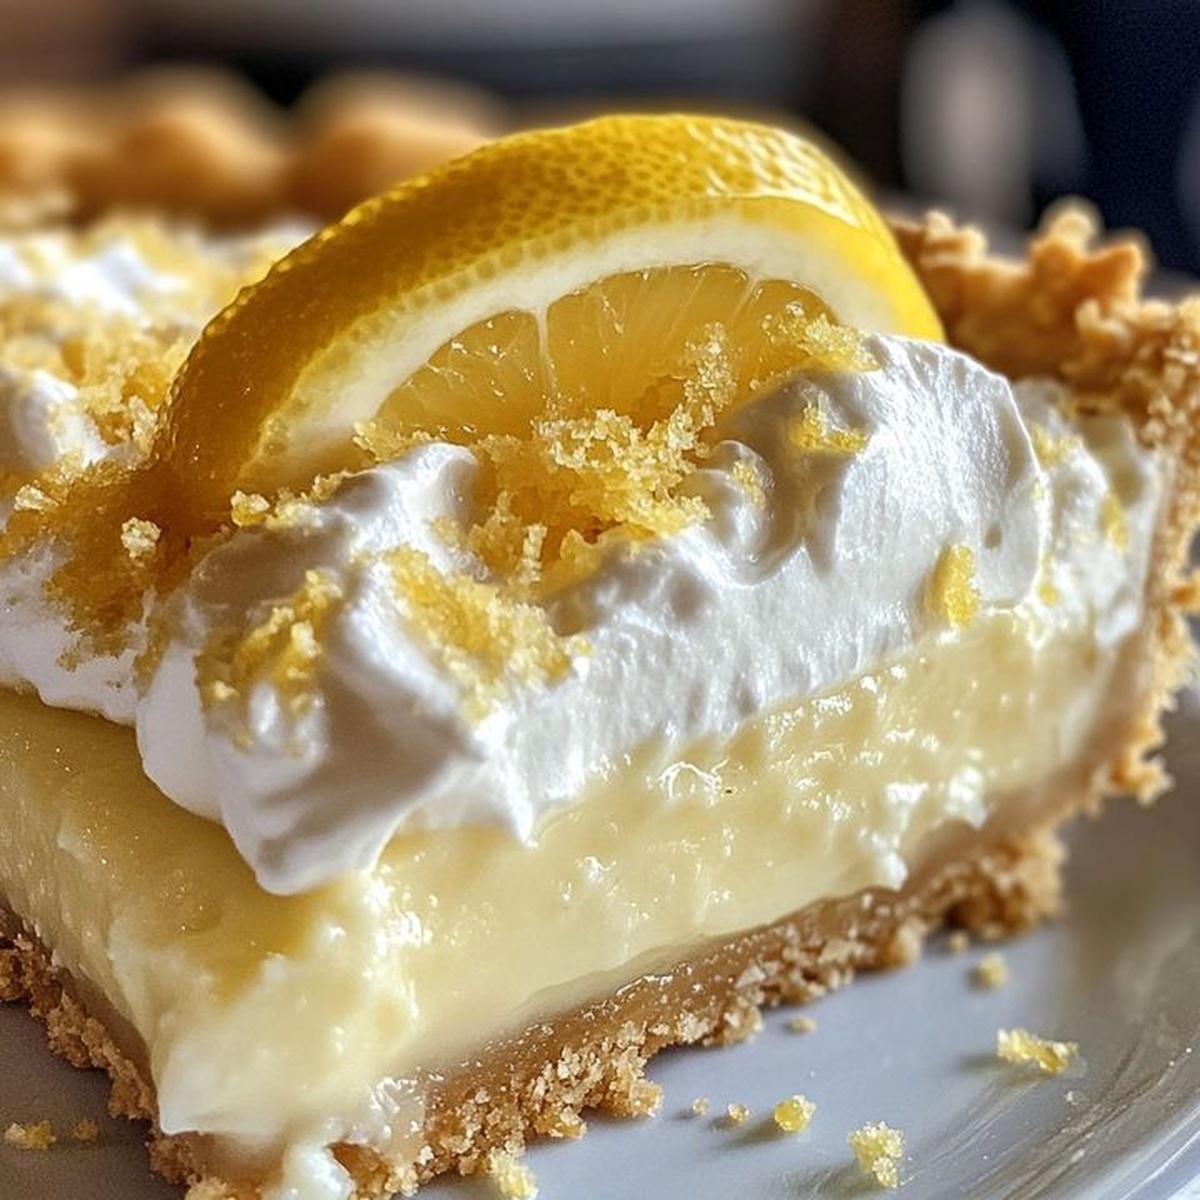
Garnish with delicate lemon slices and serve ice-cold, ready to wow your taste buds.
Tips for a Smooth and Tangy Creamy Lemon Pie
Variations to Customize Creamy Lemon Pie
Pairing Suggestions for Creamy Lemon Pie
How to Store Creamy Lemon Pie for Freshness
FAQs About Creamy Lemon Pie
Press the graham cracker and butter mixture firmly and evenly into the pie plate, using the back of a spoon or bottom of a measuring cup to create a compact, smooth base.
Fresh lemon juice is recommended for the best flavor, but if needed, you can use bottled lemon juice. Just ensure it’s 100% pure lemon juice without added preservatives.
Whipped cream is ready when it forms stiff peaks that hold their shape when the whisk is lifted. Be careful not to overwhip, which can make the cream grainy.
Print
Creamy Lemon Pie Recipe
- Total Time: 2 hours 25 minutes
- Yield: 8 1x
Description
Silky smooth “creamy lemon pie” delivers sunshine on a plate with its tangy-sweet melody. Homemade goodness beckons you to savor each zesty, velvety slice of pure culinary comfort.
Ingredients
Pie Crust:
- 1.5 cups graham cracker crumbs
- 1/2 cup (113 grams) unsalted butter, melted
Filling:
- 1 (14 ounces / 397 grams) can sweetened condensed milk
- 1/2 cup fresh lemon juice
- 1 tablespoon lemon zest
Topping:
- 1 cup heavy whipping cream, chilled
- 1/4 cup powdered sugar
- Lemon slices for garnish
Instructions
- Warm the oven to 350°F (175°C), preparing for a tangy dessert adventure.
- Crush graham crackers into fine particles and blend with melted butter, creating a golden foundation for the pie.
- Press the crumb mixture firmly into a 9-inch pie plate, ensuring an even, compact base.
- Bake the crust for 10 minutes until it transforms into a rich, toasty golden color, then set aside to cool completely.
- Whisk sweetened condensed milk with fresh lemon juice and vibrant lemon zest until the mixture becomes silky and harmonious.
- Gently pour the zesty lemon filling into the cooled crust, spreading it smoothly to create an even layer.
- Refrigerate the pie for a minimum of 2 hours, allowing the filling to set and flavors to intensify.
- Just before serving, whip heavy cream with powdered sugar until it forms elegant, stiff peaks.
- Carefully spread the billowy whipped cream across the chilled lemon filling, creating a luxurious topping.
- Garnish with delicate lemon slices for a final artistic touch, then serve chilled and enjoy the refreshing dessert.
Notes
- Swap graham crackers with gluten-free alternatives like almond flour or gluten-free cookie crumbs for those with wheat sensitivities.
- Use fresh lemon juice for maximum brightness and zesty flavor, avoiding bottled varieties which can taste flat and artificial.
- Chill pie dishes thoroughly before adding whipped cream topping to ensure it maintains perfect, fluffy texture without melting.
- Consider reducing sugar content by using a sugar substitute or cutting condensed milk quantity for a lighter, less sweet dessert experience.
- Prep Time: 15 minutes
- Cook Time: 10 minutes
- Category: Desserts
- Method: Baking
- Cuisine: American
Nutrition
- Serving Size: 8
- Calories: 360
- Sugar: 28 g
- Sodium: 50 mg
- Fat: 22 g
- Saturated Fat: 14 g
- Unsaturated Fat: 7 g
- Trans Fat: 0.5 g
- Carbohydrates: 38 g
- Fiber: 0.5 g
- Protein: 3 g
- Cholesterol: 70 mg
Michael Thompson
Founder & Recipe Developer
Expertise
Education
Cascade Culinary Institute – Bend, OR
ServSafe Food Handler Certification – Portland, OR
Focus: Certified in core food safety and hygiene principles for both home and professional kitchens, with emphasis on ingredient handling, kitchen cleanliness, and safe preparation methods.
Mike’s kitchen journey began with a single goal: to make everyday meals feel like something worth celebrating.
After earning his Certificate in Culinary Arts from Cascade Culinary Institute, he spent years working with local farmers and small kitchens across Oregon, learning the beauty of seasonal, small-batch cooking.
Mike’s approach is simple, cook with what’s fresh, keep it approachable, and always leave room for a little creativity. When he’s not testing yogurt marinades or designing single-serving meals, you’ll find him hiking trails or hunting down the best berries at local markets.