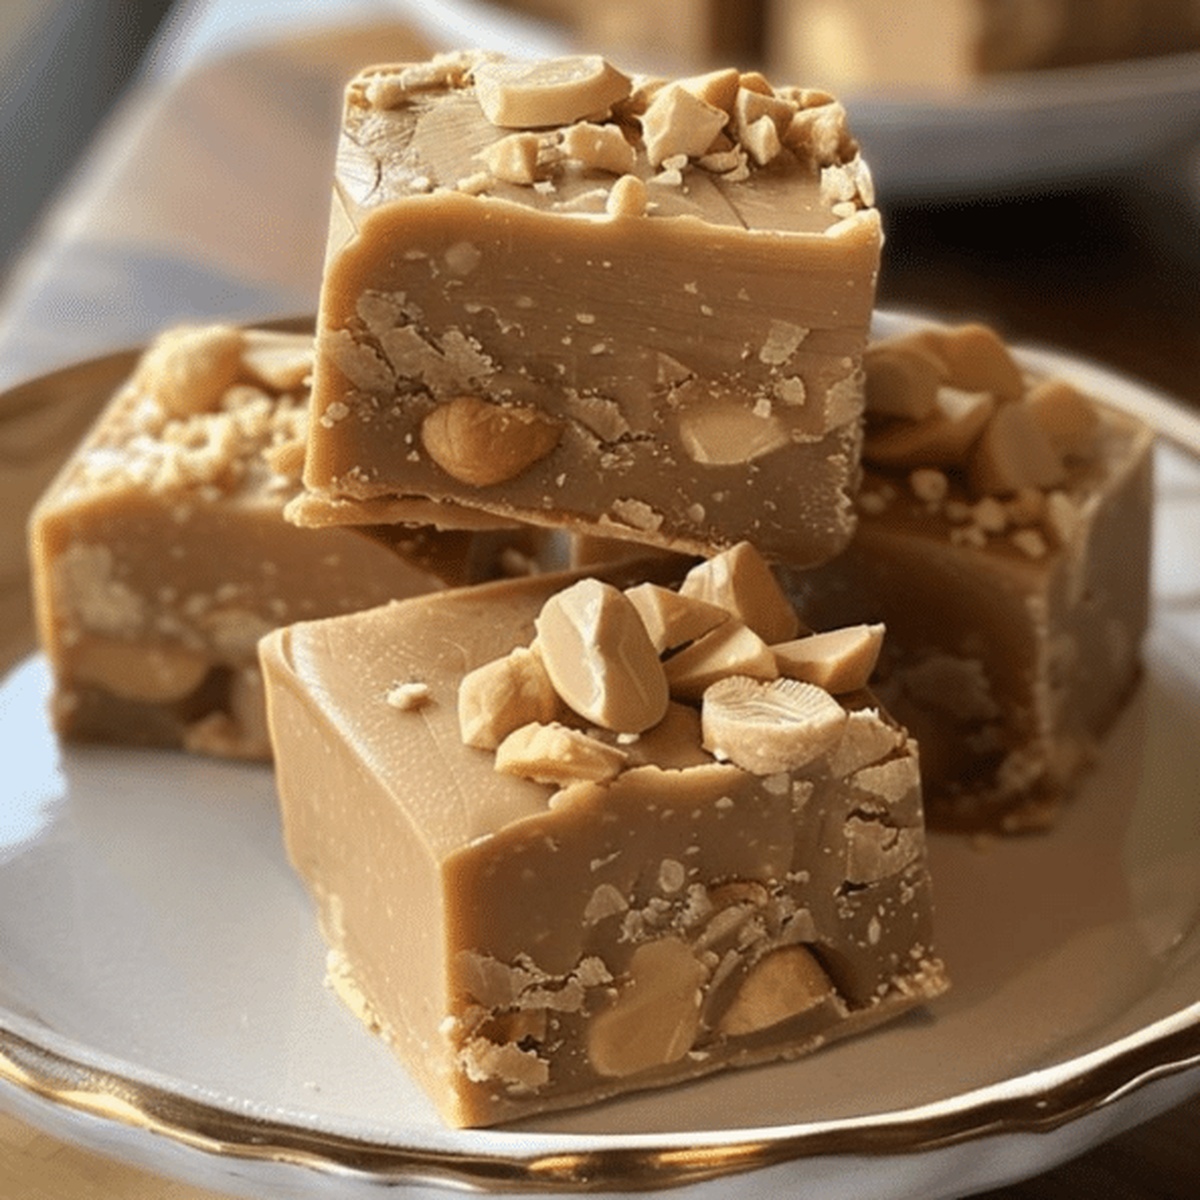
Creamy Peanut Butter Fudge Recipe for Gift Giving
Whipping up a batch of creamy peanut butter fudge can turn an ordinary afternoon into a sweet celebration of indulgence.
Smooth chocolate and nutty flavors dance together in this irresistible treat.
Dessert enthusiasts will adore how simple ingredients combine to create magic in just minutes.
Rich, velvety textures melt perfectly on your tongue, promising pure bliss with each bite.
Nothing compares to the nostalgic comfort of homemade fudge that brings instant happiness.
Comfort and joy await you in this delectable recipe that practically guarantees smiles all around.
Let’s dive into making something truly spectacular that will have everyone asking for seconds.
Why Creamy Peanut Butter Fudge Is the Ultimate Indulgence
Ingredients Needed for Creamy Peanut Butter Fudge
Main Ingredients:Flavor Enhancers:Preparation Ingredients:How to Make Creamy Peanut Butter Fudge Step by Step
Step 1: Prepare Baking Vessel
Line an 8×8 inch baking pan completely with parchment paper, ensuring the paper extends over the sides. Lightly coat the parchment with a thin layer of cooking spray or butter to prevent sticking.
Step 2: Melt Creamy Base
Place peanut butter and butter in a medium saucepan over medium heat. Gently stir and blend the ingredients until they transform into a silky, smooth mixture with no lumps.
Step 3: Create Sweet Syrup
Add the following ingredients to the saucepan:Continuously stir the mixture while bringing it to a rolling boil. Keep whisking to prevent any burning or sticking.
Step 4: Boil and Flavor
Allow the mixture to boil vigorously for 1-2 minutes, stirring constantly. Remove the saucepan from heat and quickly incorporate vanilla extract, blending thoroughly.
Step 5: Transfer and Smooth
Pour the hot fudge mixture into the prepared pan. Use a flexible spatula to spread the mixture evenly, creating a smooth, uniform surface.
Step 6: Cool and Set
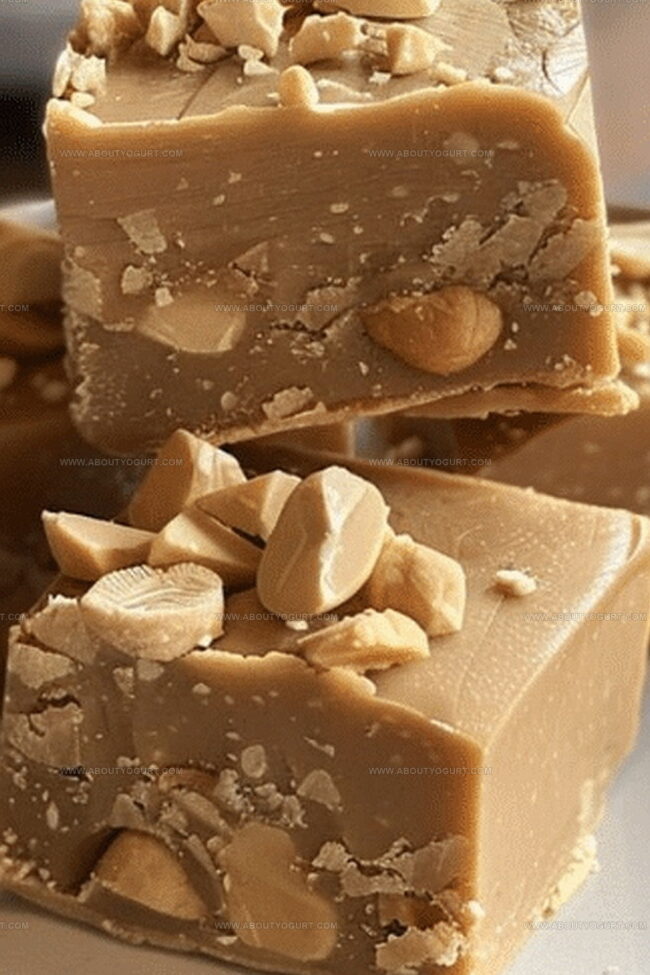
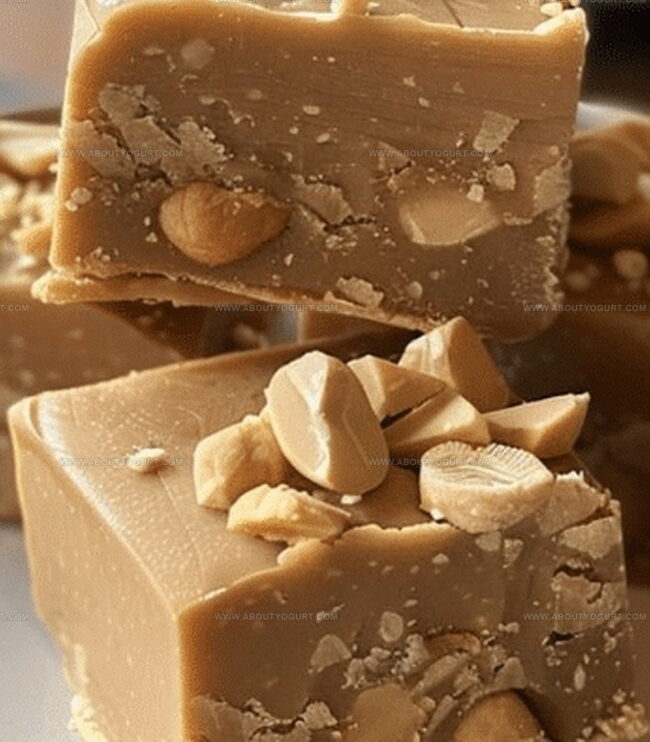
Let the fudge rest at room temperature for approximately 2 hours. The fudge will gradually solidify and develop a perfect, creamy texture. Once completely set, lift the parchment paper and cut into delightful square pieces.
Pro Tips to Achieve Smooth and Rich Peanut Butter Fudge
Fun Variations to Customize Your Peanut Butter Fudge
Best Pairings to Enjoy with Creamy Peanut Butter Fudge
Storage Advice for Creamy Peanut Butter Fudge to Stay Fresh
FAQs About Creamy Peanut Butter Fudge You Need to Know
Natural peanut butter works, but choose a smooth variety with minimal oil separation. Avoid chunky or overly runny types that might affect fudge texture.
Stir constantly during boiling and use fine granulated sugar. Avoid stirring after removing from heat to prevent sugar crystal formation.
Not without modifications. The recipe contains butter and milk, which are dairy products. You’ll need dairy-free alternatives like plant-based milk and margarine.
Use a sharp knife and wipe it clean between cuts. Let fudge cool completely at room temperature for precise, smooth edges.
Print
Creamy Peanut Butter Fudge Recipe
- Total Time: 2 hours 15 minutes
- Yield: 16 1x
Description
Smooth, rich Peanut Butter Fudge delivers pure indulgence straight from grandma’s kitchen. Silky chocolate swirls and sweet nutty notes create an irresistible treat you’ll crave again and again.
Ingredients
Main Ingredients:
- 2 cups granulated sugar
- 1 cup creamy peanut butter
- 1/2 cup unsalted butter
Liquid Ingredients:
- 1/2 cup milk
- 1 teaspoon vanilla extract
Seasoning:
- 1 pinch salt
Instructions
- Prepare an 8-inch baking pan by lining with parchment paper and applying a light grease coating to prevent sticking.
- Combine peanut butter and butter in a medium saucepan, melting them together over medium heat until the mixture becomes completely smooth and integrated.
- Gradually incorporate sugar, milk, and a delicate sprinkle of salt into the melted mixture, stirring continuously to ensure even distribution.
- Elevate the temperature and bring the mixture to a robust boil, maintaining constant stirring to prevent scorching and ensure a uniform consistency.
- Maintain the boiling process for precisely 1-2 minutes, watching carefully to achieve the perfect fudge texture without burning.
- Remove the saucepan from heat and swiftly introduce vanilla extract, stirring vigorously to blend thoroughly.
- Transfer the molten fudge into the prepared pan, using a spatula to create an even, smooth surface across the entire pan.
- Allow the fudge to rest and solidify at room temperature for approximately 2 hours, ensuring a firm, sliceable consistency.
- Once fully set, slice the fudge into uniform squares, creating bite-sized pieces perfect for serving and sharing.
Notes
- Ensure parchment paper overhangs pan edges for easy removal of fudge after setting.
- Use creamy, unsweetened peanut butter for smoother texture and control over sweetness.
- For dairy-free option, substitute butter with coconut oil and use almond milk instead of regular milk.
- Prevent sugar crystallization by stirring continuously during boiling and avoiding scraping sides of saucepan while cooking.
- Prep Time: 10 minutes
- Cook Time: 5 minutes
- Category: Desserts, Snacks
- Method: Boiling
- Cuisine: American
Nutrition
- Serving Size: 16
- Calories: 293
- Sugar: 22 g
- Sodium: 44 mg
- Fat: 20 g
- Saturated Fat: 8 g
- Unsaturated Fat: 11 g
- Trans Fat: 0.5 g
- Carbohydrates: 28 g
- Fiber: 2 g
- Protein: 6 g
- Cholesterol: 18 mg
Sarah Mitchell
Content Specialist & Home Cooking Enthusiast
Expertise
Education
Asheville-Buncombe Technical Community College – Asheville, NC
American Fitness Professionals & Associates – Online
Sarah’s passion for food was sparked by weekend trips to the farmers’ market and her belief that healthy meals should never feel boring.
After earning her culinary diploma and becoming a certified Nutrition and Wellness Consultant, she set out to help others fall in love with simple, wholesome cooking.
She’s all about celebrating the small wins in the kitchen: a colorful yogurt bowl, a new twist on a classic dish, or a homemade snack that feels just a little extra special.
Outside the kitchen, Sarah is a gardener at heart, a yoga enthusiast, and a believer that fresh herbs can brighten any meal, and any day.