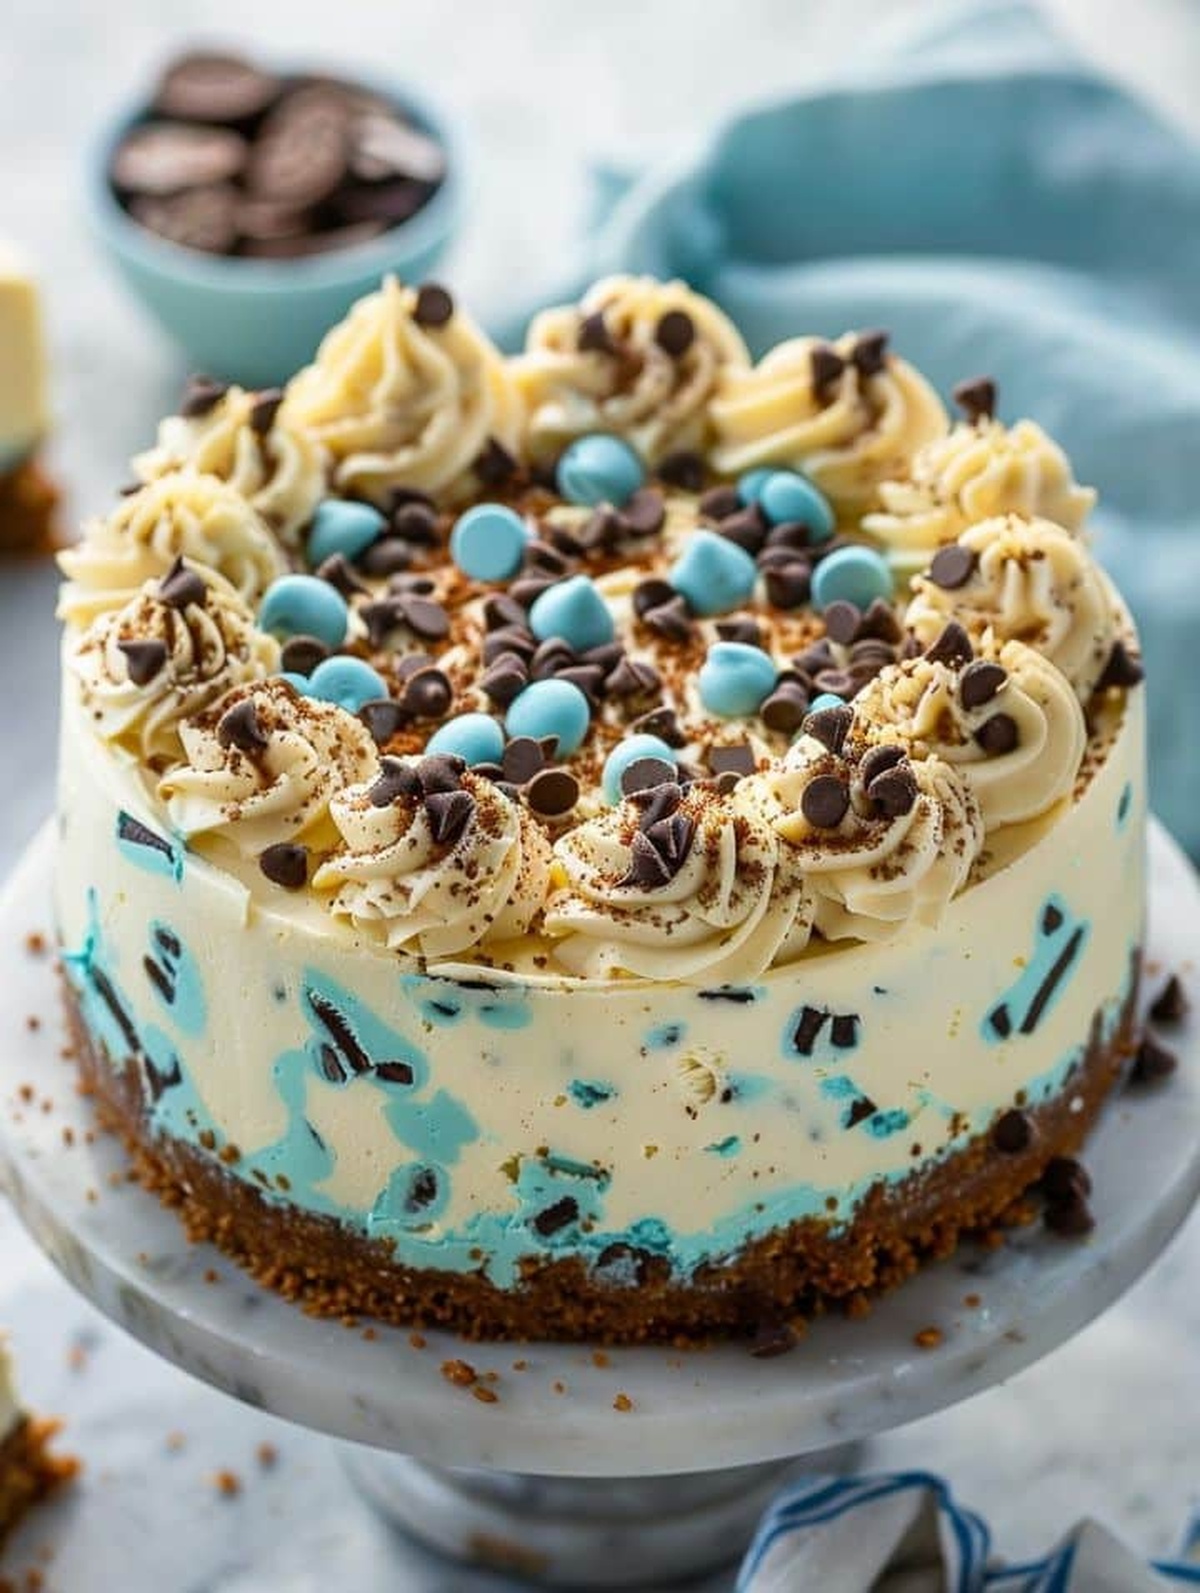
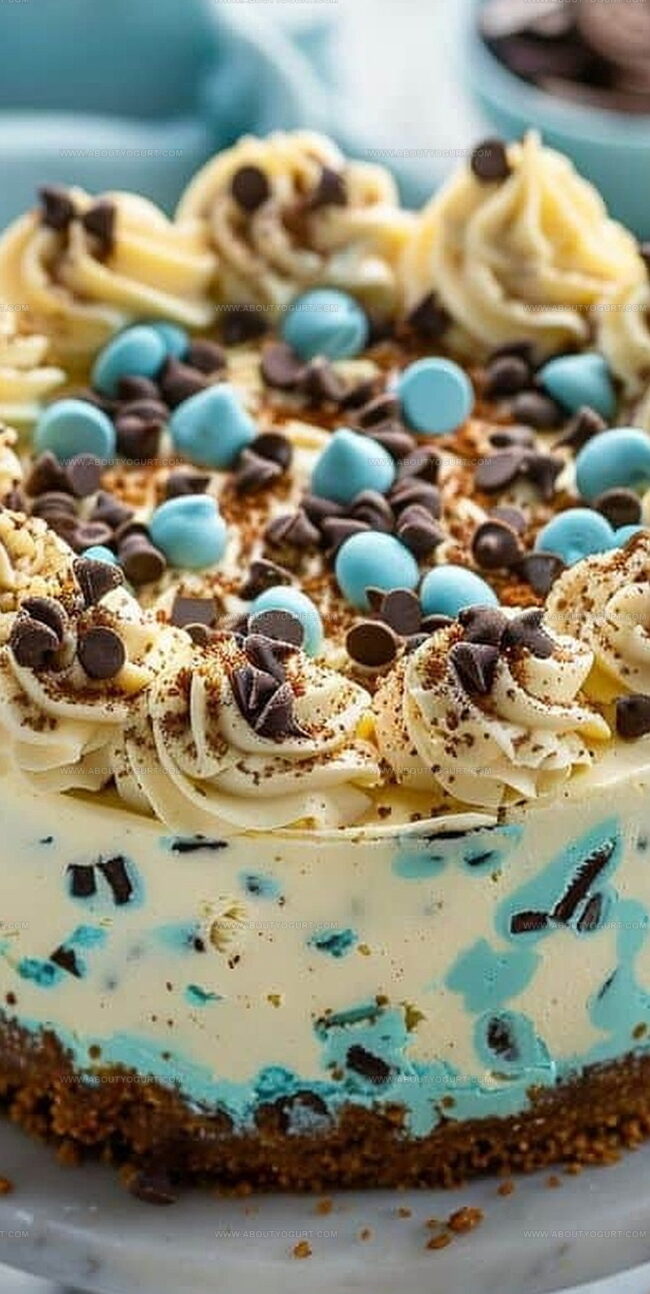
Playful Cookie Monster Cheesecake Recipe for Sweet Smiles
Whipping up a cookie monster cheesecake brings pure childhood nostalgia and playful dessert magic into your kitchen.
Vibrant blue frosting creates an eye-catching centerpiece for any celebration.
Sweet cream cheese blends perfectly with crumbly chocolate cookie chunks.
Fans of sesame street characters will adore this whimsical treat that combines classic cheesecake richness with fun visual appeal.
Creamy layers promise a delightful experience for every dessert enthusiast.
Each slice promises a burst of color and incredible flavor that sparks joy.
Come explore this delightful recipe that transforms an ordinary cheesecake into an extraordinary adventure.
Delicious Secrets Behind Cookie Monster Cheesecake
Ingredients For Delicious Cookie Monster Cheesecake Delight
Base Ingredients:Cheesecake Filling:Decorative and Flavor Ingredients:Instructions To Craft Delicious Cookie Monster Cheesecake
Step 1: Preheat and Prepare Baking Pan
Set your oven to 325F (165C). Grab a 9-inch springform pan and generously coat the bottom with cooking spray or butter. Line the base with parchment paper for easy removal later.
Step 2: Create Cookie Crumb Base
Gather your ingredients:Crush the cookies into fine crumbs using a food processor or rolling pin. Mix the cookie crumbs with sugar and melted butter until the mixture resembles wet sand. Press the crumb mixture firmly and evenly into the bottom of the prepared pan. Slide the pan into the preheated oven and bake for 10 minutes. Once done, remove and let the crust cool completely while you prepare the next layer.
Step 3: Whip Cream Cheese Filling
In a large mixing bowl, beat cream cheese until smooth and creamy. Add sugar and mix until fully incorporated. Blend in vanilla extract, sour cream, and eggs one at a time, ensuring each ingredient is fully mixed before adding the next. Fold in blue food coloring to create the Cookie Monster’s signature shade.
Step 4: Prepare Cookie Monster Topping
Crush additional chocolate sandwich cookies into chunks. Gently fold most of the cookie pieces into the cheesecake batter, reserving some for decorating the top.
Step 5: Bake Cheesecake
Pour the blue-tinted cheesecake batter over the cooled cookie crust. Smooth the top with a spatula. Bake in the preheated oven for about 45-50 minutes. The cheesecake should have a slight wobble in the center when gently shaken.
Step 6: Cool and Chill
Turn off the oven and crack the door open. Let the cheesecake sit for 1 hour to prevent cracking. Remove from the oven and cool completely at room temperature. Refrigerate for at least 4 hours or overnight.
Step 7: Decorate and Serve
Before serving, sprinkle reserved cookie chunks on top. Optional: Pipe additional blue whipped cream or frosting to enhance the Cookie Monster theme. Slice and enjoy your playful, cookie-packed cheesecake!
Pro Tips For Perfect Cookie Monster Cheesecake Texture And Taste
Variations To Try With Delicious Cookie Monster Cheesecake
Pairing Ideas To Enjoy With Delicious Cookie Monster Cheesecake
How To Store Delicious Cookie Monster Cheesecake Properly
FAQs To Guide You Through Delicious Cookie Monster Cheesecake
The crust uses crushed cookies instead of traditional graham crackers, giving a fun and unexpected base that complements the Cookie Monster theme.
Blue-colored sandwich cookies work best to maintain the Cookie Monster aesthetic, but you can substitute with similar cookies if needed.
No special skills required! Follow the steps carefully, and even beginner bakers can create this playful dessert successfully.
Avoid overmixing the batter, bake in a water bath, and let the cheesecake cool gradually to minimize cracking and ensure a smooth texture.
Print
Delicious Cookie Monster Cheesecake Recipe
- Total Time: 20 minutes
- Yield: 8 1x
Description
Dive into cookie monster magic with this playful cheesecake that brings childhood nostalgia to dessert tables. Blue-swirled creamy cheesecake studded with chocolate chip cookies promises pure delight for sweet seekers craving whimsical indulgence.
Ingredients
Primary Ingredients:
- 24 ounces (680 grams) cream cheese
- 4 large eggs
- 1 cup granulated sugar
Cookie Base:
- 2 cups crushed chocolate sandwich cookies
- 1/4 cup granulated sugar
- 1/2 cup unsalted butter, melted
Flavor and Decoration:
- 2 teaspoons vanilla extract
- 1/4 cup heavy cream
- Blue food coloring
- Chocolate chip cookies for decoration
- 1/4 cup blue sprinkles
Instructions
- Prepare the baking vessel by coating a 9-inch springform pan with butter and lining the base, then set the oven temperature to 325°F (165°C) for precise baking conditions.
- Create a crumbly foundation by thoroughly blending pulverized cookies with granulated sugar and melted butter until the mixture achieves a consistent texture.
- Compact the cookie mixture firmly and evenly across the pan’s bottom, ensuring a smooth, dense crust layer.
- Transfer the pan to the preheated oven and bake the crust for 10 minutes, allowing it to set and develop a golden, crisp foundation.
- Remove the crust from the oven and allow it to cool completely at room temperature, creating a stable base for the upcoming cheesecake layers.
- Whip cream cheese until smooth and creamy, eliminating any potential lumps for a silky consistency.
- Gradually incorporate sugar, ensuring even distribution and preventing potential graininess in the mixture.
- Blend in eggs one at a time, mixing thoroughly after each addition to maintain a uniform texture.
- Fold in vanilla extract and additional flavorings, stirring gently to maintain the mixture’s delicate structure.
- Pour the prepared cheesecake batter over the cooled cookie crust, spreading it evenly to create a balanced layer.
- Bake the cheesecake at the same 325°F (165°C) temperature for approximately 45-50 minutes, watching for a slight jiggle in the center.
- Remove from the oven and allow the cheesecake to cool gradually, then refrigerate for several hours to set completely.
Notes
- Swap regular cookies with gluten-free options for a celiac-friendly version, ensuring everyone can enjoy this delightful dessert.
- Use room temperature cream cheese to prevent lumps and create a smoother, more velvety cheesecake texture.
- Crush cookies finely and press the crust mixture evenly to create a stable, compact base that won’t crumble when serving.
- Wrap the springform pan’s exterior with aluminum foil to prevent water from seeping in during the water bath baking method, which helps prevent cracks and ensures even cooking.
- Prep Time: 10 minutes
- Cook Time: 10 minutes
- Category: Desserts
- Method: Baking
- Cuisine: American
Nutrition
- Serving Size: 8
- Calories: 276 kcal
- Sugar: 8 g
- Sodium: 90 mg
- Fat: 18 g
- Saturated Fat: 11 g
- Unsaturated Fat: 6 g
- Trans Fat: 0.1 g
- Carbohydrates: 28 g
- Fiber: 2 g
- Protein: 2 g
- Cholesterol: 30 mg


Sarah Mitchell
Content Specialist & Home Cooking Enthusiast
Expertise
Education
Asheville-Buncombe Technical Community College – Asheville, NC
American Fitness Professionals & Associates – Online
Sarah’s passion for food was sparked by weekend trips to the farmers’ market and her belief that healthy meals should never feel boring.
After earning her culinary diploma and becoming a certified Nutrition and Wellness Consultant, she set out to help others fall in love with simple, wholesome cooking.
She’s all about celebrating the small wins in the kitchen: a colorful yogurt bowl, a new twist on a classic dish, or a homemade snack that feels just a little extra special.
Outside the kitchen, Sarah is a gardener at heart, a yoga enthusiast, and a believer that fresh herbs can brighten any meal, and any day.