Garlic Cheese Bombs Recipe with Gooey Bites Inside
Crafting delightful garlic cheese bombs brings pure joy to any kitchen adventure.
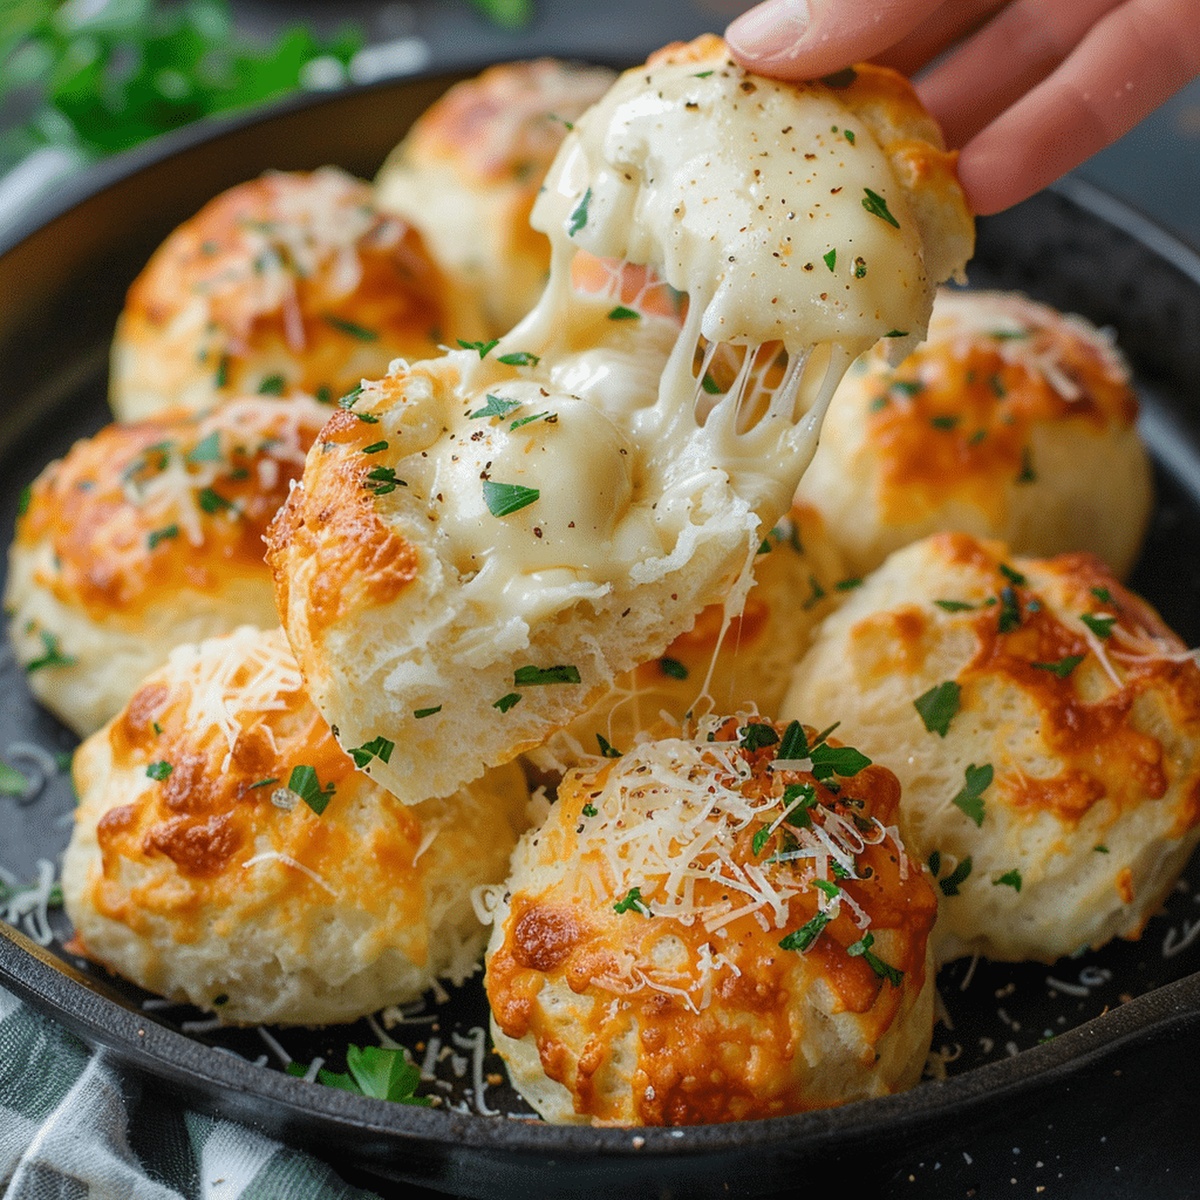
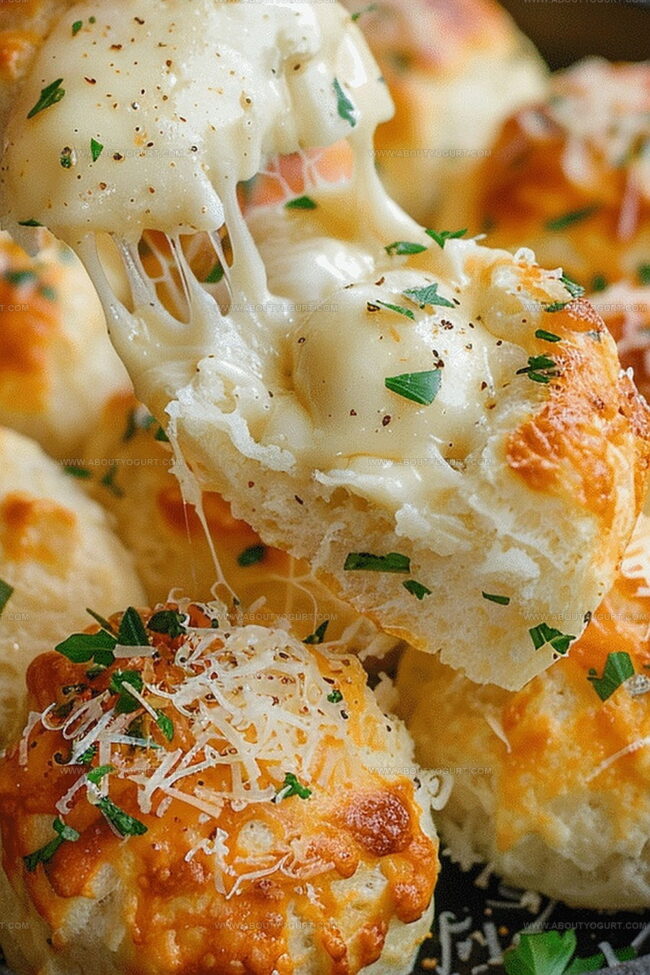
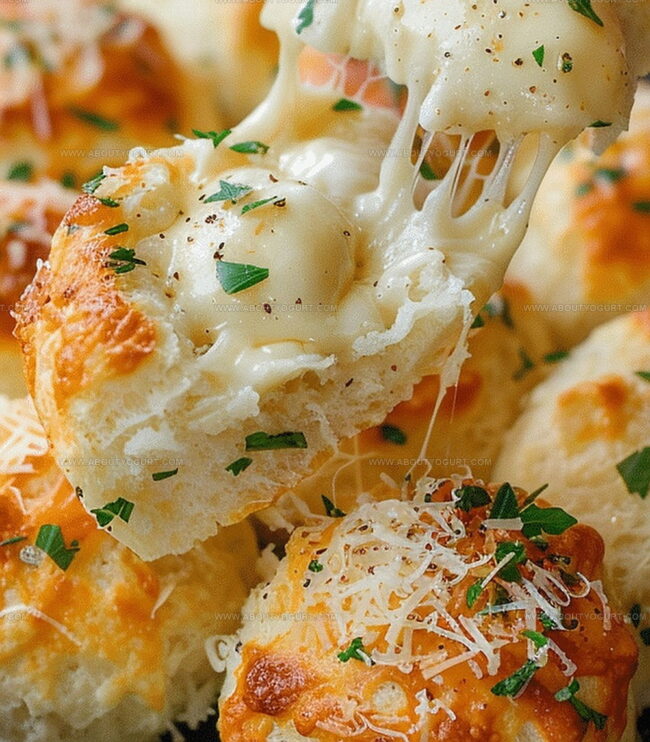
Warm, pillowy dough cradles melted cheese and aromatic garlic inside each delectable morsel.
Comfort food doesn’t get more satisfying than these irresistible little bites.
Simple ingredients combine to create something magical on your plate.
Crispy exteriors give way to gooey, fragrant centers that make you close your eyes in delight.
Anyone can master this crowd-pleasing recipe with just a few basic steps.
Why Easy Garlic Cheese Bombs Are a Crowd Pleaser
Ingredients for Easy Garlic Cheese Bombs
Main Dough Ingredients:Butter and Seasoning Ingredients:Topping Ingredient:Instructions to Prepare Easy Garlic Cheese Bombs
Step 1: Warm Up the Oven
Get your oven ready by heating it to 375F (190C). Grab a baking sheet and line it with parchment paper or give it a quick spray of cooking oil.
Step 2: Shape the Dough
Carefully separate the biscuit dough into 8 equal pieces. Use your hands to gently press each piece into a flat, round shape.
Step 3: Create Cheese Centers
Place a single cube of mozzarella cheese right in the middle of each dough circle. Carefully wrap the dough edges around the cheese, pinching them together tightly. Roll each ball between your palms until smooth and sealed.
Step 4: Whip Up Garlic Butter
Grab a small bowl and combine:Mix everything together until well blended.
Step 5: Coat the Bombs
Dunk each cheese-filled dough ball into the garlic butter mixture. Make sure every inch gets a nice, even coating. Let any extra butter drip off.
Step 6: Prepare for Baking
Arrange the butter-coated bombs on the prepared baking sheet. Space them out evenly. For an extra flavor boost, sprinkle some grated Parmesan cheese on top.
Step 7: Bake to Golden Perfection
Slide the baking sheet into the preheated oven. Bake for 12-15 minutes until the bombs turn a beautiful golden brown and look perfectly cooked.
Step 8: Serve and Savor
Pull the garlic cheese bombs out of the oven and let them cool for a few minutes. Serve them up hot and enjoy with your favorite dipping sauce or all on their own.
Pro Tips to Get Easy Garlic Cheese Bombs Right Every Time
Variation Ideas for Easy Garlic Cheese Bombs
Pairing Suggestions for Easy Garlic Cheese Bombs
Storing Easy Garlic Cheese Bombs Properly
Frequently Asked Questions About Easy Garlic Cheese Bombs
You can substitute mozzarella with cheddar, provolone, or pepper jack for a different flavor profile.
Yes, you can freeze unbaked cheese bombs. Prepare them, place on a baking sheet, and freeze. Transfer to a freezer bag and bake directly from frozen, adding 3-5 minutes to baking time.
Ensure you seal the dough edges completely by pinching and rolling the dough ball tightly. Cold cheese also helps prevent leakage during baking.
Dried parsley works fine, or you can omit it altogether. The garlic butter will still provide excellent flavor.
Print
Easy Garlic Cheese Bombs Recipe
- Total Time: 22-25 minutes
- Yield: 8 1x
Description
Cheesy garlic bombs deliver pure comfort with their crispy golden exterior and molten center. Warm, pillowy dough embraces melted cheese and fragrant garlic, promising a delightful bite you’ll crave again and again.
Ingredients
Main Ingredients:
- 1 tube (16.3 ounces / 462 grams) refrigerated biscuit dough
- 4 ounces (113 grams) mozzarella cheese
- 4 tablespoons (60 milliliters) unsalted butter
Flavoring Ingredients:
- 2 cloves garlic
- 1 tablespoon (15 milliliters) fresh parsley
- 1/4 teaspoon salt
- 1/4 teaspoon black pepper
Topping Ingredient:
- Grated Parmesan cheese (optional)
Instructions
- Heat the oven to 375F (190C) and prepare a baking sheet with parchment paper or cooking spray.
- Gently separate the biscuit dough into 8 equal portions and press each piece into a flat circular shape using your hands.
- Position a mozzarella cheese cube at the center of each dough circle.
- Carefully gather the dough edges around the cheese, pinching and sealing completely to prevent leakage. Roll each into a smooth, compact ball.
- Whisk together melted butter, minced garlic, chopped parsley, salt, and black pepper in a small mixing bowl until thoroughly combined.
- Immerse each cheese-filled dough sphere into the garlic butter mixture, ensuring complete coverage and allowing excess butter to drip off.
- Arrange the coated bombs evenly on the prepared baking sheet, optionally sprinkling Parmesan cheese across the tops for additional flavor complexity.
- Bake in the preheated oven for 12-15 minutes until the exterior turns a rich golden brown and the dough appears fully cooked.
- Extract the garlic cheese bombs from the oven and permit brief cooling before serving.
- Serve warm, accompanied by a complementary dipping sauce if desired, and savor the melty, garlicky goodness.
Notes
- Select refrigerator-cold mozzarella for cleaner, more contained cheese melting inside the dough.
- Seal dough edges completely to prevent cheese leakage during baking, using gentle pinching techniques.
- Use fresh garlic instead of pre-minced for more robust, authentic flavor profile and aromatic intensity.
- Create gluten-free version by substituting biscuit dough with almond flour-based alternative or gluten-free biscuit mix.
- Prep Time: 10 minutes
- Cook Time: 12-15 minutes
- Category: Appetizer, Snacks
- Method: Baking
- Cuisine: American
Nutrition
- Serving Size: 8
- Calories: 220 kcal
- Sugar: 1 g
- Sodium: 320 mg
- Fat: 14 g
- Saturated Fat: 8 g
- Unsaturated Fat: 5 g
- Trans Fat: 0.3 g
- Carbohydrates: 16 g
- Fiber: 1 g
- Protein: 7 g
- Cholesterol: 35 mg
Michael Thompson
Founder & Recipe Developer
Expertise
Education
Cascade Culinary Institute – Bend, OR
ServSafe Food Handler Certification – Portland, OR
Focus: Certified in core food safety and hygiene principles for both home and professional kitchens, with emphasis on ingredient handling, kitchen cleanliness, and safe preparation methods.
Mike’s kitchen journey began with a single goal: to make everyday meals feel like something worth celebrating.
After earning his Certificate in Culinary Arts from Cascade Culinary Institute, he spent years working with local farmers and small kitchens across Oregon, learning the beauty of seasonal, small-batch cooking.
Mike’s approach is simple, cook with what’s fresh, keep it approachable, and always leave room for a little creativity. When he’s not testing yogurt marinades or designing single-serving meals, you’ll find him hiking trails or hunting down the best berries at local markets.