
Rustic Farmhouse Loaf Recipe: Golden, Crusty, Homemade Joy
Crafting a rustic farmhouse loaf brings warmth and nostalgia to any kitchen counter.
Memories of grandmother’s hands kneading dough float through my mind whenever I start this recipe.
Soft wheat flour and simple ingredients create magic in just a few steps.
Country bakers have perfected this traditional bread for generations, passing down techniques that connect us to our culinary roots.
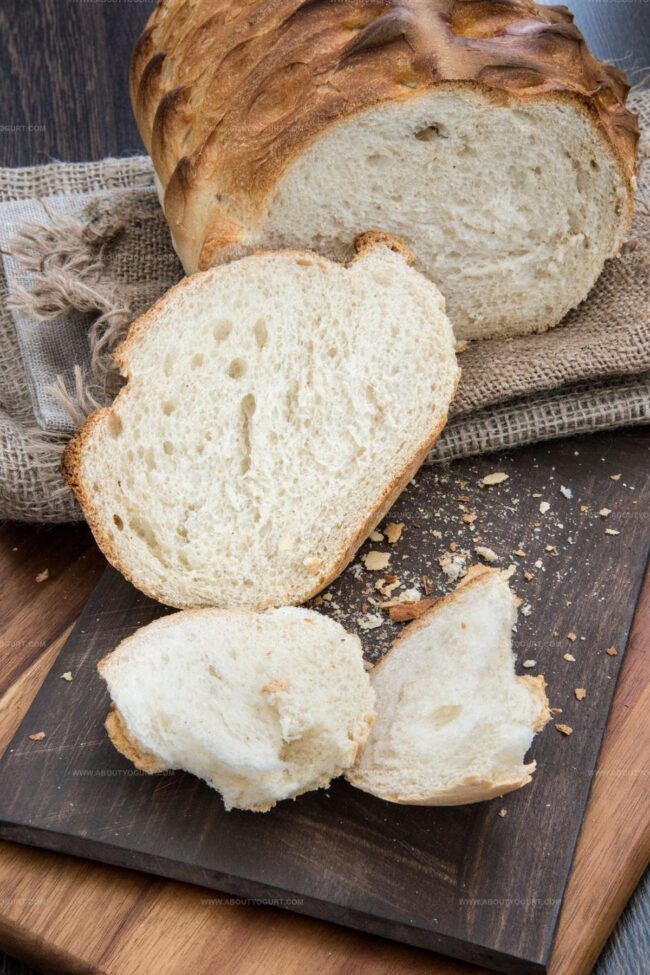
Each slice tells a story of comfort and simplicity.
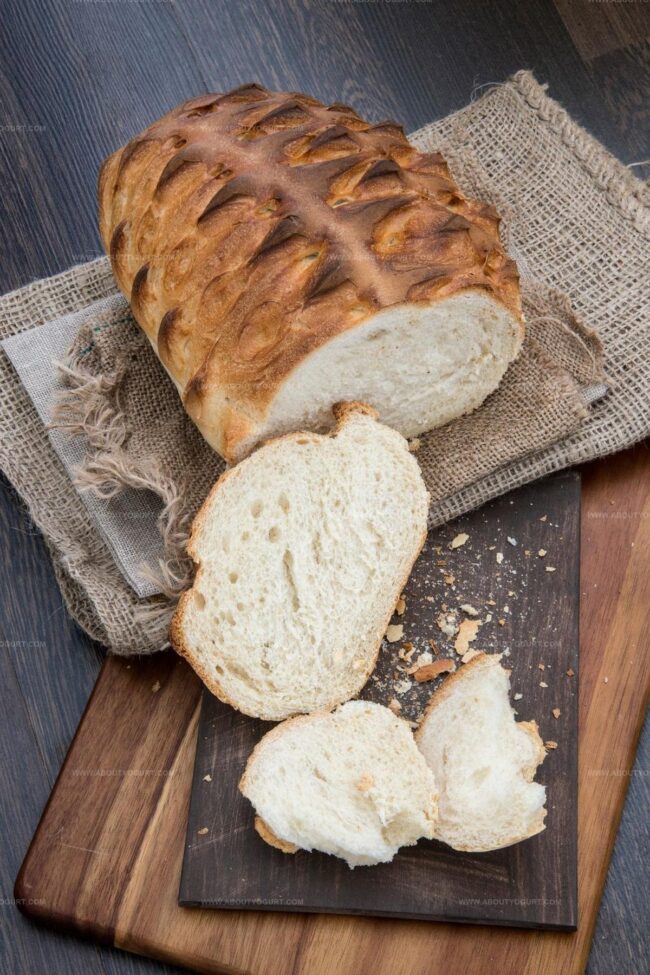
Freshly baked and golden brown, this loaf promises to fill your home with an irresistible aroma that calls everyone to the table.
You’ll want to slice into this warm, hearty bread and savor every delicious moment.
Why Mary Berry Farmhouse Loaf Recipe Is Popular
Mary Berry Farmhouse Loaf Recipe Ingredient Guide
Bread Base:Leavening Agents:Moisture and Binding Ingredients:Steps For Mary Berry Farmhouse Loaf Recipe
Step 1: Prepare Mixing Ingredients
Gather a spacious mixing bowl and combine your dry and wet components carefully. You’ll need:Mix these ingredients thoroughly until they are well integrated.
Step 2: Create Dough Base
Form a small well in the center of your ingredient mixture. Slowly pour warm water into this well, gradually incorporating it into the dry ingredients. Stir and blend continuously until a soft, shaggy dough emerges.
Step 3: Develop Dough Texture
Transfer the dough onto a clean work surface. Begin kneading with firm, rhythmic motions. Push, fold, and turn the dough consistently. Continue kneading by hand for 10-12 minutes or use a stand mixer for 8-10 minutes until the dough becomes smooth and elastic.
Step 4: First Dough Rise
Lightly grease a clean bowl with cooking spray or oil. Place the kneaded dough inside, turning it to coat all surfaces. Cover the bowl with a clean kitchen towel or plastic wrap. Allow the dough to rise in a warm, draft-free area for approximately 1.5 hours, or until it doubles in size.
Step 5: Shape Loaf
Gently punch down the risen dough to release air bubbles. Transfer it to a lightly floured surface and shape into a smooth loaf. Place the shaped dough into a greased loaf pan.
Step 6: Second Dough Rise
Cover the loaf pan with a kitchen towel. Let the dough rise again for about 45 minutes, allowing it to become puffy and increase in volume.
Step 7: Prepare Oven
Preheat your oven to 450°F (230°C). Place an empty metal pan on the bottom rack – this will be used for creating steam.
Step 8: Prepare Loaf for Baking
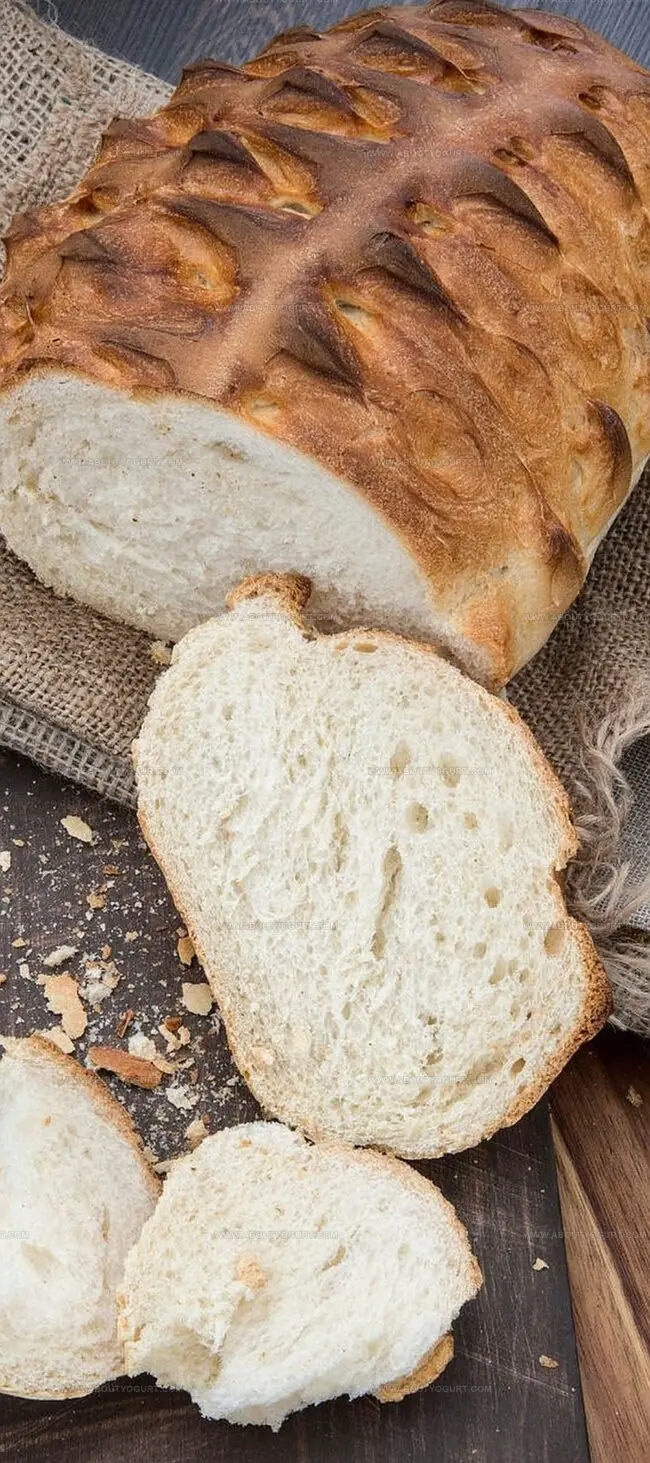
Using a sharp knife, make a few diagonal slashes across the top of the loaf. Lightly dust the surface with flour for a rustic appearance.
Step 9: Create Steam and Bake
Carefully pour hot water into the empty metal pan to create steam. Immediately place the loaf pan in the oven. Bake at 450°F for 10 minutes, then reduce temperature to 400°F and continue baking for 30-35 minutes until the crust is golden brown.
Step 10: Cool and Serve
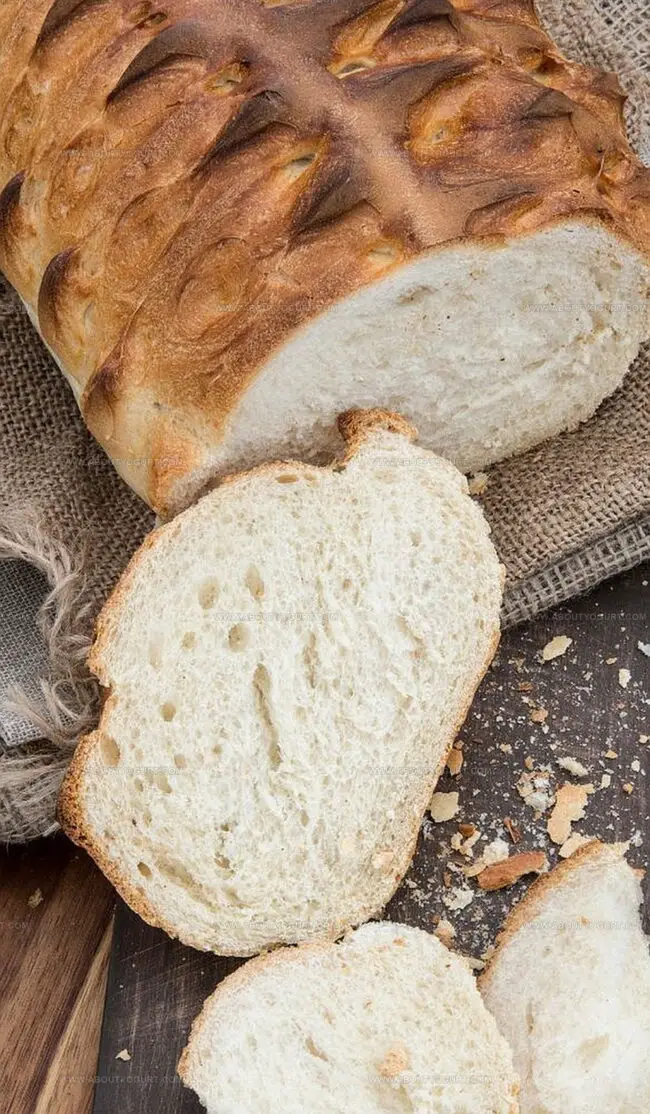
Remove the loaf from the oven and transfer to a wire cooling rack. Allow the bread to cool completely before slicing to maintain its structure and texture.
Bread Tips For Mary Berry Farmhouse Loaf Recipe
Custom Ideas For Mary Berry Farmhouse Loaf Recipe
Good Matches For Mary Berry Farmhouse Loaf Recipe
Storing Mary Berry Farmhouse Loaf Recipe The Right Way
Mary Berry Farmhouse Loaf Recipe Q&A
Kneading develops gluten, which gives bread its structure, texture, and helps it rise properly. Proper kneading creates elastic dough that traps air bubbles and results in a light, airy bread.
Steam helps create a crispy, golden crust by keeping the dough’s surface moist during initial baking. This allows the bread to expand fully and prevents the crust from forming too quickly, resulting in a better rise and more attractive loaf.
The dough is ready when it has doubled in size and feels puffy. When you gently press the dough with a finger, it should slowly spring back but leave a slight indentation, indicating it’s perfectly proofed.
Print
Farmhouse Loaf Recipe
- Total Time: 2 hours 2-22 minutes
- Yield: 8 1x
Description
Rustic farmhouse loaf brings warmth of countryside kitchens straight to your table. Golden-crusted bread with hearty texture delivers simple, soul-satisfying comfort you’ll savor with every slice.
Ingredients
Main Ingredients:
- 600 grams (21.2 ounces) very strong white bread flour
- 350 milliliters (11.8 fluid ounces) tepid water
- 50 grams (1.8 ounces) softened butter
Leavening and Seasoning:
- 1.5 teaspoons instant yeast
- 2 teaspoons fine sea salt
- 1 teaspoon caster sugar
Instructions
- Mix dry ingredients including flour, salt, sugar, and yeast in a spacious mixing vessel, then incorporate softened butter.
- Create a central depression in the mixture and gradually introduce water, stirring until a cohesive dough forms.
- Vigorously knead the dough for 10-12 minutes by hand or 8-10 minutes using a stand mixer until smooth and elastic.
- Transfer dough to a lightly oiled bowl, ensuring complete surface coverage, then drape with a clean kitchen towel.
- Allow dough to proof in a warm environment for approximately 1.5 hours, or until volume has doubled.
- Gently deflate the risen dough and shape into a uniform loaf configuration.
- Position the shaped dough into a greased loaf tin, covering loosely to prevent surface drying.
- Permit second fermentation for 45 minutes until dough has visibly expanded.
- Heat oven to 230°C, positioning an empty metal tray on the bottom rack.
- Score the loaf’s surface with a sharp blade, dust lightly with flour.
- Pour boiling water into the preheated metal tray to generate steam.
- Bake initially at 230°C for 10 minutes, then reduce temperature to 200°C for 30-35 minutes.
- Remove from oven and transfer to a wire cooling rack, allowing complete cooling before slicing.
Notes
- Flour substitution works great with whole wheat or gluten-free blends for dietary needs.
- Precise water temperature around 110-115°F ensures active yeast without killing it.
- Use a dough scraper to knead efficiently and prevent sticky mess on surfaces.
- Overnight cold fermentation in refrigerator enhances flavor complexity and develops deeper bread texture.
- Prep Time: 1 hour 22-37 minutes
- Cook Time: 40-45 minutes
- Category: Breakfast, Lunch, Dinner, Snacks
- Method: Baking
- Cuisine: British
Nutrition
- Serving Size: 8
- Calories: 179 kcal
- Sugar: 0.5 g
- Sodium: 298 mg
- Fat: 3.3 g
- Saturated Fat: 2.1 g
- Unsaturated Fat: 1.2 g
- Trans Fat: 0 g
- Carbohydrates: 34.7 g
- Fiber: 1.4 g
- Protein: 5.9 g
- Cholesterol: 11 mg
Michael Thompson
Founder & Recipe Developer
Expertise
Education
Cascade Culinary Institute – Bend, OR
ServSafe Food Handler Certification – Portland, OR
Focus: Certified in core food safety and hygiene principles for both home and professional kitchens, with emphasis on ingredient handling, kitchen cleanliness, and safe preparation methods.
Mike’s kitchen journey began with a single goal: to make everyday meals feel like something worth celebrating.
After earning his Certificate in Culinary Arts from Cascade Culinary Institute, he spent years working with local farmers and small kitchens across Oregon, learning the beauty of seasonal, small-batch cooking.
Mike’s approach is simple, cook with what’s fresh, keep it approachable, and always leave room for a little creativity. When he’s not testing yogurt marinades or designing single-serving meals, you’ll find him hiking trails or hunting down the best berries at local markets.