
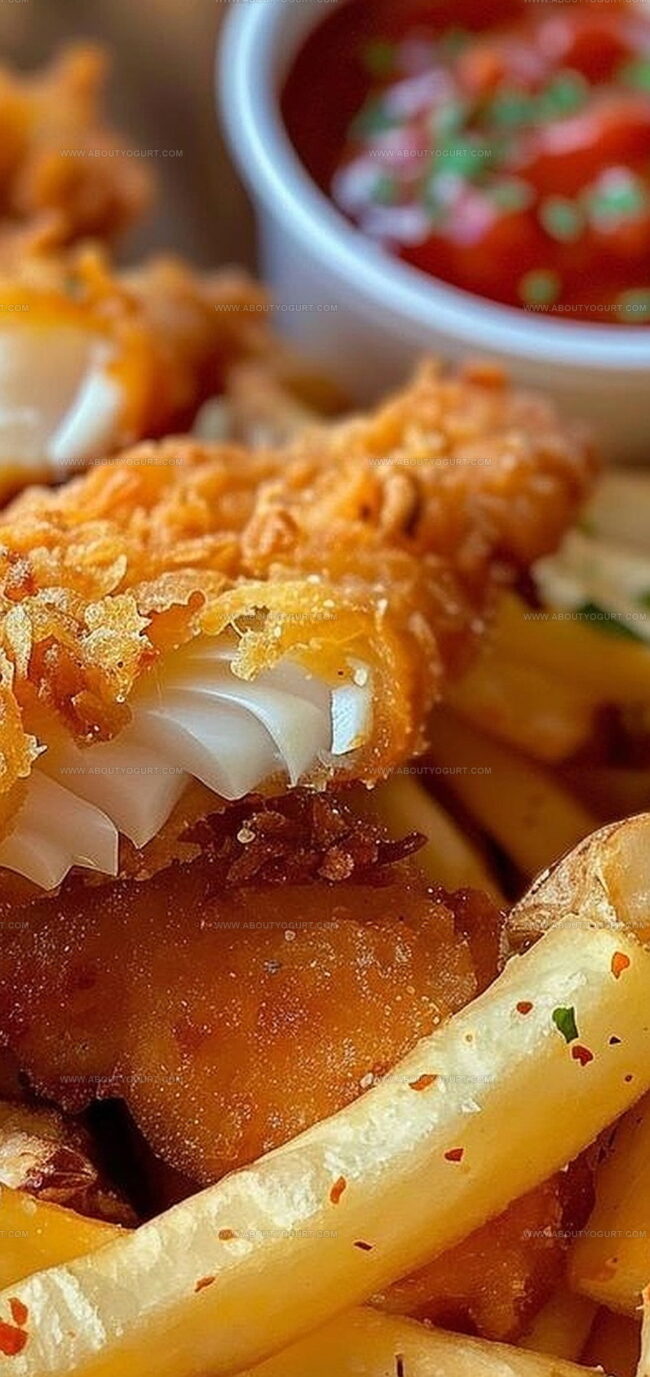
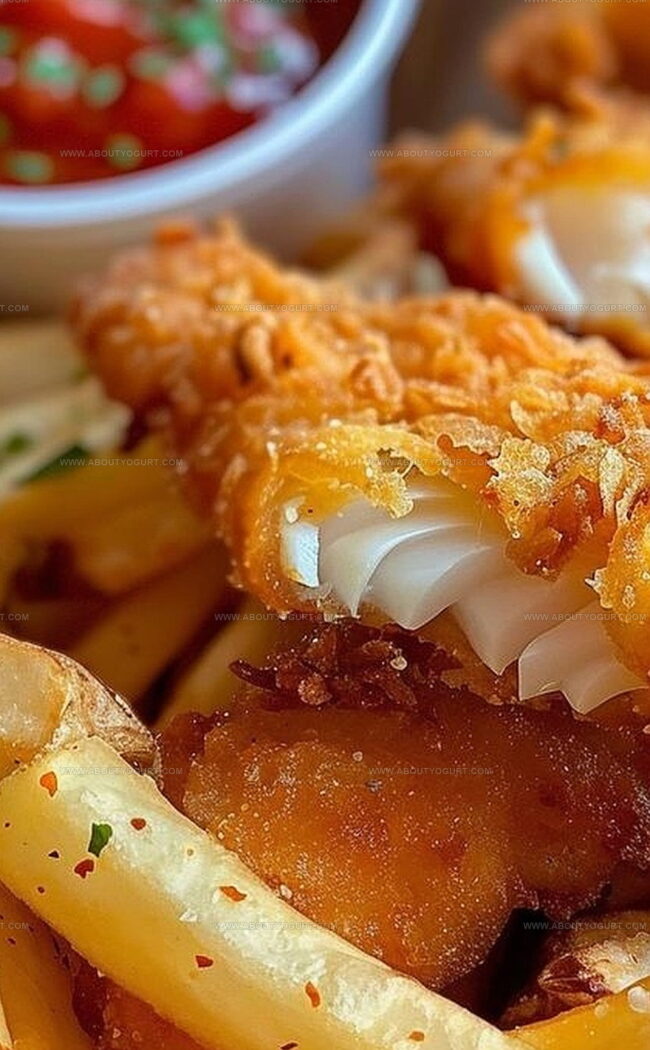
Crispy Fish Fingers and Peri Peri Fries Recipe to Enjoy
Crispy fish fingers dancing with zesty peri peri fries promise a mouth-watering adventure for hungry souls.
Spices swirl and crunch beckons from every golden-edged morsel.
Seafood lovers will adore this playful twist on classic comfort food.
Mediterranean heat meets ocean-fresh protein in a tantalizing culinary mash-up.
Quick and simple ingredients guarantee satisfaction without complicated kitchen gymnastics.
Weeknight dinner dreams start right here with this foolproof recipe that delights.
You can’t wait to savor every delectable bite of this vibrant plate.
What Makes Fish Fingers with Peri Peri Fries So Delicious
Ingredients Required for Fish Fingers with Peri Peri Fries
Main Protein:Breading Ingredients:Seasoning Blend:Potato Ingredients:Fry Seasoning:Cooking Oils and Liquids:Additional Ingredients:Cooking Instructions for Fish Fingers with Peri Peri Fries
Step 1: Craft Crispy Fish Fingers
Preheat your oven to 400F (200C) and line a baking sheet with parchment paper. Set up your breading station with three separate dishes:Dip each fish strip first into flour, then eggs, and finally coat thoroughly with the breadcrumb mixture. Gently place the breaded fish fingers on the prepared baking sheet. Heat vegetable oil in a large skillet over medium heat. Fry the fish fingers in small batches until they turn golden and develop a crispy exterior, about 2-3 minutes per side. Transfer the fried fish fingers back to the baking sheet and bake in the preheated oven for 5-7 minutes to ensure they’re cooked through completely.
Step 2: Prepare Zesty Peri Peri Fries
Submerge cut potatoes in cold water for 30 minutes to remove excess starch. Drain and thoroughly dry the potatoes using a clean kitchen towel. In a large mixing bowl, toss the potatoes with:Spread the seasoned potatoes in a single layer on a baking sheet. Roast in the preheated oven at 400F (200C) for 25-30 minutes, flipping midway to ensure even browning and crispiness.
Step 3: Plate and Enjoy
Arrange the golden fish fingers and spicy peri peri fries on a serving platter. Serve alongside your favorite dipping sauces for an extra flavor kick.
Expert Advice for Fish Fingers with Peri Peri Fries
Variations of Fish Fingers with Peri Peri Fries
Suggested Pairings for Fish Fingers with Peri Peri Fries
Storage Guidance for Fish Fingers with Peri Peri Fries
FAQs About Fish Fingers with Peri Peri Fries
White fish like cod, haddock, or tilapia are ideal because they have a mild flavor and flaky texture that breads well and stays tender.
Yes, substitute regular flour with gluten-free flour and use gluten-free panko breadcrumbs to create a celiac-friendly version of the dish.
Ensure your oil is hot enough before frying, and don’t overcrowd the pan. Pat the fish dry before breading and use a wire rack after cooking to maintain crispiness.
Soaking helps remove excess starch, which results in crispier fries with a better texture and prevents them from sticking together during cooking.
Print
Fish Fingers with Peri Peri Fries Recipe
- Total Time: 72-80 minutes
- Yield: 4 1x
Description
Crispy fish fingers paired with zesty peri peri fries create a mouthwatering Portuguese-inspired dish that sizzles with flavor. Homemade goodness meets spicy adventure, inviting you to savor every crunchy, perfectly seasoned bite of this irresistible meal.
Ingredients
Protein:
- 1 pound white fish fillets (such as cod or haddock), cut into strips
Coating Ingredients:
- 1 cup all-purpose flour
- 2 large eggs, beaten
- 1 cup panko breadcrumbs
- 1/2 cup grated Parmesan cheese
Seasoning:
- 1 teaspoon paprika
- 1/2 teaspoon garlic powder
- 1/2 teaspoon onion powder
- Salt, to taste
- Pepper, to taste
- Vegetable oil, for frying
Instructions
- Craft the breading setup for fish fingers by arranging three shallow dishes: one with flour, another with whisked eggs, and the third with a blend of panko breadcrumbs, Parmesan, paprika, garlic powder, onion powder, salt, and pepper.
- Meticulously coat each fish strip by first dusting with flour, then dipping into beaten eggs, and finally rolling in the seasoned breadcrumb mixture.
- Warm a thin layer of vegetable oil in a large skillet over medium heat (around 350F) and fry fish fingers until they develop a golden, crispy exterior, approximately 2-3 minutes per side.
- Transfer fried fish fingers onto a parchment-lined baking sheet and finish cooking in a preheated 400F oven for 5-7 minutes to ensure complete internal doneness.
- Prepare potato strips by submerging them in cold water for 30 minutes to eliminate excess starch, then thoroughly drain and pat dry with a clean kitchen towel.
- Massage potato strips with vegetable oil, peri peri seasoning, garlic powder, salt, and pepper, ensuring even distribution of flavors.
- Arrange seasoned potato strips in a single layer on a baking sheet and roast at 400F for 25-30 minutes, rotating midway to achieve uniform crispness.
- Plate the golden fish fingers alongside the spicy, crisp peri peri fries and accompany with preferred dipping sauces for a complete meal experience.
Notes
- Enhance crispiness by patting fish strips completely dry before breading to ensure maximum crunch and prevent sogginess.
- Add extra flavor by incorporating lemon zest into breadcrumb mixture for a bright, citrusy undertone that complements the fish.
- Consider using gluten-free breadcrumbs and flour for those with dietary restrictions, maintaining the same crispy texture and delicious taste.
- Experiment with alternative protein options like chicken or tofu for a versatile dish that caters to different dietary preferences.
- Prep Time: 40 minutes
- Cook Time: 32-40 minutes
- Category: Lunch, Dinner, Snacks
- Method: Frying
- Cuisine: Portuguese-African
Nutrition
- Serving Size: 4
- Calories: 450 kcal
- Sugar: 2 g
- Sodium: 700 mg
- Fat: 20 g
- Saturated Fat: 5 g
- Unsaturated Fat: 13 g
- Trans Fat: 0.2 g
- Carbohydrates: 35 g
- Fiber: 2 g
- Protein: 30 g
- Cholesterol: 130 mg
Sarah Mitchell
Content Specialist & Home Cooking Enthusiast
Expertise
Education
Asheville-Buncombe Technical Community College – Asheville, NC
American Fitness Professionals & Associates – Online
Sarah’s passion for food was sparked by weekend trips to the farmers’ market and her belief that healthy meals should never feel boring.
After earning her culinary diploma and becoming a certified Nutrition and Wellness Consultant, she set out to help others fall in love with simple, wholesome cooking.
She’s all about celebrating the small wins in the kitchen: a colorful yogurt bowl, a new twist on a classic dish, or a homemade snack that feels just a little extra special.
Outside the kitchen, Sarah is a gardener at heart, a yoga enthusiast, and a believer that fresh herbs can brighten any meal, and any day.