
Fluffy Focaccia Recipe That’s Simple to Make
Crafting an irresistible focaccia brings pure joy to home kitchens everywhere.
Soft, pillowy dough becomes a canvas for culinary creativity.
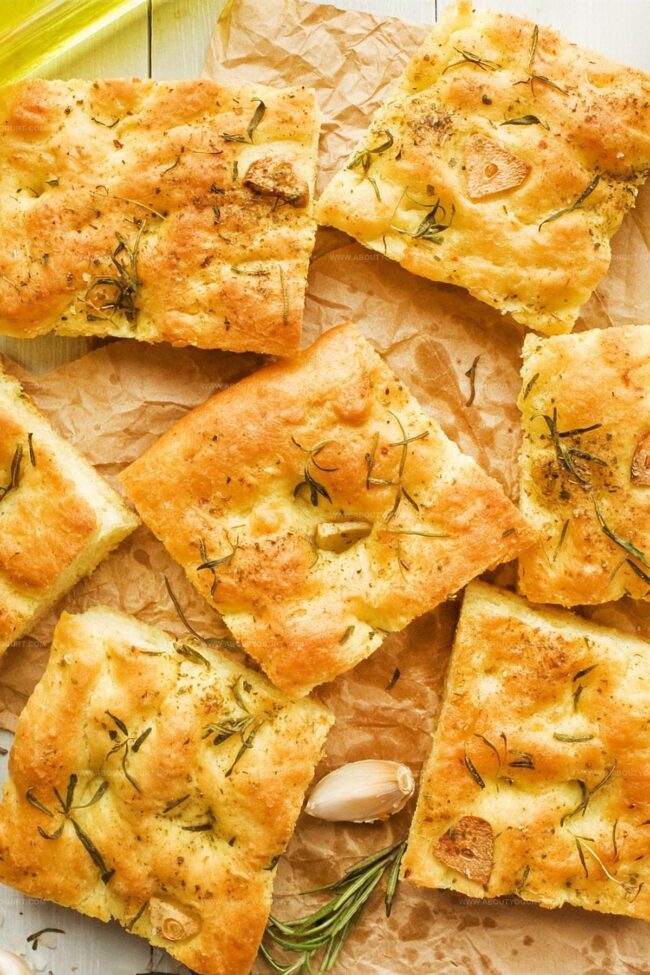
Mediterranean traditions inspire this classic Italian bread with its dimpled surface and aromatic herbs.
Salt crystals glisten across golden-brown peaks, promising delectable textures in every bite.
Fragrant rosemary and olive oil dance together, creating a sensory experience that transports you to rustic Italian landscapes.
Baking this bread fills your space with warmth and comfort.
You’ll want to share this delightful creation with everyone around your table.
Why Hairy Bikers Focaccia Is A Bakery Favorite

Hairy Bikers Focaccia Ingredient Breakdown
Bread Base:Activation Ingredients:Finishing and Flavor Ingredients:How To Bake Hairy Bikers Focaccia
Step 1: Activate Yeast Mixture
Combine warm water, sugar, and yeast in a large mixing bowl. Stir gently and let the mixture sit until it becomes frothy and bubbly, which takes about 5-10 minutes. This magical process awakens the yeast and prepares it for bread making.
Step 2: Create Dough Base
Add the following ingredients to the activated yeast:Knead the mixture thoroughly for 5-10 minutes until the dough becomes smooth and elastic. The texture should feel soft and pliable, not sticky or dry.
Step 3: Allow First Rise
Transfer the dough to a lightly oiled bowl, covering it with a clean kitchen towel. Let the dough rest and rise in a warm spot for approximately one hour. During this time, the dough will double in size and develop rich flavor.
Step 4: Shape and Relax Dough
Gently press the risen dough into a rectangular shape on a baking sheet. Allow the dough to rest for an additional 20 minutes, which helps develop its structure and makes it easier to handle.
Step 5: Prepare Focaccia Surface
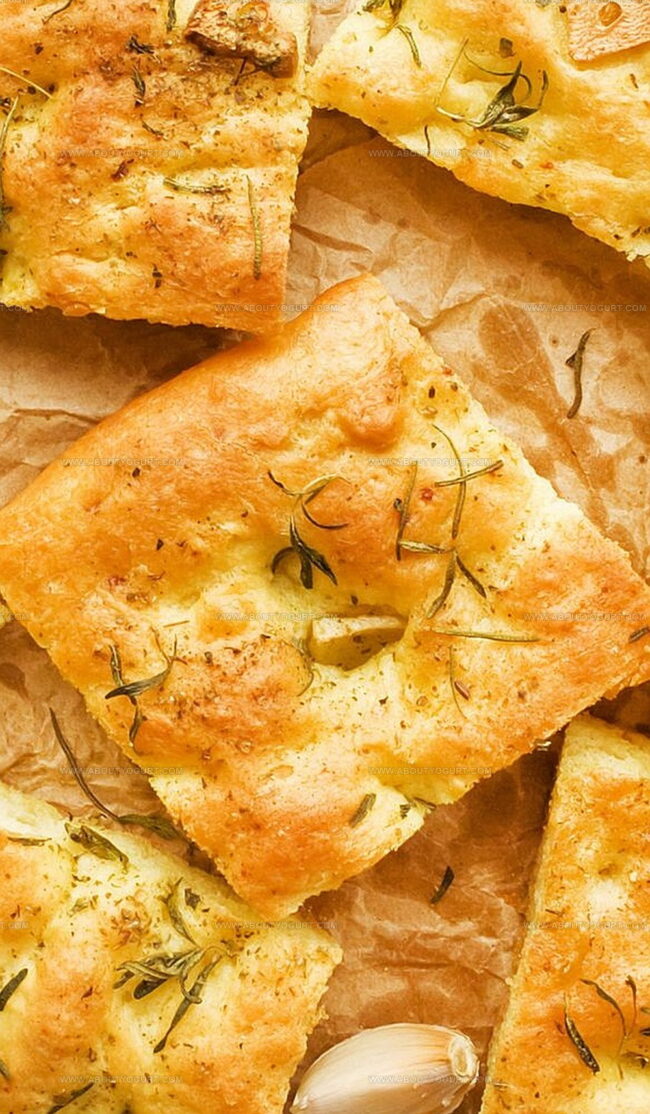
Use your fingertips to create signature dimples across the dough’s surface. Drizzle generously with olive oil, then sprinkle with:Step 6: Bake to Golden Perfection
Place the prepared focaccia in a preheated oven at 400°F. Bake for approximately 20 minutes until the bread turns a beautiful golden brown color. Remove from the oven and let it cool slightly before slicing and serving.
Tips For Light And Fluffy Hairy Bikers Focaccia
Creative Add-Ons For Hairy Bikers Focaccia
What Goes Well With Hairy Bikers Focaccia
How To Keep Hairy Bikers Focaccia Fresh
FAQs For Hairy Bikers Focaccia
Foaming confirms the yeast is alive and active, which helps ensure your focaccia will rise properly and develop a good texture.
Yes, all-purpose flour works fine, but bread flour has more protein that helps create a chewier, more robust bread structure.
The dough should feel smooth, elastic, and spring back when you press it. It shouldn’t be sticky or tear easily when stretched.
Dimpling creates pockets for olive oil to collect, adds texture, and helps the focaccia develop its characteristic rustic, uneven surface that captures extra flavor.
Print
Focaccia Recipe
- Total Time: 1 hour 55-60 mins
- Yield: 4 1x
Description
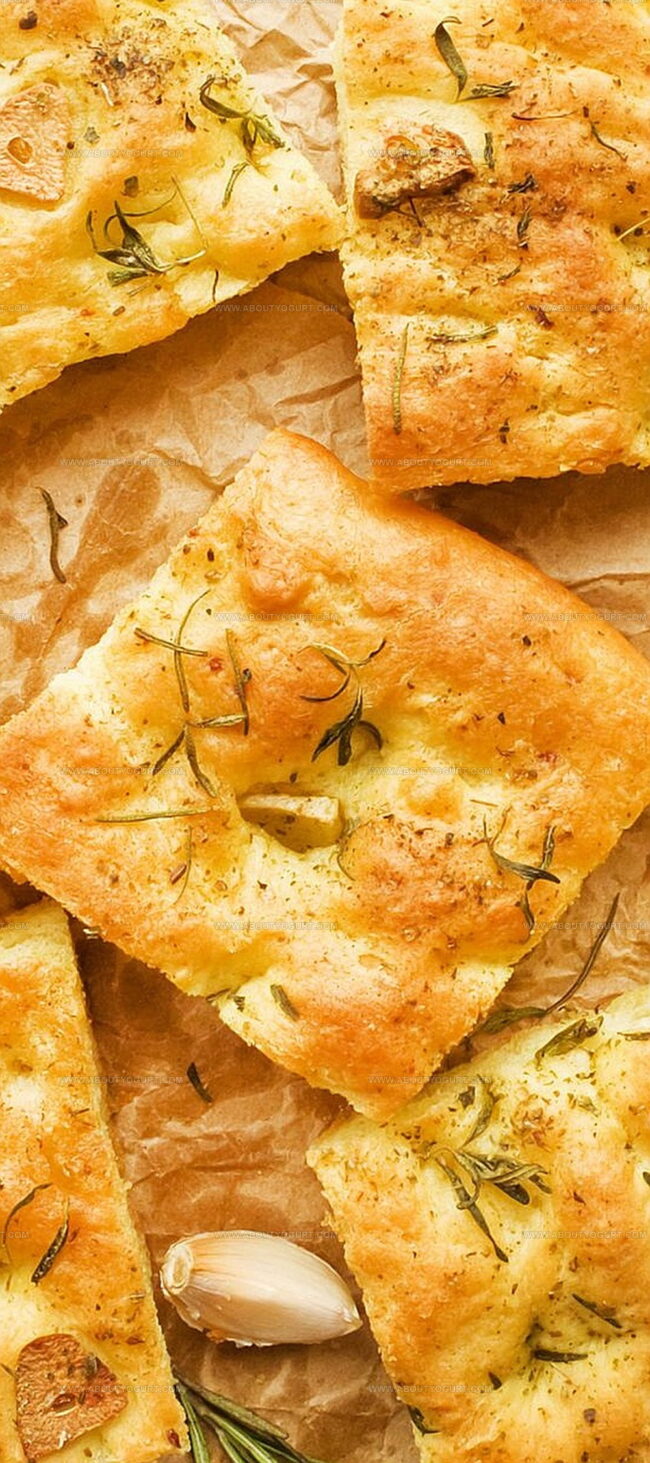
Homemade focaccia brings Italian bakery magic straight to kitchen counters with golden, herb-kissed bread that whispers Mediterranean charm. Crisp exterior and pillowy interior promise delightful bites that transport your senses to sunny Italian landscapes with each delectable slice.
Ingredients
Main Ingredients:
- 3.5 cups all-purpose flour
- 1 (0.25 ounces) packet active-dry yeast
- 1 cup warm water
Liquids and Oils:
- 1/4 cup olive oil, plus more for drizzling
Seasonings and Herbs:
- 2 teaspoons sugar or honey
- 2 teaspoons flaky sea salt
- 2 sprigs fresh rosemary
Instructions
- Activate yeast by combining warm water, sugar, and dry yeast in a mixing bowl. Allow the mixture to develop a frothy texture for 5-10 minutes, indicating active fermentation.
- Incorporate flour, olive oil, and salt into the yeast mixture. Knead the dough vigorously for 5-10 minutes until it becomes smooth, elastic, and develops a consistent texture.
- Transfer the dough to a lightly oiled bowl, ensuring complete surface coverage. Cover with a damp cloth and let it rise in a warm environment for approximately 1 hour, or until the volume doubles.
- Gently stretch and shape the risen dough into a rectangular form on a baking sheet. Allow the dough to rest and relax for 20 minutes, which helps develop better texture.
- Create signature focaccia dimples using fingertips, pressing deliberately across the surface. Drizzle generously with additional olive oil, then sprinkle fresh rosemary and coarse sea salt evenly.
- Preheat oven to 400°F. Bake the focaccia for 20 minutes until the surface turns golden brown and edges become crispy. Remove from oven and let cool slightly before slicing to preserve texture and moisture.
Notes
- Choose high-protein bread flour for a chewier, more authentic texture that mimics traditional Italian focaccia.
- Create deeper flavor complexity by letting the dough slow-rise overnight in the refrigerator, developing richer yeast characteristics.
- Experiment with alternative toppings like caramelized onions, olives, or sun-dried tomatoes to personalize your focaccia and match different meal styles.
- Use a digital thermometer to check internal bread temperature, ensuring perfect doneness without overdrying the delicate crumb structure.
- Prep Time: 1 hour 35-40 mins
- Cook Time: 20 mins
- Category: Lunch, Dinner, Appetizer, Snacks
- Method: Baking
- Cuisine: Italian
Nutrition
- Serving Size: 4
- Calories: 310 kcal
- Sugar: 2 g
- Sodium: 420 mg
- Fat: 8 g
- Saturated Fat: 1.1 g
- Unsaturated Fat: 6.9 g
- Trans Fat: 0 g
- Carbohydrates: 53 g
- Fiber: 2 g
- Protein: 7 g
- Cholesterol: 0 mg
Michael Thompson
Founder & Recipe Developer
Expertise
Education
Cascade Culinary Institute – Bend, OR
ServSafe Food Handler Certification – Portland, OR
Focus: Certified in core food safety and hygiene principles for both home and professional kitchens, with emphasis on ingredient handling, kitchen cleanliness, and safe preparation methods.
Mike’s kitchen journey began with a single goal: to make everyday meals feel like something worth celebrating.
After earning his Certificate in Culinary Arts from Cascade Culinary Institute, he spent years working with local farmers and small kitchens across Oregon, learning the beauty of seasonal, small-batch cooking.
Mike’s approach is simple, cook with what’s fresh, keep it approachable, and always leave room for a little creativity. When he’s not testing yogurt marinades or designing single-serving meals, you’ll find him hiking trails or hunting down the best berries at local markets.