Fried Ice Cream Cheesecake Recipe for Dessert Lovers
Craving a dessert that blends crispy mexican fried ice cream with creamy cheesecake magic?
Sweet sensations collide in this unexpected culinary adventure that promises pure indulgence.
Crunchy exterior meets silky smooth filling, creating a delightful contrast that will surprise you.
Layers of contrasting textures invite playful exploration through each delectable bite.
Golden-brown crisp surrounds cool, velvety cheesecake layers that melt effortlessly on your palate.
Nobody expects such a wild fusion of traditional flavors and innovative techniques.
Decadent and playful, this recipe challenges everything you know about classic desserts.
Prepare to be amazed by a treat that defies ordinary expectations and delights every sense.
Why Fried Ice Cream Cheesecake Is a Treat You’ll Enjoy
Ingredients for Fried Ice Cream Cheesecake
Crust Ingredients:Cheesecake Filling Ingredients:Topping and Garnish Ingredients:Step-by-Step Preparation of Fried Ice Cream Cheesecake
Step 1: Warm Up the Oven
Crank up your oven to 350F (175C). Grab a 9-inch springform pan and give it a light coating of grease to prevent sticking.
Step 2: Create the Crunchy Base
In a mixing bowl, combine:Press this mixture firmly into the bottom of the prepared pan, creating a solid and crispy foundation.
Step 3: Whip Up the Creamy Filling
In a large mixing bowl, blend cream cheese and sugar until silky smooth. Gently fold in sour cream. Add eggs one at a time, mixing thoroughly after each addition. Sprinkle in vanilla extract and ground cinnamon, stirring until everything is perfectly combined.
Step 4: Layer the Cheesecake
Pour the luscious cheesecake batter over the cornflake crust, spreading it evenly to create a smooth surface.
Step 5: Bake to Perfection
Slide the pan into the preheated oven. Bake for 45-50 minutes until the center sets firmly. Once done, turn off the oven and leave the cheesecake inside with the door slightly ajar for one hour.
Step 6: Cool and Chill
Remove the cheesecake from the oven and let it cool completely at room temperature. Transfer to the refrigerator and let it chill for at least 4 hours or overnight for the best texture.
Step 7: Create the Fried Ice Cream Topping
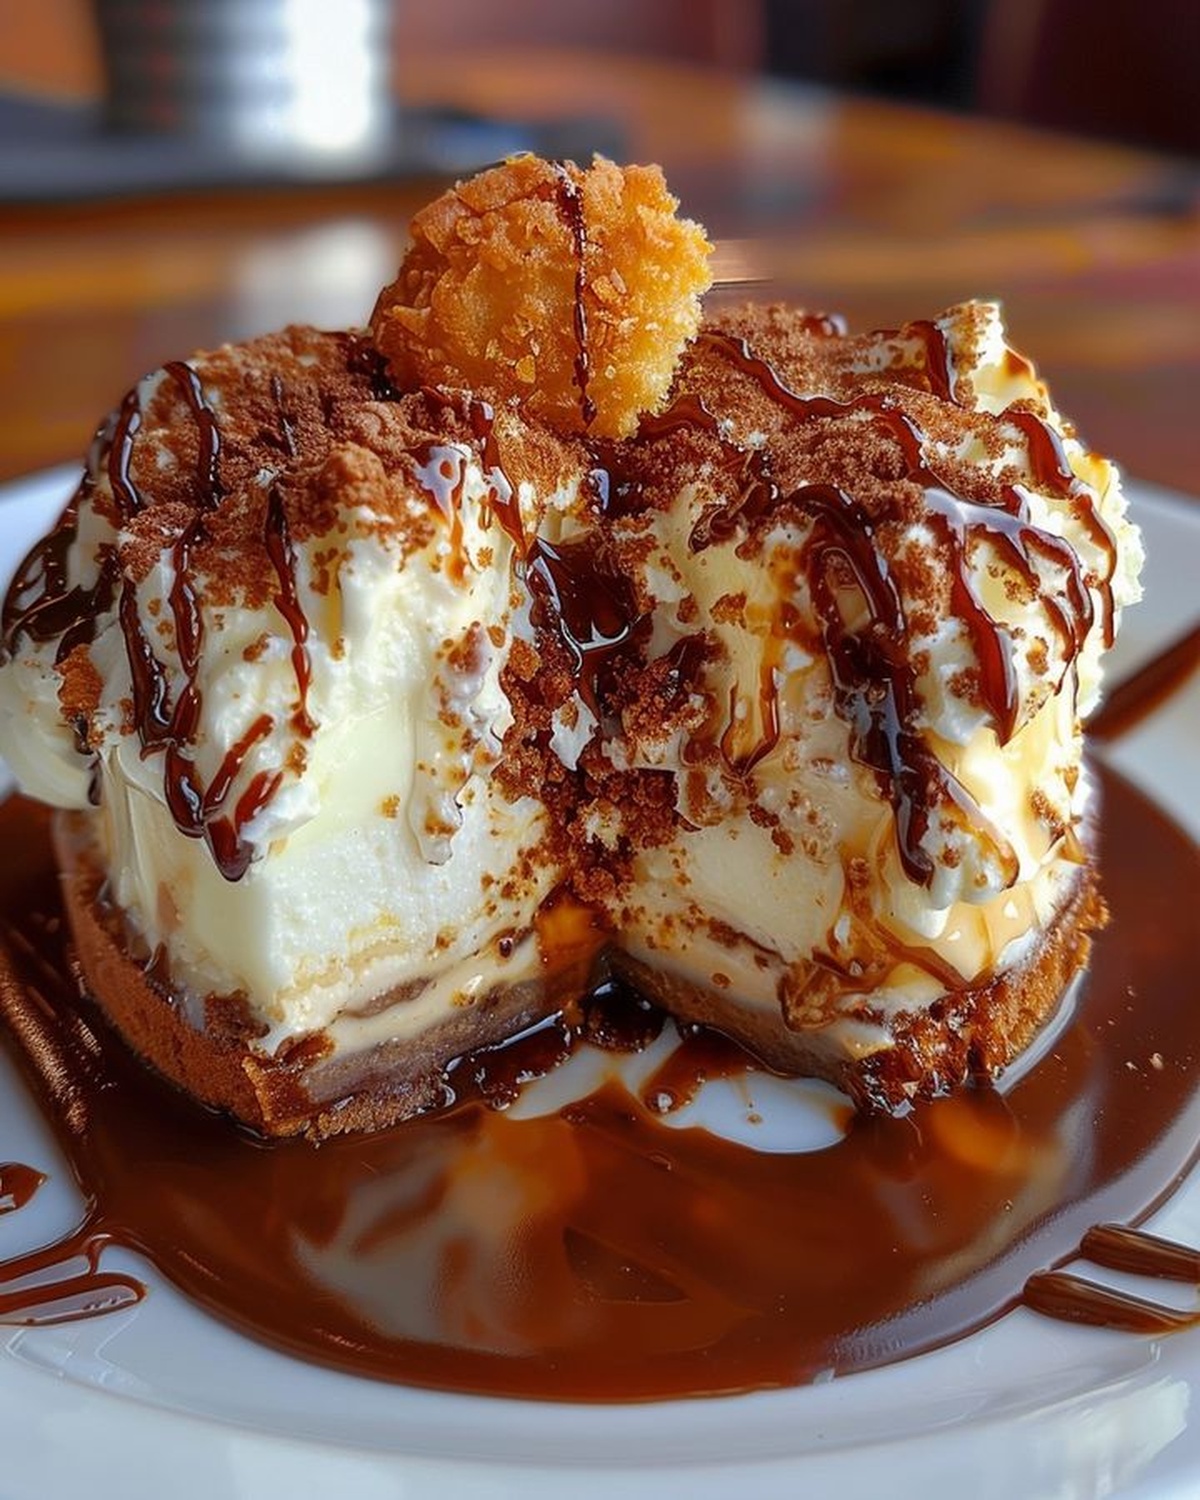
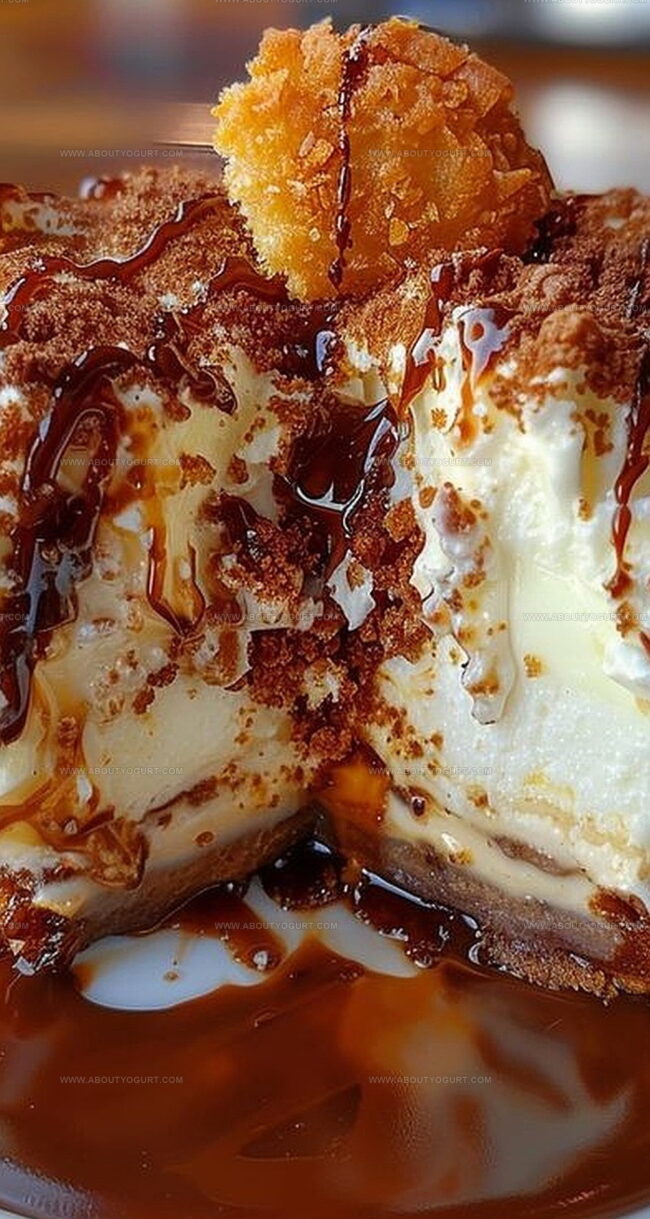
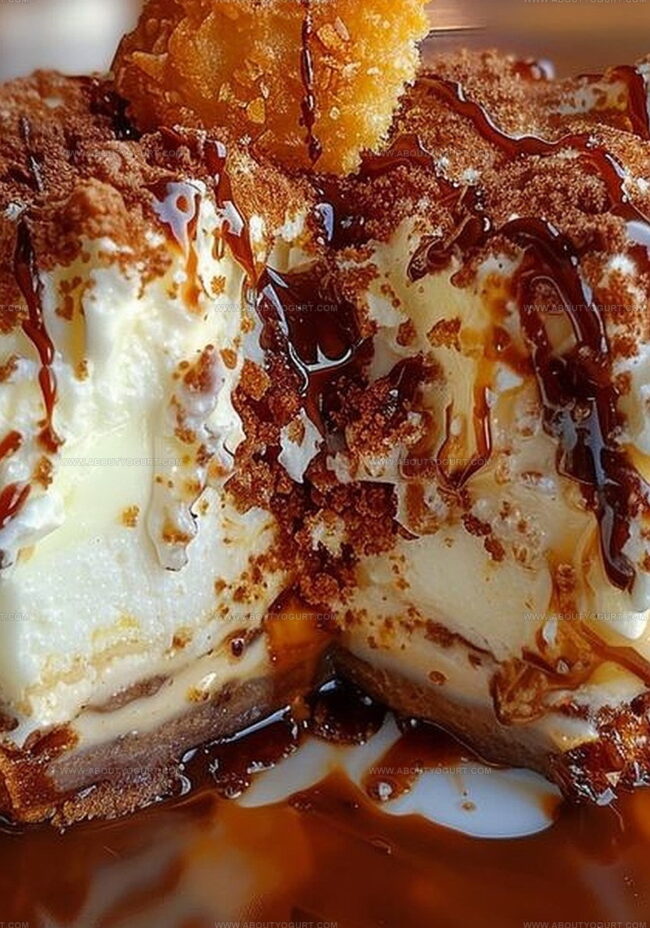
Just before serving, scoop vanilla ice cream into round balls. Roll each ball in crushed cornflakes, creating a crispy exterior. Carefully place these fried ice cream balls on top of the chilled cheesecake.
Step 8: Add the Final Touches
Drizzle the ice cream balls with melted butter and a swirl of honey. Top with a dollop of whipped cream, a light dusting of ground cinnamon, and garnish with bright red maraschino cherries.
Expert Tips for Fried Ice Cream Cheesecake
Creative Variations for Fried Ice Cream Cheesecake
Pairing Recommendations for Fried Ice Cream Cheesecake
Storage Guidelines for Fried Ice Cream Cheesecake
Common Questions About Fried Ice Cream Cheesecake
Yes, you can substitute cornflakes with graham crackers for a more traditional cheesecake base. Just crush the graham crackers finely and mix with melted butter and sugar.
Let the cheesecake cool slowly in the oven with the door slightly open after baking. This gradual cooling helps prevent cracks by reducing sudden temperature changes.
A springform pan is recommended because it allows easy removal of the cheesecake without damaging its structure. If you don’t have one, use a regular cake pan lined with parchment paper.
Print
Fried Ice Cream Cheesecake Recipe
- Total Time: At least 5 hours 20 minutes (including cooling and refrigeration)
- Yield: 8 1x
Description
Creamy fried ice cream cheesecake blends Mexican dessert magic with classic cheesecake charm. Rich layers of cinnamon-crusted goodness invite you to savor a delightful culinary adventure that dances between cool and warm textures.
Ingredients
Main Ingredients:
- 2 cups crushed cornflakes
- 1/2 cup unsalted butter, melted
- 1/4 cup granulated sugar
Instructions
- Prepare the baking environment by heating the oven to 350F (175C) and coating a 9-inch springform pan with grease for optimal release.
- Create a crispy foundation by combining crushed cornflakes, sugar, and melted butter, then firmly pressing the mixture into the pan’s bottom to form a compact base.
- Craft the creamy filling by whipping cream cheese and sugar until silky smooth, gradually incorporating sour cream and eggs, ensuring each addition is fully integrated.
- Enhance the mixture’s flavor profile by gently stirring in vanilla extract and ground cinnamon, blending until thoroughly combined.
- Carefully pour the cheesecake batter over the cornflake crust, using a spatula to distribute evenly and eliminate air pockets.
- Bake for 45-50 minutes until the center sets with a gentle wobble, then deactivate the oven and allow the cheesecake to rest inside with the door slightly ajar for one hour.
- Allow the cheesecake to cool completely at room temperature, then refrigerate for a minimum of 4 hours to achieve optimal texture and flavor development.
- Moments before serving, transform vanilla ice cream into crispy-coated spheres by rolling scooped balls in crushed cornflakes.
- Arrange the cornflake-crusted ice cream balls atop the chilled cheesecake for a dramatic presentation.
- Elevate the dessert by drizzling with melted butter and honey, then garnishing with whipped cream, a delicate cinnamon dusting, and vibrant maraschino cherries.
Notes
- Swap cornflakes with gluten-free cereal or graham crackers for a celiac-friendly version.
- Reduce sugar content by using stevia or monk fruit sweetener for a low-carb alternative.
- Freeze ice cream balls beforehand to prevent melting when placed on warm cheesecake.
- Use room temperature ingredients to ensure smooth, lump-free cheesecake filling.
- Prep Time: 20 minutes
- Cook Time: 1 hour 45 minutes
- Category: Desserts
- Method: Baking
- Cuisine: American
Nutrition
- Serving Size: 8
- Calories: 520 kcal
- Sugar: 16 g
- Sodium: 150 mg
- Fat: 30 g
- Saturated Fat: 18 g
- Unsaturated Fat: 12 g
- Trans Fat: 0.5 g
- Carbohydrates: 55 g
- Fiber: 1 g
- Protein: 4 g
- Cholesterol: 45 mg
Sarah Mitchell
Content Specialist & Home Cooking Enthusiast
Expertise
Education
Asheville-Buncombe Technical Community College – Asheville, NC
American Fitness Professionals & Associates – Online
Sarah’s passion for food was sparked by weekend trips to the farmers’ market and her belief that healthy meals should never feel boring.
After earning her culinary diploma and becoming a certified Nutrition and Wellness Consultant, she set out to help others fall in love with simple, wholesome cooking.
She’s all about celebrating the small wins in the kitchen: a colorful yogurt bowl, a new twist on a classic dish, or a homemade snack that feels just a little extra special.
Outside the kitchen, Sarah is a gardener at heart, a yoga enthusiast, and a believer that fresh herbs can brighten any meal, and any day.