Best Garlic Parmesan Pizza Rolls Recipe for Snacking
Crafting homemade garlic parmesan pizza rolls delivers pure comfort right to your plate.
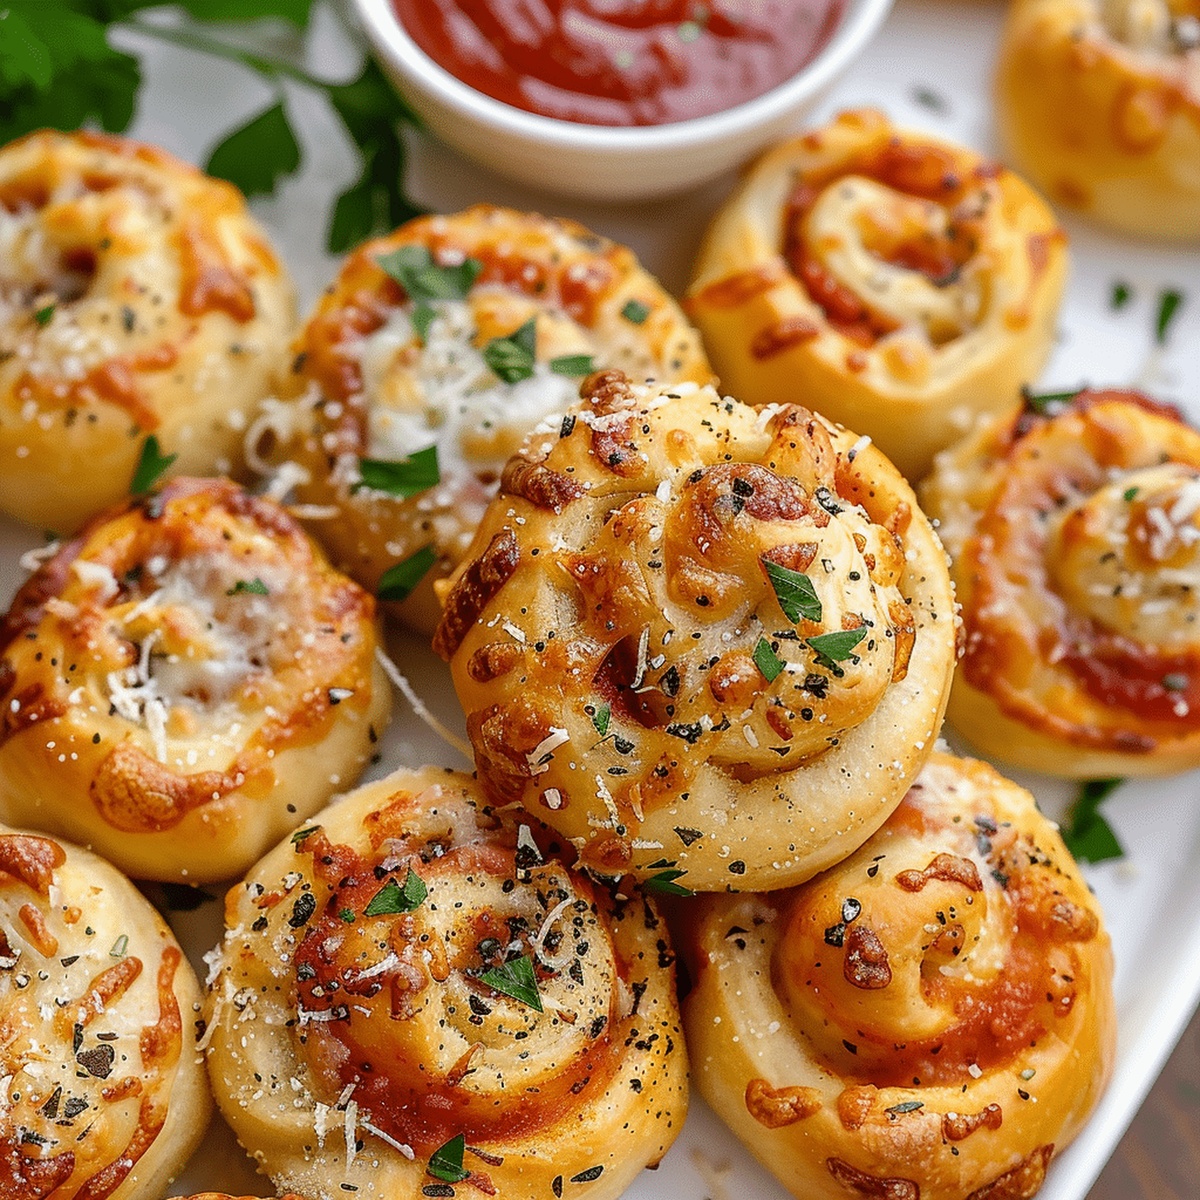
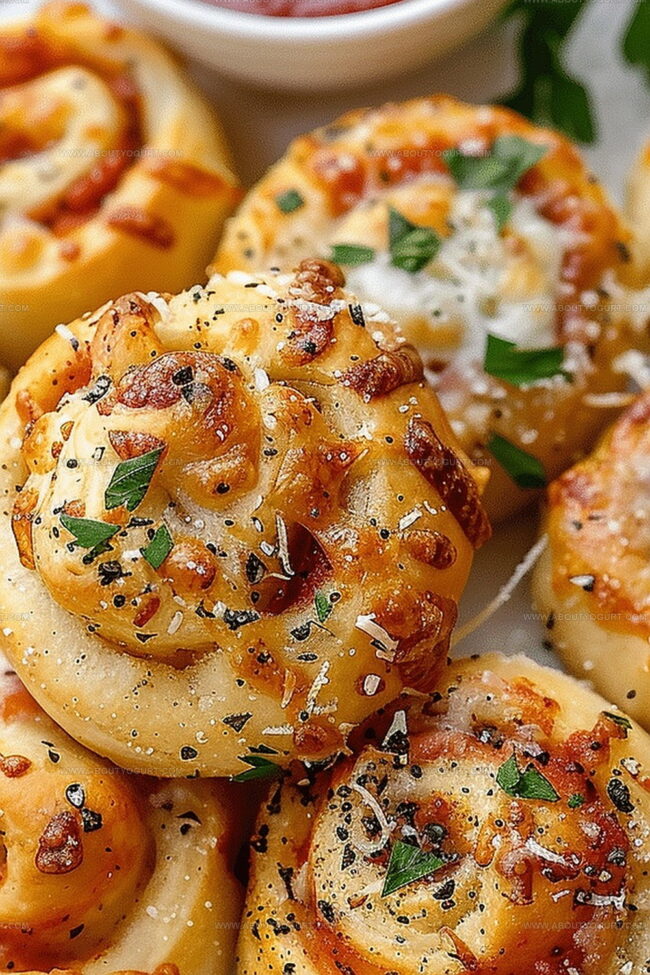
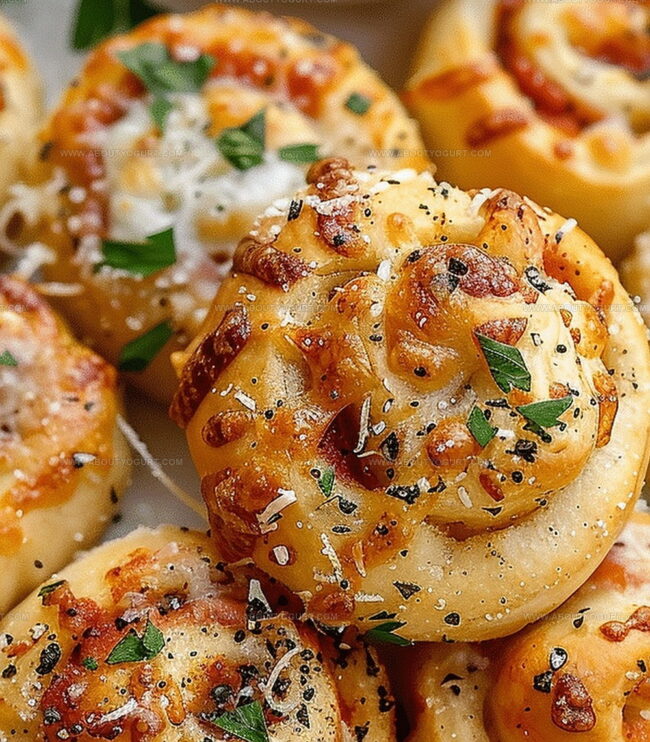
Crispy edges and melted cheese promise an irresistible snack that beats any store-bought version.
Warm, pillowy dough wraps around savory fillings waiting to surprise you.
Weeknight dinners or game day gatherings become instantly more delightful with these handheld treats.
Cheese lovers and pizza enthusiasts will appreciate the simple yet bold flavor combinations.
Minimal ingredients and quick preparation mean you can whip up these delectable rolls in no time.
Ready to transform your kitchen into a mouthwatering pizza paradise?
What Makes Garlic Parmesan Pizza Rolls So Flavorful
Ingredients Used in Garlic Parmesan Pizza Rolls
Dough Base:Flavor Enhancers:Finishing Touches:How to Make Garlic Parmesan Pizza Rolls
Step 1: Warm Up the Oven
Get your oven ready by heating it to 375F (190C). Grab a baking sheet and line it with parchment paper or give it a quick spray of cooking oil.
Step 2: Stretch Out the Dough
Take your pizza dough and roll it out on a clean surface into a lovely rectangular shape about 12×8 inches.
Step 3: Create Magical Garlic Butter
Mix up a flavor explosion by combining:Stir until everything comes together in delicious harmony.
Step 4: Layer on the Deliciousness
Spread the garlic butter love across the entire surface of your dough. Then sprinkle on:Step 5: Roll Into Tasty Spirals
Start from one long side and tightly roll the dough like a cozy log, similar to how you’d roll a cinnamon roll.
Step 6: Slice and Prepare
Grab a sharp knife and cut your rolled dough into 1-inch thick rounds. You’ll end up with about 10-12 mouth-watering pizza rolls.
Step 7: Bake to Golden Perfection
Arrange the rolls on your prepared baking sheet, giving them some breathing room. Pop them into the oven and bake for 15-20 minutes until they turn a gorgeous golden brown and the cheese becomes irresistibly melty.
Step 8: Final Touches
Pull out your pizza rolls and let them cool for a moment. If you’re feeling fancy, sprinkle some chopped fresh parsley on top. Serve warm with extra marinara sauce for dipping and watch everyone’s eyes light up!
Expert Tips for Garlic Parmesan Pizza Rolls
Variations to Experiment with Garlic Parmesan Pizza Rolls
Ideal Pairings for Garlic Parmesan Pizza Rolls
Storing Garlic Parmesan Pizza Rolls to Maintain Freshness
FAQs on Garlic Parmesan Pizza Rolls
Yes, homemade pizza dough works perfectly. Just ensure it’s rolled out to a similar size and thickness for consistent results.
A classic, smooth marinara sauce without large chunks is ideal. Store-bought or homemade marinara both work well in this recipe.
Line the baking sheet with parchment paper or lightly grease it with cooking spray to prevent sticking and ensure easy removal.
You can prepare the rolls and refrigerate them before baking. When ready to serve, bake directly from the refrigerator, adding a few extra minutes to the cooking time.
Print
Garlic Parmesan Pizza Rolls Recipe
- Total Time: 30-35 minutes
- Yield: 8 1x
Description
Mouthwatering Garlic Parmesan Pizza Rolls deliver irresistible Italian-inspired comfort straight to your plate. Crispy edges, gooey cheese, and robust garlic flavor create a perfect handheld snack you’ll crave again and again.
Ingredients
Cheese:
- 1 cup shredded mozzarella cheese
- 1/4 cup grated Parmesan cheese
Dough and Main Ingredients:
- 1 tube (13.8 ounces / 391 grams) refrigerated pizza dough
Seasonings and Toppings:
- 3 tablespoons unsalted butter, melted
- 3 cloves garlic, minced
- 1/4 cup marinara sauce, plus extra for dipping
- Fresh parsley, chopped, for garnish (optional)
Instructions
- Create a clean, flat workspace and preheat the oven to 375F (190C), preparing a baking sheet with parchment paper or cooking spray.
- Stretch the refrigerated pizza dough into a thin rectangular shape approximately 12×8 inches, ensuring an even surface.
- Craft a fragrant garlic butter mixture by whisking melted butter with finely minced garlic until thoroughly integrated.
- Generously paint the entire dough surface with the garlic butter, covering every inch for maximum flavor infusion.
- Distribute grated Parmesan cheese across the buttered dough, creating an even, savory layer.
- Carefully spread marinara sauce over the cheese, maintaining a small border around the edges to prevent leakage during baking.
- Sprinkle shredded mozzarella cheese uniformly over the marinara sauce, ensuring complete coverage.
- Tightly roll the dough from the long side, creating a compact log similar to a traditional cinnamon roll technique.
- Using a sharp knife, slice the rolled dough into 1-inch thick rounds, yielding approximately 10-12 pizza rolls.
- Arrange the sliced rolls on the prepared baking sheet, positioning them with slight separation to allow even heating.
- Bake for 15-20 minutes until the rolls transform into a golden-brown color with bubbling, melted cheese.
- Remove from the oven and allow a brief cooling period to prevent burning.
- Optional: Garnish with freshly chopped parsley for added color and herbal notes.
- Serve immediately with additional marinara sauce for dipping, enjoying the warm, cheesy creation.
Notes
- Ensure pizza dough is at room temperature for easier rolling and prevents tearing during preparation.
- Use a serrated knife or unflavored dental floss for cleaner, more precise pizza roll slicing without squishing the dough.
- Avoid overloading toppings to prevent filling from leaking during baking and maintain structural integrity of rolls.
- Customize by adding cooked Italian sausage, pepperoni, or roasted vegetables for extra flavor and protein variety.
- Prep Time: 15 minutes
- Cook Time: 15-20 minutes
- Category: Appetizer, Snacks, Dinner
- Method: Baking
- Cuisine: Italian-American
Nutrition
- Serving Size: 8
- Calories: 230 kcal
- Sugar: 2 g
- Sodium: 320 mg
- Fat: 12 g
- Saturated Fat: 6 g
- Unsaturated Fat: 5 g
- Trans Fat: 0.1 g
- Carbohydrates: 22 g
- Fiber: 1 g
- Protein: 8 g
- Cholesterol: 25 mg
Michael Thompson
Founder & Recipe Developer
Expertise
Education
Cascade Culinary Institute – Bend, OR
ServSafe Food Handler Certification – Portland, OR
Focus: Certified in core food safety and hygiene principles for both home and professional kitchens, with emphasis on ingredient handling, kitchen cleanliness, and safe preparation methods.
Mike’s kitchen journey began with a single goal: to make everyday meals feel like something worth celebrating.
After earning his Certificate in Culinary Arts from Cascade Culinary Institute, he spent years working with local farmers and small kitchens across Oregon, learning the beauty of seasonal, small-batch cooking.
Mike’s approach is simple, cook with what’s fresh, keep it approachable, and always leave room for a little creativity. When he’s not testing yogurt marinades or designing single-serving meals, you’ll find him hiking trails or hunting down the best berries at local markets.