
Perfect Genoise Sponge Recipe for a Soft Cloud-Like Cake
Mastering a delicate genoise sponge requires precision and passion for baking.
Whisking eggs and sugar creates a light, airy base that distinguishes this classic French technique.
Soft and tender, each slice promises a melt-in-your-mouth experience that feels almost magical.
Pastry chefs worldwide consider this method a fundamental skill in their culinary repertoire.
Simple ingredients combine to produce an elegant cake with remarkable texture and depth.
Professional bakers know the secret lies in careful folding and gentle mixing.
Let’s uncover the art of crafting this sublime dessert that will impress everyone at your table.
Why Try Nigella Genoise Sponge

What Goes In Nigella Genoise Sponge
Main Ingredients:Dairy Components:Fruit and Sweeteners:Baking Essentials:Step-By-Step For Nigella Genoise Sponge

Step 1: Prepare Baking Equipment
Grab two 20cm cake pans. Coat the inside with butter or cooking spray. Line the bottom with parchment paper to prevent sticking. Set your oven to 190°C (or 170°C for fan-forced ovens).
Step 2: Create Fluffy Egg Base
Fill a saucepan with a small amount of water and bring to a gentle simmer. Place a heatproof bowl on top without touching the water. Add eggs and sugar to the bowl. Whisk continuously over the simmering water until the mixture becomes pale, light, and increases to about three times its original volume.
Step 3: Incorporate Melted Butter
Remove the egg mixture from heat. Gently fold in melted butter using a spatula. Use a careful, light motion to maintain the air bubbles you’ve created.
Step 4: Add Flour Carefully
Sift flour over the egg mixture. Fold in flour gradually in several batches. Mix gently to keep the batter airy and prevent deflating the eggs.
Step 5: Bake Golden Sponge
Divide the batter evenly between the prepared cake pans. Smooth the tops with a spatula. Bake in the preheated oven for 20 minutes until golden and springy to the touch. Remove and let cool completely on a wire rack.
Step 6: Prepare Strawberry Cream
Wash and puree a portion of strawberries with a sprinkle of sugar. Whip cream until it forms soft peaks. Gently swirl the strawberry puree through the whipped cream, creating a marbled effect.
Step 7: Assemble Layered Cake
Carefully slice each sponge cake horizontally to create two layers. Begin layering the cake by alternating sponge, strawberry cream, and fresh fruit pieces.
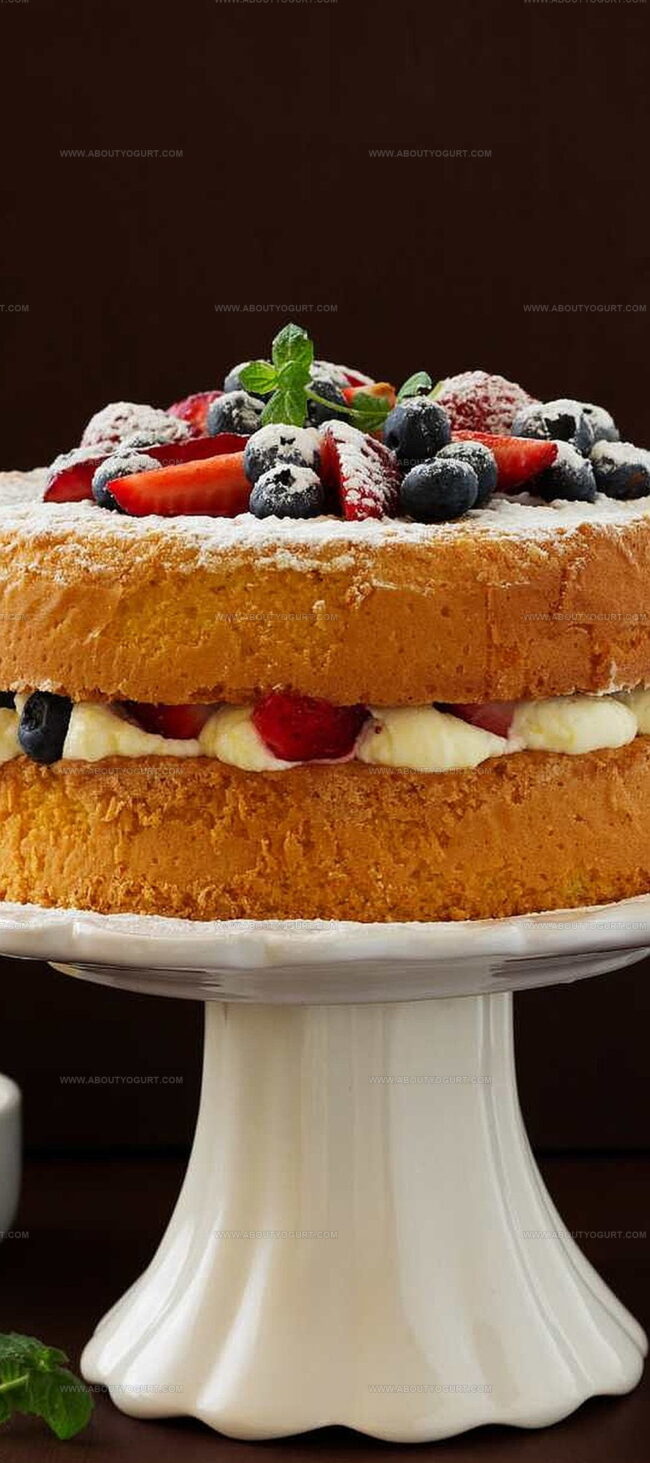
Step 8: Finish and Decorate
Place the final sponge layer on top. Cover with remaining strawberry cream. Garnish with fresh strawberries. Dust the entire cake with a light sprinkle of powdered sugar for an elegant finish.
Baking Tips For Nigella Genoise Sponge
Ways To Change Up Nigella Genoise Sponge
Best Pairings With Nigella Genoise Sponge
How To Store Nigella Genoise Sponge Properly
Questions On Nigella Genoise Sponge
Genoise uses a unique method of whisking eggs and sugar over heat, creating a light, airy texture without chemical leaveners like baking powder.
Yes, you can use a hand mixer or even whisk by hand, but it requires more arm strength and careful technique to achieve the right volume and consistency.
This technique (called tempering) helps dissolve sugar quickly, creates a stable foam, and allows eggs to reach maximum volume, which is crucial for the cake’s delicate structure.
Print
Genoise Sponge Recipe
- Total Time: 35 minutes
- Yield: 8 1x
Description
Heavenly genoise sponge brings Italian baking magic to your kitchen with delicate layers of pure elegance. Light, airy perfection awaits you in this classic dessert that whispers culinary sophistication.
Ingredients
Main Ingredients:
- 8 medium eggs
- 250g plain flour (0.55 pounds, 8.82 ounces)
- 250g caster sugar (0.55 pounds, 8.82 ounces)
- 50g butter (0.11 pounds, 1.76 ounces)
Cream and Fruit:
- 600 milliliters double cream (20.29 fluid ounces)
- 400g strawberries (0.88 pounds, 14.11 ounces)
- 180g blueberries (0.40 pounds, 6.35 ounces)
- 150g raspberries (0.33 pounds, 5.29 ounces)
Additional Ingredients:
- 1 tablespoon caster sugar
- icing sugar (for dusting)
- butter (for greasing)
- flour (for dusting)
Instructions
- Prepare baking setup by heating oven to 190C (170C fan) and preparing two 20cm cake tins with grease and parchment lining.
- Create airy egg mixture by whisking eggs and sugar over gentle simmering water until mixture becomes pale and significantly increases in volume, approximately 5-7 minutes.
- Carefully remove egg mixture from heat and gently incorporate melted butter using delicate folding technique to maintain volume.
- Gradually sift flour into egg mixture, folding in small batches to ensure smooth, even incorporation without deflating the mixture.
- Distribute batter evenly between prepared cake tins and bake for 20 minutes until golden and springy to touch, then transfer to cooling rack.
- Prepare strawberry cream by whipping cream to soft peaks and creating strawberry puree by blending fresh strawberries with sugar until smooth.
- Swirl strawberry puree through whipped cream, creating a marbled effect with soft pink tones.
- Slice each cooled sponge horizontally to create four layers, creating alternating pattern of cream and sponge.
- Assemble cake by layering sponge, strawberry cream, and fresh fruit pieces, building height and texture.
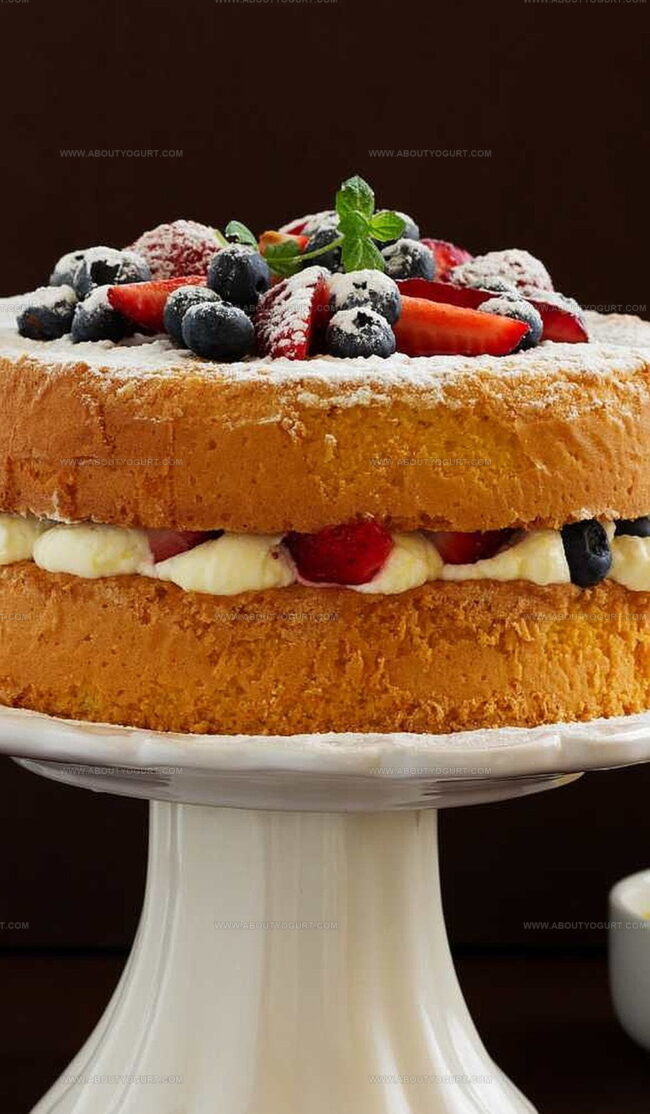
- Complete presentation by positioning final sponge layer on top, generously covering with remaining strawberry cream and decorative fresh berries.
- Finish with delicate dusting of icing sugar for elegant, refined appearance.
Notes
- Bring eggs to room temperature for optimal volume when whisking, ensuring a light and airy sponge texture.
- Use clarified butter or ghee for a cleaner flavor and smoother incorporation into the delicate batter.
- Carefully fold flour with a wide spatula to maintain the air bubbles, preventing a dense cake result.
- Adapt for gluten-free diets by substituting regular flour with a 1:1 gluten-free flour blend, maintaining the same gentle folding technique.
- Prep Time: 15 minutes
- Cook Time: 20 minutes
- Category: Desserts
- Method: Baking
- Cuisine: Italian
Nutrition
- Serving Size: 8
- Calories: 392
- Sugar: 29 g
- Sodium: 4 mg
- Fat: 20 g
- Saturated Fat: 12 g
- Unsaturated Fat: 7 g
- Trans Fat: 0.3 g
- Carbohydrates: 38 g
- Fiber: 2 g
- Protein: 6 g
- Cholesterol: 160 mg
Michael Thompson
Founder & Recipe Developer
Expertise
Education
Cascade Culinary Institute – Bend, OR
ServSafe Food Handler Certification – Portland, OR
Focus: Certified in core food safety and hygiene principles for both home and professional kitchens, with emphasis on ingredient handling, kitchen cleanliness, and safe preparation methods.
Mike’s kitchen journey began with a single goal: to make everyday meals feel like something worth celebrating.
After earning his Certificate in Culinary Arts from Cascade Culinary Institute, he spent years working with local farmers and small kitchens across Oregon, learning the beauty of seasonal, small-batch cooking.
Mike’s approach is simple, cook with what’s fresh, keep it approachable, and always leave room for a little creativity. When he’s not testing yogurt marinades or designing single-serving meals, you’ll find him hiking trails or hunting down the best berries at local markets.