Gluten Free Chocolate Cake Recipe That Impresses
Crafting a delectable gluten free chocolate cake can transform your dessert experience into pure bliss.
Chocolate lovers rejoice with this incredible treat that promises rich, moist indulgence.
Deeply satisfying flavors emerge from carefully selected ingredients that dance together harmoniously.
No one would guess this decadent cake lacks traditional wheat flour.
Baking champions know that alternative flours can create magical results when mixed with precision and passion.
Each slice promises a moment of pure culinary joy that melts in your mouth.
You’ll want to savor every single crumb of this irresistible masterpiece.
Why Nigella Gluten Free Chocolate Cake Is A Must-Try

Nigella Gluten Free Chocolate Cake Ingredient List
Dry Ingredients:Wet Ingredients:Frosting Ingredients:Steps To Make Nigella Gluten Free Chocolate Cake

Step 1: Prepare Baking Equipment
Warm up your oven to 350°F. Grab two 8-inch cake pans and generously coat them with cooking spray or butter, then dust with gluten-free flour to prevent sticking.
Step 2: Mix Dry Ingredients
Grab a spacious mixing bowl and combine all your dry ingredients:Whisk these ingredients together until they’re perfectly blended.
Step 3: Create Cake Batter
Add wet ingredients to your dry mixture:Blend everything using an electric mixer for about 2 minutes until the batter becomes silky smooth.
Step 4: Add Liquid Magic
Pour boiling water into the batter and gently stir. The mixture will become very liquid, which is exactly what you want.
Step 5: Bake the Cake
Divide the batter evenly between your prepared pans. Slide them into the preheated oven and bake for 35-38 minutes. Check doneness by inserting a toothpick – it should come out clean.
Step 6: Cool the Cakes
Let the cakes rest in their pans for 5 minutes. Then carefully transfer them to a wire cooling rack.
Step 7: Whip Up Chocolate Frosting
In a clean bowl, cream together:Mix in cocoa powder, then gradually add powdered sugar and milk. Beat until the frosting is fluffy and spreadable.
Step 8: Decorate and Serve
Once cakes are completely cool, generously spread frosting between layers and over the entire cake. Slice and enjoy your glorious gluten-free chocolate cake!
Smart Baking Tips For Nigella Gluten Free Chocolate Cake
Fun Takes On Nigella Gluten Free Chocolate Cake
Perfect Pairings For Nigella Gluten Free Chocolate Cake
How To Store Nigella Gluten Free Chocolate Cake Properly
FAQs About Nigella Gluten Free Chocolate Cake
The recipe uses gluten-free flour instead of traditional wheat flour, making it safe for people with celiac disease or gluten sensitivity.
Yes, substitute milk with almond milk or coconut milk, and use dairy-free butter or oil-based alternatives in the frosting.
Insert a skewer or toothpick into the center – if it comes out clean with no wet batter, the cake is done.
The addition of boiling water helps create a thin, smooth batter that results in an incredibly tender and moist chocolate cake texture.
Print
Gluten Free Chocolate Cake Recipe
- Total Time: 45-48 minutes
- Yield: 12 1x
Description
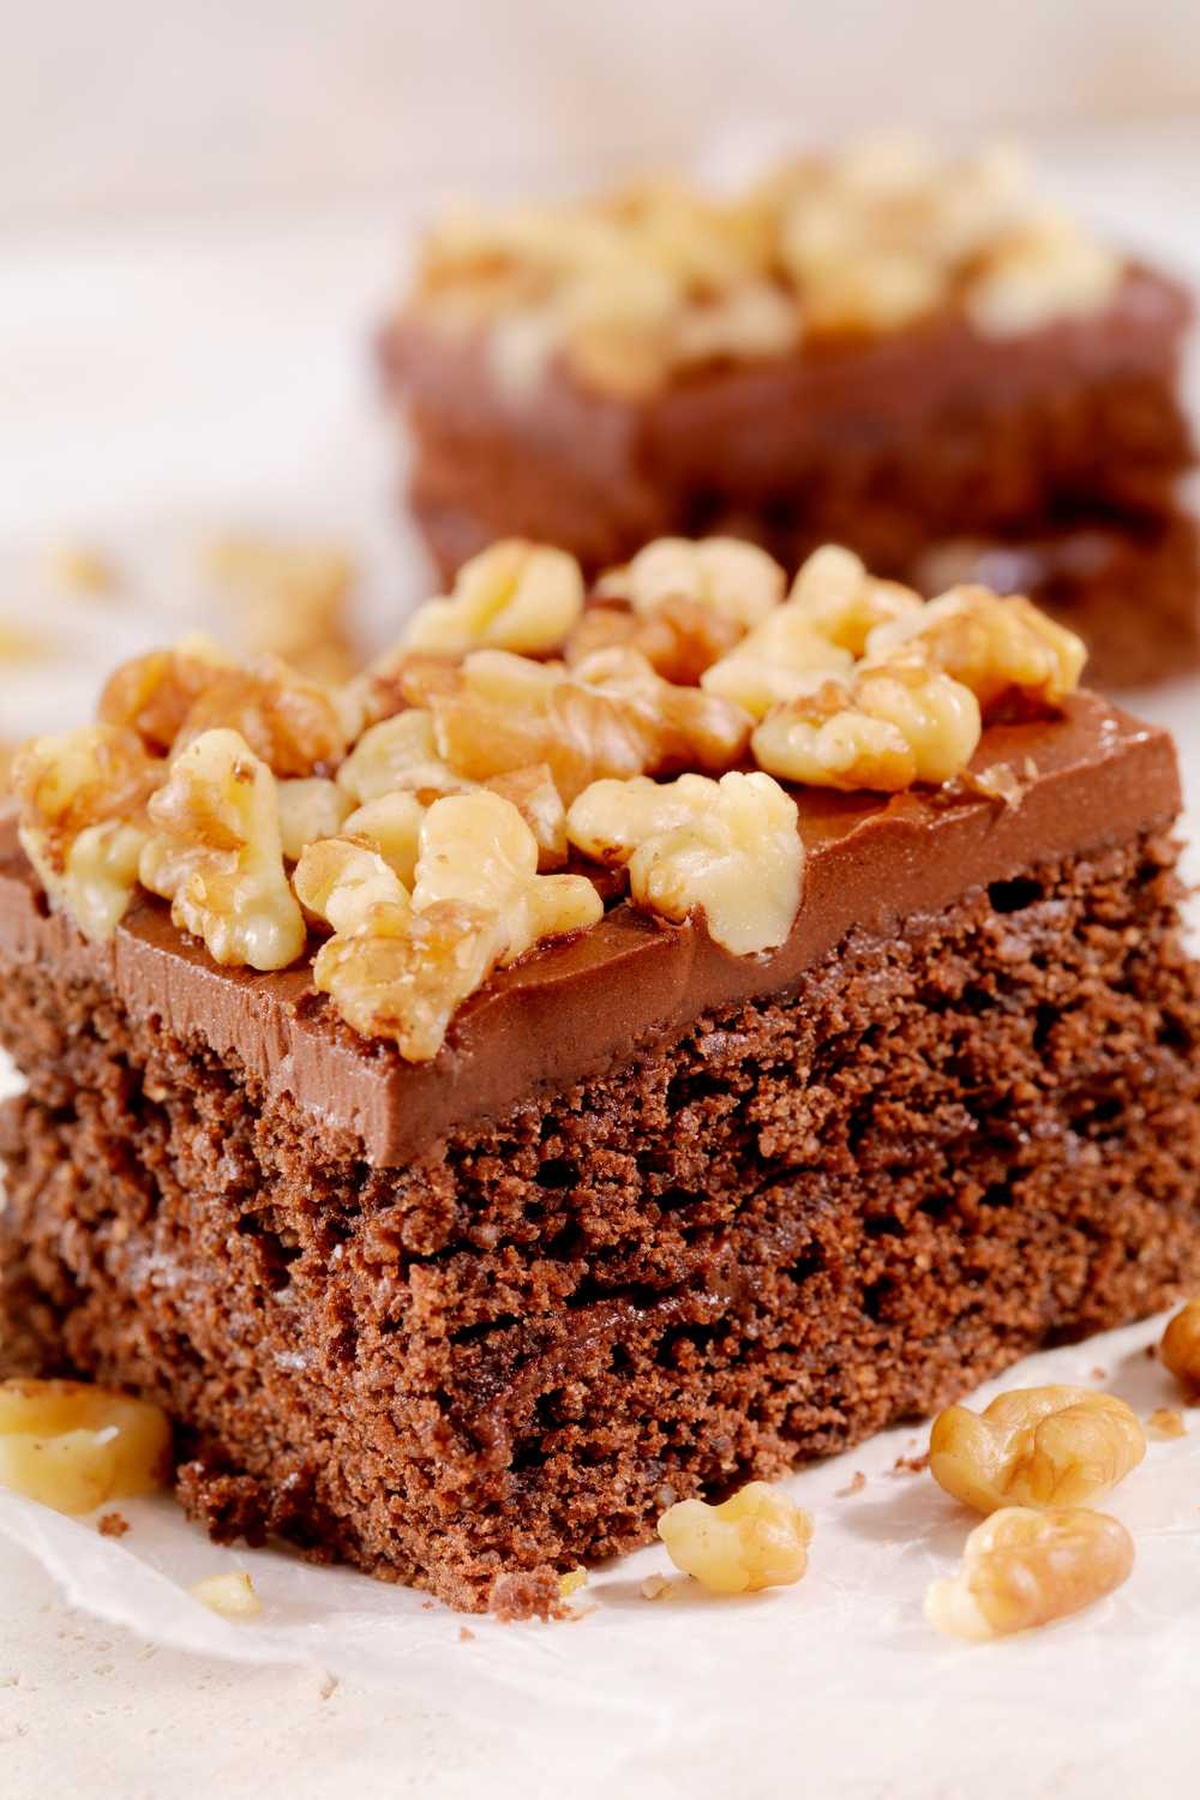
Rich chocolate flavors mingle in this glorious gluten-free chocolate cake, creating a dessert that delights chocolate enthusiasts. Silky smooth layers promise pure indulgence, inviting you to savor each memorable bite of pure chocolatey bliss.
Ingredients
Dry Ingredients:
- 2 cups gluten-free flour blend
- 1 1/2 cups granulated sugar
- 3/4 cup unsweetened cocoa powder
- 1 1/2 teaspoons baking powder
- 1 1/2 teaspoons baking soda
- 1 teaspoon salt
- 4 1/2 cups powdered sugar
- 1/2 cup unsweetened cocoa powder
Wet Ingredients:
- 2 large eggs
- 1 cup milk or dairy-free milk
- 1/2 cup vegetable oil
- 1 1/2 teaspoons vanilla extract
- 3/4 cup boiling water
- 1/2 cup butter or dairy-free butter
- 1/4 cup milk or dairy-free milk
- 1 1/2 teaspoons vanilla extract
Instructions
- Prepare the oven at 180°C (350°F) and prepare two 8-inch cake pans by greasing and lining with parchment paper.
- Combine dry ingredients in a large mixing bowl, whisking sugar, gluten-free flour, cocoa powder, baking powder, baking soda, and salt until thoroughly blended.
- Incorporate wet ingredients by adding eggs, milk, vegetable oil, and vanilla extract. Mix vigorously for 2 minutes until the batter becomes smooth and fully integrated.
- Gently fold in boiling water, which will create an unusually thin cake batter consistency.
- Distribute the batter evenly between the prepared cake pans, ensuring uniform coverage.
- Bake in the preheated oven for 35-38 minutes, checking doneness by inserting a skewer that should come out clean when removed.
- Allow cakes to rest in their pans for 5 minutes to stabilize, then carefully transfer to a cooling rack.
- Prepare chocolate frosting by creaming butter and vanilla until light and fluffy.
- Gradually blend cocoa powder into the butter mixture, then slowly incorporate powdered sugar and milk until achieving a smooth, spreadable consistency.
- Once cakes are completely cooled, generously frost and assemble the layers, creating a delectable gluten-free chocolate cake.
Notes
- Swap regular flour with certified gluten-free flour blend to ensure celiac-friendly results.
- Use room temperature ingredients for smoother batter and more even cake texture.
- Add extra cocoa powder for deeper chocolate flavor if desired intensity is stronger.
- Ensure mixing ingredients thoroughly prevents lumpy consistency and creates rich, moist cake.
- Prep Time: 10 minutes
- Cook Time: 35-38 minutes
- Category: Desserts
- Method: Baking
- Cuisine: American
Nutrition
- Serving Size: 12
- Calories: 319 kcal
- Sugar: 36 g
- Sodium: 210 mg
- Fat: 14 g
- Saturated Fat: 4 g
- Unsaturated Fat: 10 g
- Trans Fat: 0 g
- Carbohydrates: 46 g
- Fiber: 3 g
- Protein: 3 g
- Cholesterol: 37 mg
Michael Thompson
Founder & Recipe Developer
Expertise
Education
Cascade Culinary Institute – Bend, OR
ServSafe Food Handler Certification – Portland, OR
Focus: Certified in core food safety and hygiene principles for both home and professional kitchens, with emphasis on ingredient handling, kitchen cleanliness, and safe preparation methods.
Mike’s kitchen journey began with a single goal: to make everyday meals feel like something worth celebrating.
After earning his Certificate in Culinary Arts from Cascade Culinary Institute, he spent years working with local farmers and small kitchens across Oregon, learning the beauty of seasonal, small-batch cooking.
Mike’s approach is simple, cook with what’s fresh, keep it approachable, and always leave room for a little creativity. When he’s not testing yogurt marinades or designing single-serving meals, you’ll find him hiking trails or hunting down the best berries at local markets.