
Spooky Halloween Dirt Cake Recipe for Ghoulish Fun
Crafting a spooky Halloween dirt cake brings playful magic to your festive dessert table.
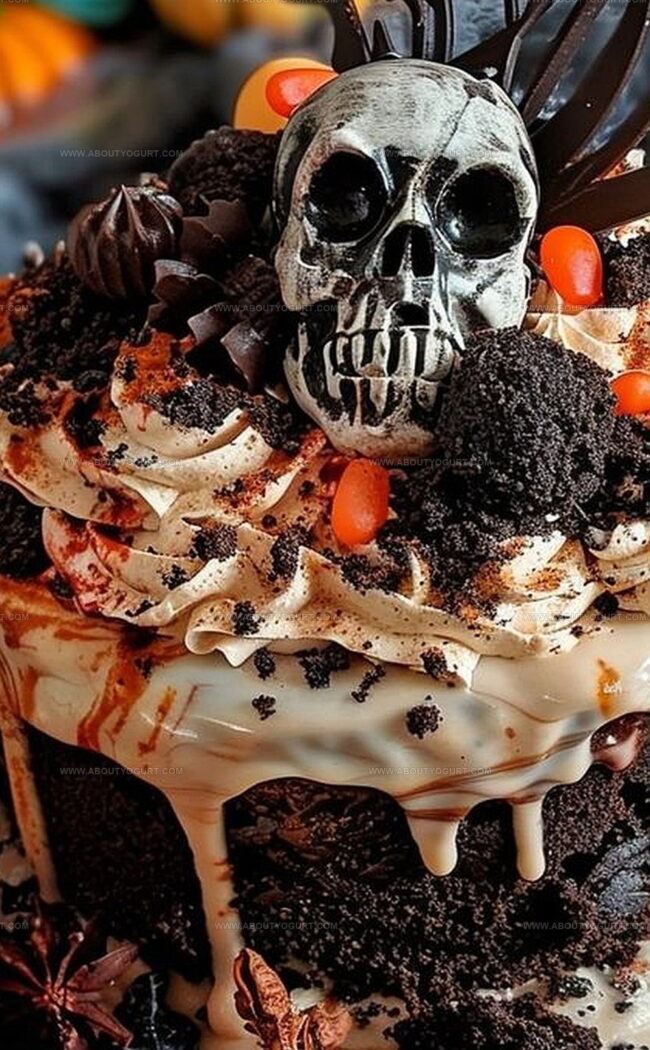
Creamy layers of chocolate pudding and crushed cookies create a wickedly delightful treat that looks like actual dirt.
Gummy worms peek through the crumbly surface, adding a deliciously gross element kids will absolutely adore.
Chocolate cookie crumbs mimic rich soil, while smooth pudding creates a delectable base for this haunting dessert.
Guests will be impressed by the realistic presentation that seems more like a garden excavation than a sweet indulgence.
Simple ingredients and minimal baking make this recipe perfect for quick Halloween party preparations.
Halloween Dirt Cake Fun And Spooky

Ingredients For Halloween Dirt Cake
Cake Base:Pudding Layer:Topping and Decoration:How To Make Halloween Dirt Cake Easily
Step 1: Whip Up the Chocolate Base
Blend chocolate cake mix with vegetable oil, eggs, and water in a spacious mixing bowl. Stir until the batter looks smooth and consistent. Transfer the mixture into a greased rectangular baking pan.
Step 2: Bake the Chocolate Foundation
Place the pan in a preheated oven at 350°F. Bake for approximately 25-30 minutes. Check doneness by inserting a toothpick into the center – it should come out clean. Allow the cake to cool completely inside the pan.
Step 3: Create Creamy Chocolate Pudding
In a separate bowl, combine instant chocolate pudding mix with milk. Whisk vigorously until the mixture thickens and becomes smooth. Gently fold in whipped topping to create a rich, creamy texture.
Step 4: Construct Layered Dessert
Crumble the cooled chocolate cake into uneven pieces. Create the first layer of cake crumbs in a large serving dish. Spread half of the pudding mixture over the cake fragments.
Step 5: Add Secondary Layers
Add another layer of cake crumbs on top of the pudding. Cover with remaining pudding mixture, ensuring an even distribution.
Step 6: Transform into Spooky Landscape
Sprinkle crushed chocolate cookies across the top to mimic dirt. Decorate with:Arrange the toppings to create a haunting Halloween scene.
Pro Tips For Halloween Dirt Cake
Variations To Try On Halloween Dirt Cake
Pairings To Complement Halloween Dirt Cake
Storage Advice For Halloween Dirt Cake
Halloween Dirt Cake FAQ
The chocolate cake mix, instant pudding, whipped topping, and crushed cookies create a fun layered dessert with a distinctive “dirt” texture and appearance.
Yes, kids will love helping assemble the cake, especially adding the gummy worms and creating the spooky dirt-like effect with crushed cookies.
Absolutely! You can prepare this cake a day in advance and store it in the refrigerator, which actually helps the flavors meld together and makes the layers more cohesive.
Not at all! This recipe is super simple and requires basic mixing and layering skills, making it perfect for beginner bakers and Halloween party hosts.
Print
Halloween Dirt Cake Recipe
- Total Time: 40-45 minutes
- Yield: 8 1x
Description
Spooky Halloween Dirt Cake weaves ghoulish magic into a creamy dessert that delights party guests with its playful graveyard aesthetic. Chocolate crumbs and gummy worms create a wickedly delicious treat you’ll crave long after the last haunting bite.
Ingredients
Cake Ingredients:
- 1 package (15.25 ounces / 432 grams) chocolate cake mix
- 3 large eggs
- 1 cup (240 milliliters) water
- 1/2 cup (120 milliliters) vegetable oil
Instructions
- Preheat the oven to 350°F and prepare a 9×13 inch baking dish with non-stick spray.
- In a large mixing bowl, thoroughly combine the chocolate cake mix with vegetable oil, eggs, and water until the batter is smooth and uniform.
- Transfer the cake batter into the prepared baking dish, ensuring an even distribution.
- Bake in the preheated oven for 25-30 minutes, checking doneness by inserting a toothpick into the center – it should come out clean.
- Allow the cake to cool completely within the baking dish, which typically takes about 1 hour.
- Whisk the instant chocolate pudding mix and milk together until the mixture thickens and becomes smooth, approximately 2 minutes.
- Gently incorporate the whipped topping into the pudding mixture, creating a light and creamy texture.
- Carefully crumble the cooled cake into large, irregular pieces using your hands or a fork.
- Create the first layer in a large serving dish by spreading an even base of cake crumbles.
- Spread half of the prepared pudding mixture over the cake crumble layer, ensuring complete coverage.
- Add another generous layer of cake crumbles on top of the pudding.
- Cover the second cake layer with the remaining pudding mixture.
- Crush chocolate cookies into fine, uneven pieces to mimic dirt-like texture.
- Evenly sprinkle the crushed cookies across the top of the pudding layer.
- Strategically place gummy worms and mini marshmallows to create a spooky, Halloween-themed presentation.
Notes
- Use room temperature ingredients to ensure smooth mixing and even baking of the cake base.
- Crumble the cake while it’s completely cool to prevent clumping and maintain a light texture.
- For a gluten-free version, swap the chocolate cake mix with a gluten-free alternative and use gluten-free chocolate cookies for the topping.
- Enhance the Halloween theme by using black and orange sprinkles or edible Halloween-themed decorations instead of traditional toppings.
- Prep Time: 15 minutes
- Cook Time: 25-30 minutes
- Category: Desserts, Snacks
- Method: Baking
- Cuisine: American
Nutrition
- Serving Size: 8
- Calories: 330 kcal
- Sugar: 25 g
- Sodium: 320 mg
- Fat: 13 g
- Saturated Fat: 2.5 g
- Unsaturated Fat: 10 g
- Trans Fat: 0.1 g
- Carbohydrates: 45 g
- Fiber: 2 g
- Protein: 4 g
- Cholesterol: 55 mg
Sarah Mitchell
Content Specialist & Home Cooking Enthusiast
Expertise
Education
Asheville-Buncombe Technical Community College – Asheville, NC
American Fitness Professionals & Associates – Online
Sarah’s passion for food was sparked by weekend trips to the farmers’ market and her belief that healthy meals should never feel boring.
After earning her culinary diploma and becoming a certified Nutrition and Wellness Consultant, she set out to help others fall in love with simple, wholesome cooking.
She’s all about celebrating the small wins in the kitchen: a colorful yogurt bowl, a new twist on a classic dish, or a homemade snack that feels just a little extra special.
Outside the kitchen, Sarah is a gardener at heart, a yoga enthusiast, and a believer that fresh herbs can brighten any meal, and any day.