Hawaiian Roll French Toast Recipe: Golden Fluffy Morning Magic
Crafting a delectable hawaiian roll french toast brings pure morning magic to your breakfast table.
Soft, pillowy rolls create a unique twist on classic brunch fare.
Sweet pineapple-infused bread transforms ordinary morning meals into something extraordinary.
Each bite promises a tropical escape without leaving your kitchen.
Cinnamon and vanilla blend seamlessly with the rolls’ inherent sweetness.
Rich custard coating ensures a crispy exterior and tender interior.
Whip this up and watch smiles bloom around the table.
Why Hawaiian Roll French Toast Is So Fun
What Goes Into Hawaiian Roll French Toast
Wet Ingredients:Bread Base:Seasoning and Spices:Cooking and Serving Ingredients:Topping Ingredients:Steps To Make Hawaiian Roll French Toast
Step 1: Craft Creamy Egg Mixture
Grab a spacious 9″ x 13″ baking dish and whisk together eggs, milk, ground cinnamon, pure vanilla extract, and a pinch of salt until the mixture becomes smooth and well-blended.
Step 2: Soak Rolls Thoroughly
Gently dunk Hawaiian rolls into the luscious egg mixture, ensuring each roll gets completely coated. Allow rolls to absorb the liquid for 5 minutes, flipping them midway through the soaking process to guarantee even absorption.
Step 3: Prepare Cooking Surface
Place a large skillet on the stovetop and melt butter over medium heat. The pan should be evenly heated before adding the soaked rolls.
Step 4: Golden Brown Transformation
Carefully transfer soaked rolls into the heated skillet. Cook each side until they develop a gorgeous golden-brown color, approximately 1 minute per side. This process typically takes around 6 minutes per batch.
Step 5: Keep Rolls Warm
As rolls finish cooking, transfer them to a platter covered with aluminum foil to maintain their warmth and prevent cooling.
Step 6: Complete Remaining Batches
Wipe the skillet clean, add fresh butter, and repeat the cooking process with the remaining rolls until all are beautifully caramelized.
Step 7: Serve and Garnish
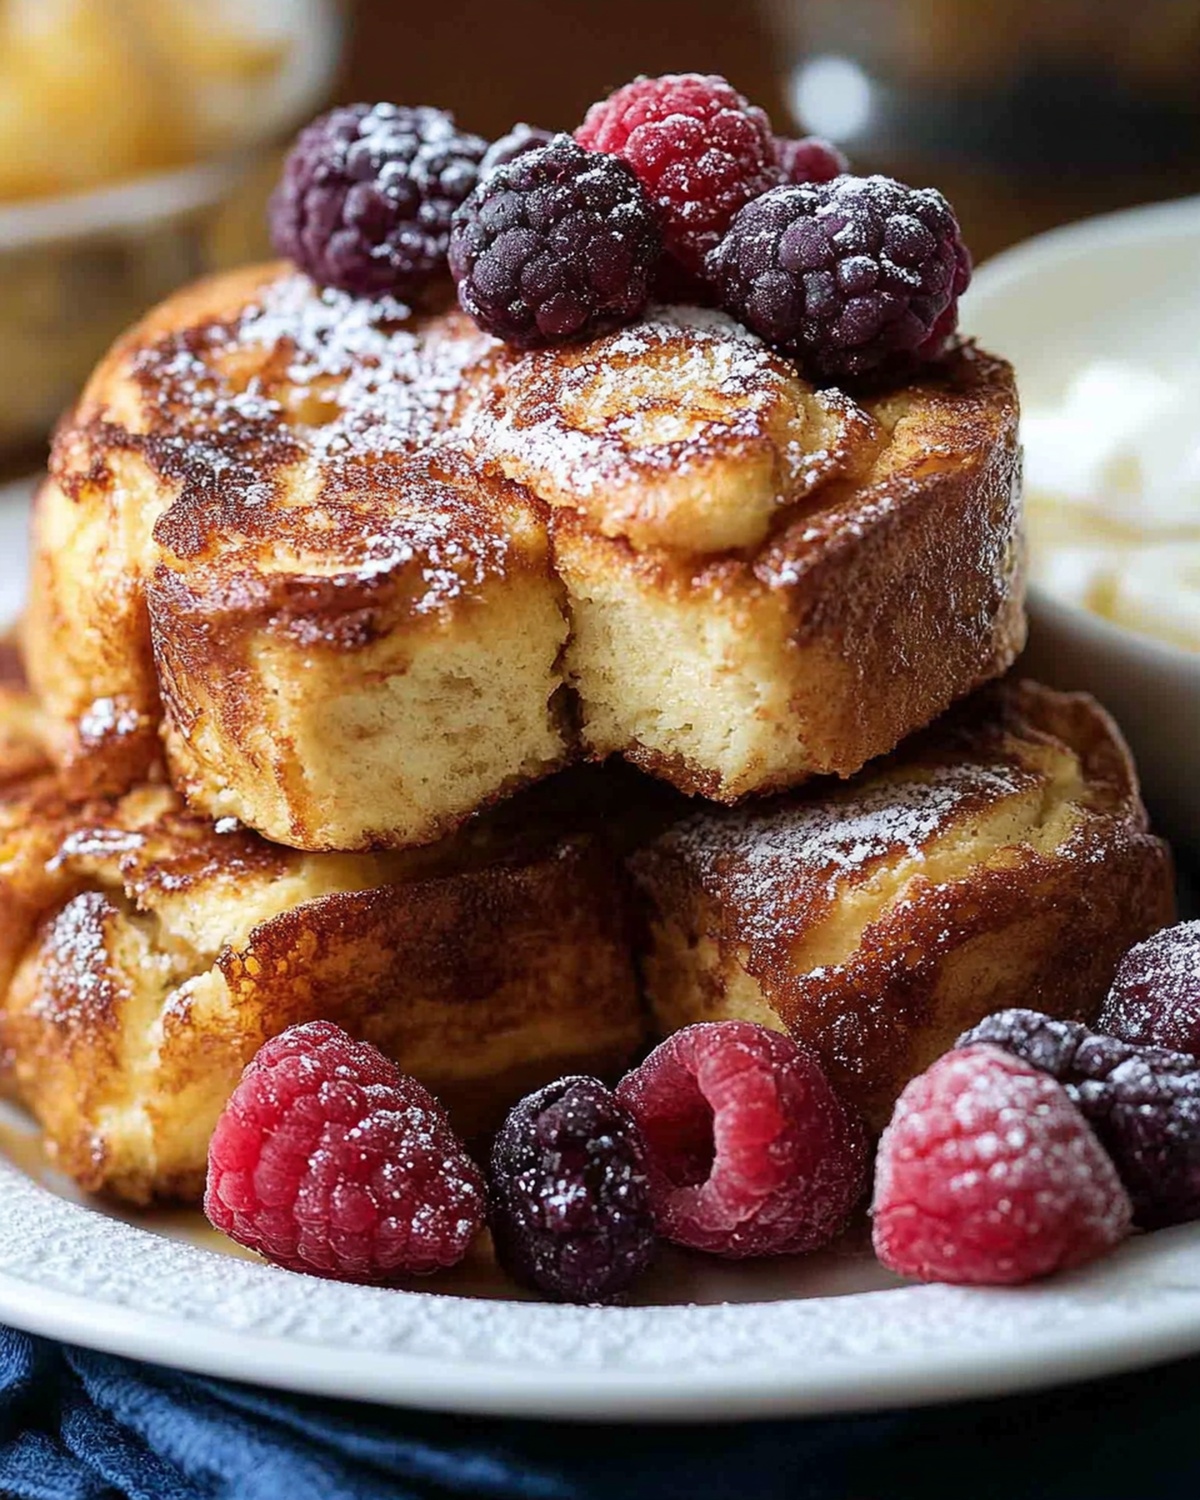
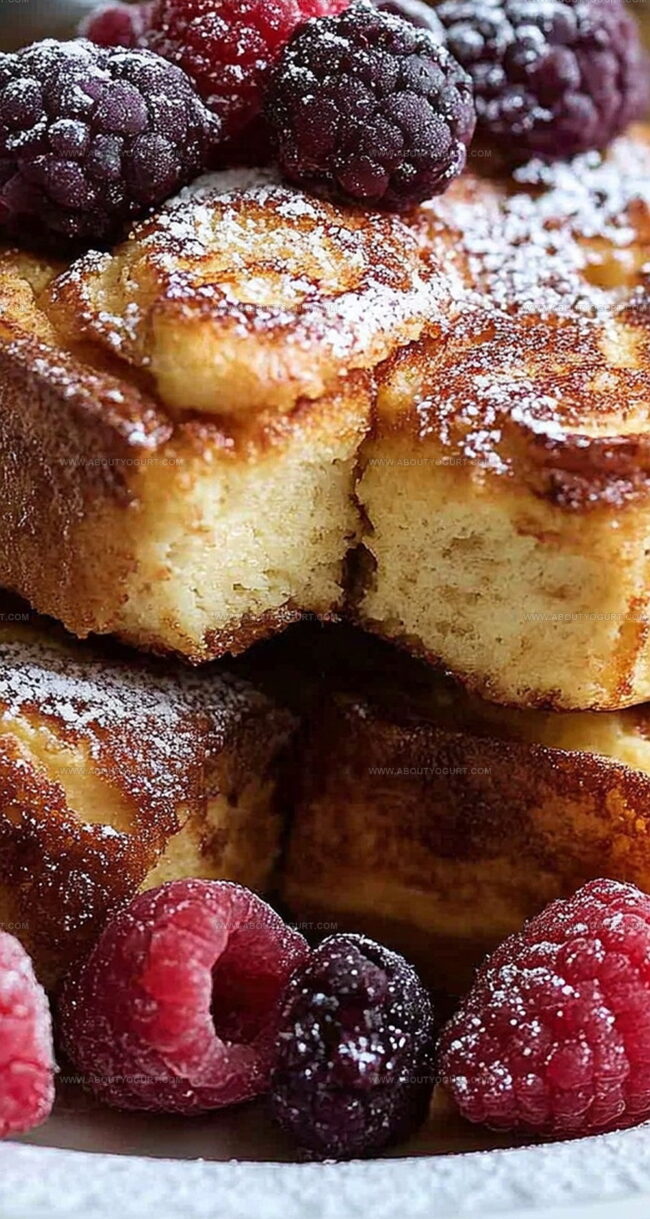
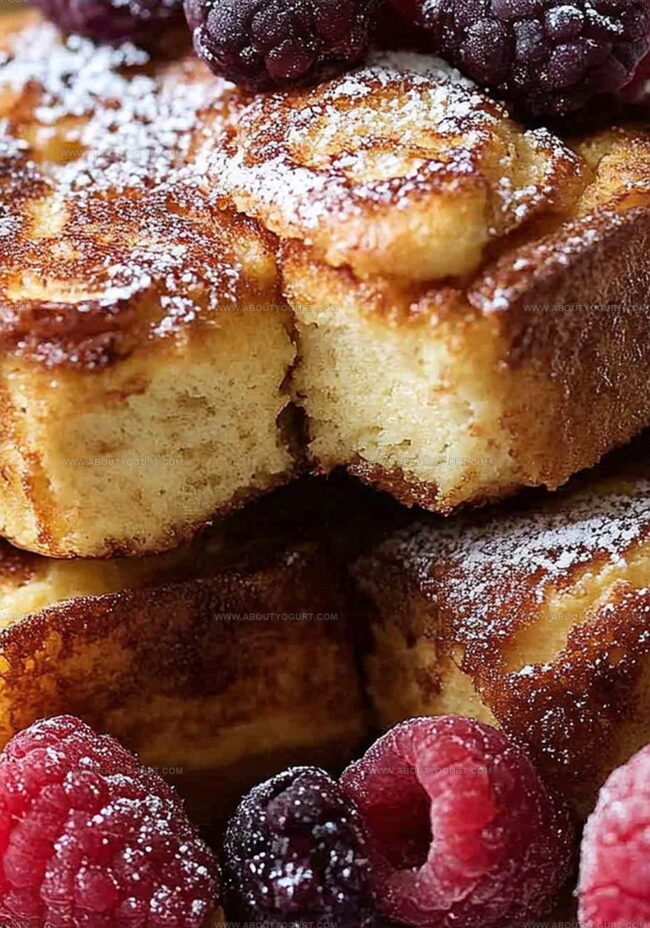
Plate the French toast rolls and embellish with:Savor every delectable bite of this sweet breakfast treat!
Helpful Tips For Hawaiian Roll French Toast
Tasty Variations Of Hawaiian Roll French Toast
What To Pair With Hawaiian Roll French Toast
How To Keep Hawaiian Roll French Toast Fresh
FAQs For Hawaiian Roll French Toast
Hawaiian rolls are soft, slightly sweet, and have a rich, buttery texture that absorbs the egg mixture perfectly, creating a more indulgent and flavorful French toast compared to traditional bread.
Yes, you can dip the rolls in the egg mixture and let them soak for up to 15 minutes before cooking, which helps them absorb more flavor and become extra tender.
Unlike traditional French toast made with sliced bread, Hawaiian rolls provide individual portion sizes, a unique texture, and a sweeter base that makes the dish more fun and easier to serve.
Print
Hawaiian Roll French Toast Recipe
- Total Time: 22 minutes
- Yield: 8 1x
Description
Sweet Hawaiian roll French toast blends tropical island flavors with classic breakfast comfort. Crispy edges, creamy center, and caramelized sugar create a delightful morning experience you cannot resist.
Ingredients
Bread:
- 24 Hawaiian sweet rolls
Main Ingredients:
- 6 eggs
- 1/3 cup (79 milliliters) milk
- 4 tablespoons (56 grams) butter
Seasoning and Flavoring:
- 1 1/2 teaspoons ground cinnamon
- 2 teaspoons vanilla extract
- 1 pinch salt
Instructions
- Craft a luscious egg mixture in a spacious baking dish by whisking together eggs, milk, aromatic cinnamon, fragrant vanilla extract, and a pinch of salt until smooth and well-blended.
- Gently immerse Hawaiian rolls into the creamy mixture, ensuring each roll is thoroughly coated. Allow the rolls to luxuriate and absorb the flavors for 5 minutes, tenderly flipping midway through the soaking process.
- Carefully transfer the saturated rolls onto a waiting plate, preparing them for their golden transformation.
- Melt butter in a large skillet over medium heat (around 350°F). Carefully place the rolls into the sizzling pan, cooking each batch until achieving a rich, caramelized golden-brown exterior. This process takes approximately 1 minute per side, totaling about 6 minutes per batch.
- As each batch completes, relocate the toasted rolls to a foil-covered platter, maintaining their warmth and preventing cooling.
- Briefly clean the skillet, replenish with fresh butter, and repeat the cooking process for the remaining rolls, ensuring consistent color and texture.
- Present the French toast rolls while warm, accompanied by pure maple syrup, a delicate dusting of powdered sugar, and a vibrant scatter of fresh seasonal berries for a delightful finishing touch.
Notes
- Soak rolls thoroughly to ensure each bite is equally moist and flavorful, allowing the egg mixture to penetrate deeply.
- Avoid overcrowding the skillet when cooking to achieve perfect golden-brown edges and prevent steaming instead of frying.
- Customize this dish for dietary needs by using gluten-free rolls, dairy-free milk alternatives, and egg substitutes like mashed banana or commercial egg replacer.
- Elevate the breakfast experience by preparing the egg mixture the night before, allowing spices to develop richer, more intense flavors and saving morning preparation time.
- Prep Time: 10 minutes
- Cook Time: 12 minutes
- Category: Breakfast, Snacks, Desserts
- Method: Frying
- Cuisine: American
Nutrition
- Serving Size: 8
- Calories: 412 kcal
- Sugar: 15 g
- Sodium: 380 mg
- Fat: 22 g
- Saturated Fat: 12 g
- Unsaturated Fat: 8 g
- Trans Fat: 0.5 g
- Carbohydrates: 38 g
- Fiber: 1 g
- Protein: 10 g
- Cholesterol: 180 mg
Michael Thompson
Founder & Recipe Developer
Expertise
Education
Cascade Culinary Institute – Bend, OR
ServSafe Food Handler Certification – Portland, OR
Focus: Certified in core food safety and hygiene principles for both home and professional kitchens, with emphasis on ingredient handling, kitchen cleanliness, and safe preparation methods.
Mike’s kitchen journey began with a single goal: to make everyday meals feel like something worth celebrating.
After earning his Certificate in Culinary Arts from Cascade Culinary Institute, he spent years working with local farmers and small kitchens across Oregon, learning the beauty of seasonal, small-batch cooking.
Mike’s approach is simple, cook with what’s fresh, keep it approachable, and always leave room for a little creativity. When he’s not testing yogurt marinades or designing single-serving meals, you’ll find him hiking trails or hunting down the best berries at local markets.