Easy & Playful Homemade Hostess Cupcakes Recipe to Charm All
Sweet nostalgia meets modern baking with these incredible homemade hostess cupcakes that spark childhood memories.
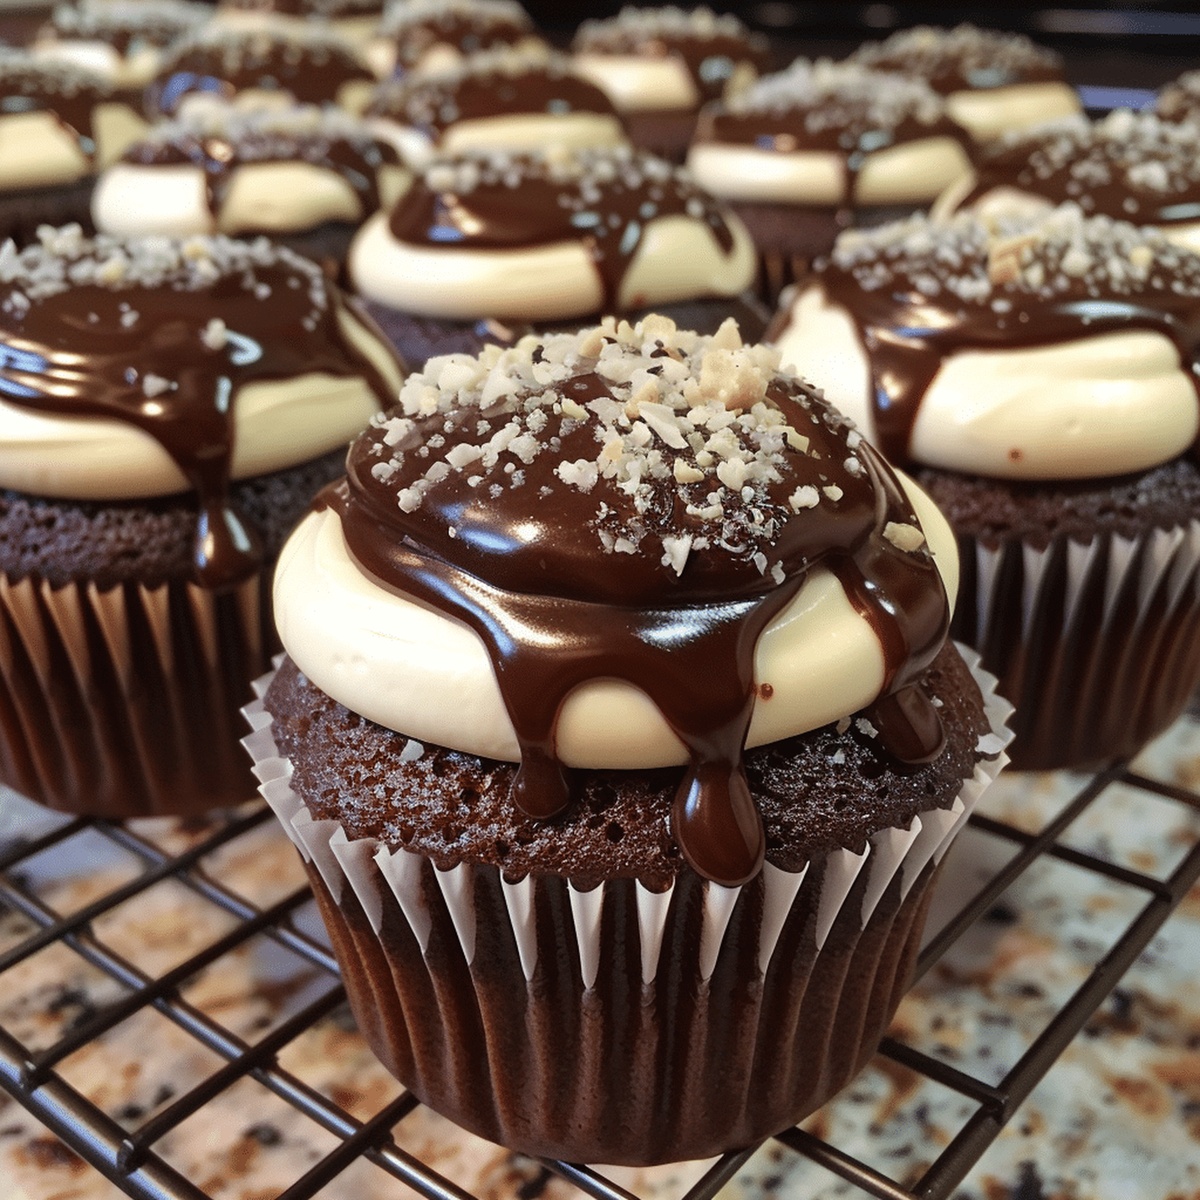
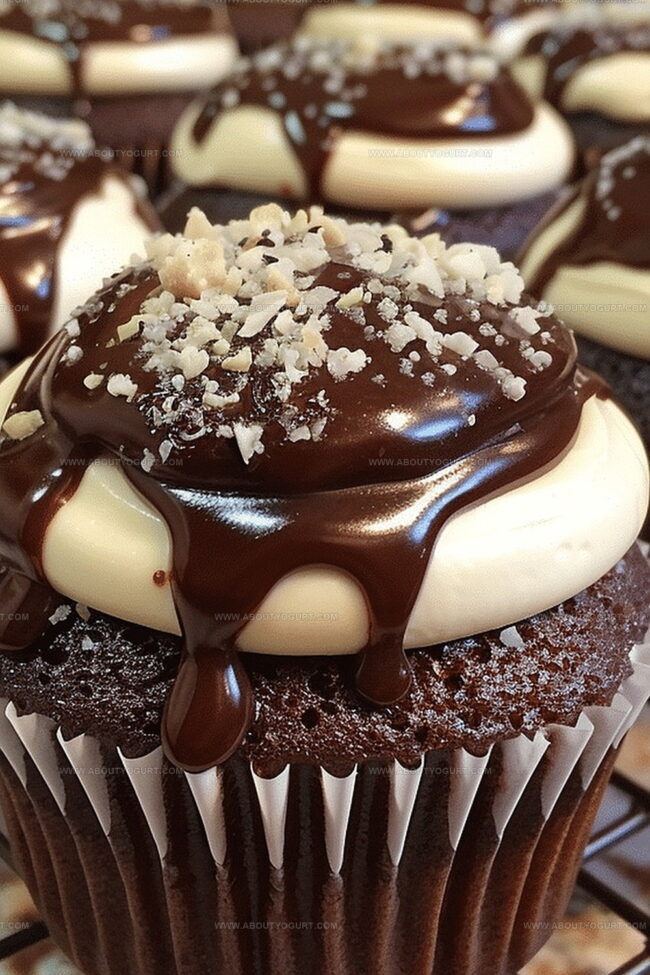
Soft chocolate cake cradles a dreamy marshmallow filling waiting to surprise you.
Childhood treats never looked so good when crafted from scratch.
Delicate swirls of white icing dance across rich chocolate surfaces.
Professional bakery techniques merge with home kitchen magic in this delightful recipe.
Each bite promises a perfect balance between tender cake and creamy center.
Homemade Hostess Cupcakes That Shine
Ingredients For Homemade Hostess Cupcakes
Dry Ingredients:Wet Ingredients:Filling and Topping Ingredients:How To Make Homemade Hostess Cupcakes
Step 1: Prepare Baking Space
Warm up your oven to 350F. Grab a muffin tin and line it with cupcake liners. This ensures your cupcakes won’t stick and look picture-perfect.
Step 2: Mix Dry Ingredients
Grab a large mixing bowl and sift together:Blend these ingredients until they’re perfectly combined and lump-free.
Step 3: Combine Wet Ingredients
Pour into the dry mixture:Whip everything together on medium speed for two full minutes. The batter should look smooth and silky.
Step 4: Create Liquid Batter
Splash in boiling water and stir until the mixture becomes thin and glossy. Don’t worry if it looks runny – that’s exactly what you want!
Step 5: Fill Cupcake Liners
Carefully pour batter into each liner, filling about two-thirds full. This gives your cupcakes room to rise beautifully.
Step 6: Bake to Perfection
Slide the muffin tin into the oven and bake for 18-20 minutes. Check doneness by inserting a toothpick – it should come out clean.
Step 7: Cool Cupcakes
Let cupcakes rest in the pan for five minutes, then transfer to a wire rack. Allow them to cool completely before filling.
Step 8: Whip Cream Filling
In a medium bowl, beat softened butter until smooth. Gradually add:Whip until the mixture becomes light and fluffy. Transfer to a piping bag with a round tip.
Step 9: Fill Cupcake Centers
Gently insert the piping tip into each cupcake’s center and squeeze softly to fill with creamy goodness.
Step 10: Create Chocolate Ganache
Place chocolate chips in a heatproof bowl. In a saucepan, heat cream and butter until simmering. Pour hot mixture over chips and let sit for 2-3 minutes.
Step 11: Finish with Ganache
Whisk chocolate and cream until glossy and smooth. Allow to cool slightly, then spoon over filled cupcakes. Let ganache set before serving.
Tips For Homemade Hostess Cupcakes

Variations For Homemade Hostess Cupcakes
Pairing Ideas For Homemade Hostess Cupcakes
Storage Tips For Homemade Hostess Cupcakes
FAQs About Homemade Hostess Cupcakes
Yes, you can use a hand mixer or even mix by hand with a whisk. Just ensure ingredients are well combined and beat thoroughly.
Absolutely! The boiling water helps create a moist, tender chocolate cake by activating the cocoa and helping develop a rich flavor.
When you gently squeeze the piping bag, the cupcake should slightly expand. If cream starts to peek out, you’ve added the perfect amount of filling.
Yes, you can use milk, dark, or semi-sweet chocolate chips based on your preference. Just keep the chocolate-to-cream ratio consistent for the best texture.
Print
Homemade Hostess Cupcakes Recipe
- Total Time: 45 minutes
- Yield: 12 1x
Description
Nostalgic homemade hostess cupcakes bring childhood memories flooding back with rich chocolate cake and creamy marshmallow filling. Classic American dessert perfection awaits when you craft these irresistible treats that connect generations through sweet, comforting indulgence.
Ingredients
Main Ingredients:
- 1 cup all-purpose flour
- 1/2 cup unsweetened cocoa powder
- 1 cup granulated sugar
- 1 large egg
- 1/2 cup milk
Liquid Ingredients:
- 1/4 cup vegetable oil
- 1/2 cup boiling water
- 1 teaspoon vanilla extract
Dry and Small Quantity Ingredients:
- 1 teaspoon baking powder
- 1/2 teaspoon baking soda
- 1/2 teaspoon salt
Cream Filling Ingredients:
- 1/2 cup unsalted butter, softened
- 2 cups powdered sugar
- 1/2 teaspoon vanilla extract
- 2 tablespoons heavy cream (30 milliliters)
Chocolate Ganache Ingredients:
- 1 cup semi-sweet chocolate chips
- 1/2 cup heavy cream (120 milliliters)
- 2 tablespoons unsalted butter
Instructions
- Prepare the oven at 350F (175C) and arrange cupcake liners in a muffin tin.
- Sift together dry ingredients in a large mixing bowl, ensuring even distribution of cocoa powder, flour, sugar, baking powder, baking soda, and salt.
- Incorporate wet ingredients into the dry mixture, blending on medium speed for 2 minutes until a smooth consistency develops.
- Gently fold in boiling water, creating a thin, uniform batter.
- Distribute batter evenly, filling each liner approximately two-thirds full.
- Bake for 18-20 minutes, checking doneness with a toothpick that should emerge clean when inserted into the center.
- Allow cupcakes to rest in the pan for 5 minutes before transferring to a wire rack for complete cooling.
- Cream the butter in a mixing bowl until silky and soft.
- Gradually blend powdered sugar and vanilla extract, whisking until achieving a smooth, creamy texture.
- Introduce heavy cream and whip on medium-high speed for 2 minutes until light and fluffy.
- Transfer filling to a piping bag with a round tip, carefully injecting cream into the center of each cooled cupcake.
- Create chocolate ganache by placing chocolate chips in a heatproof bowl.
- Simmer heavy cream and butter in a saucepan until just heated, then pour over chocolate chips and let sit for 2-3 minutes.
- Whisk the mixture until achieving a glossy, smooth consistency.
- Allow ganache to cool slightly, then generously coat the filled cupcakes, permitting the topping to set before serving.
Notes
- Opt for high-quality cocoa powder to enhance the rich chocolate flavor of the cupcakes.
- Ensure all ingredients are at room temperature for better mixing and a smoother batter.
- Use a digital kitchen scale for precise ingredient measurements to guarantee consistent results.
- For a gluten-free version, substitute all-purpose flour with a gluten-free flour blend and add 1/2 teaspoon of xanthan gum.
- Prep Time: 25 minutes
- Cook Time: 20 minutes
- Category: Desserts
- Method: Baking
- Cuisine: American
Nutrition
- Serving Size: 12
- Calories: 309 kcal
- Sugar: 34 g
- Sodium: 130 mg
- Fat: 18 g
- Saturated Fat: 7 g
- Unsaturated Fat: 10 g
- Trans Fat: 0.2 g
- Carbohydrates: 37 g
- Fiber: 3 g
- Protein: 4 g
- Cholesterol: 45 mg
Sarah Mitchell
Content Specialist & Home Cooking Enthusiast
Expertise
Education
Asheville-Buncombe Technical Community College – Asheville, NC
American Fitness Professionals & Associates – Online
Sarah’s passion for food was sparked by weekend trips to the farmers’ market and her belief that healthy meals should never feel boring.
After earning her culinary diploma and becoming a certified Nutrition and Wellness Consultant, she set out to help others fall in love with simple, wholesome cooking.
She’s all about celebrating the small wins in the kitchen: a colorful yogurt bowl, a new twist on a classic dish, or a homemade snack that feels just a little extra special.
Outside the kitchen, Sarah is a gardener at heart, a yoga enthusiast, and a believer that fresh herbs can brighten any meal, and any day.