Frosty Fresh Homemade Peppermint Patties Recipe for Sweet Fans
Crafting delectable homemade peppermint patties can transport you straight to a world of cool, minty bliss.
Sweet dreams of chocolate and mint dance together in this irresistible treat.
Childhood memories of classic candy bars come flooding back with each creamy bite.
Simple ingredients from your pantry will make magic happen in just minutes.
Kitchen adventures await as you whip up these delightful confections that rival any store-bought version.
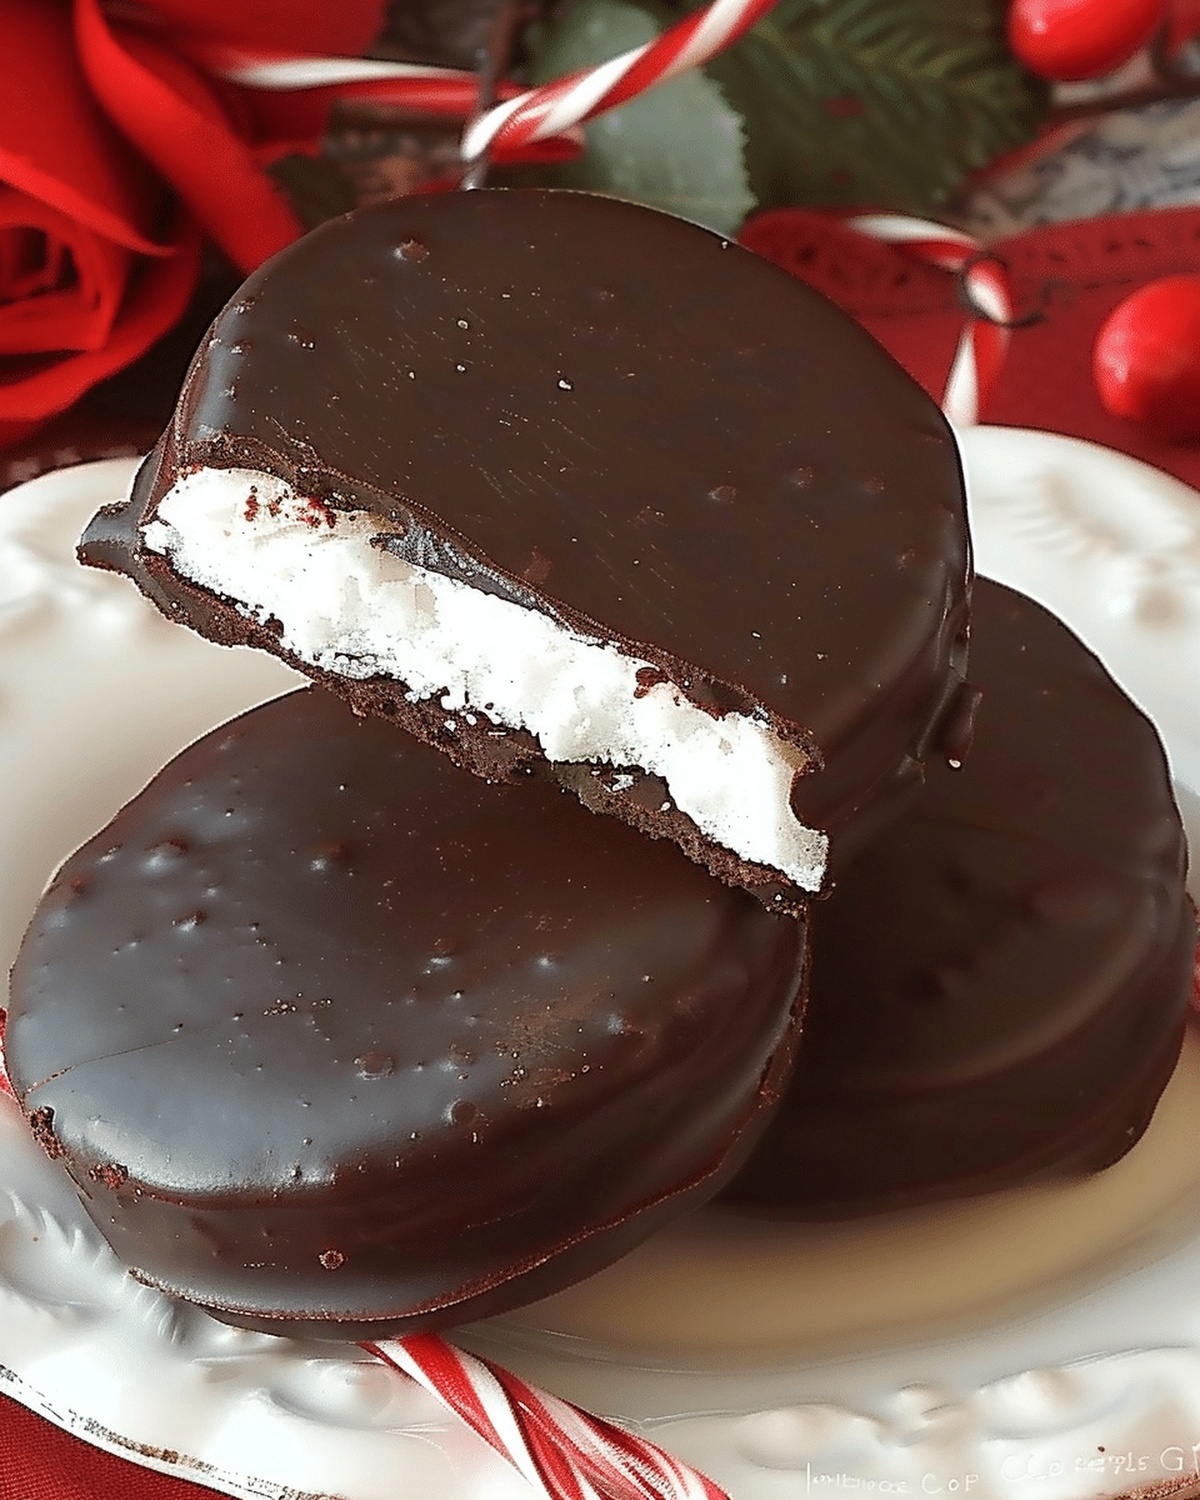
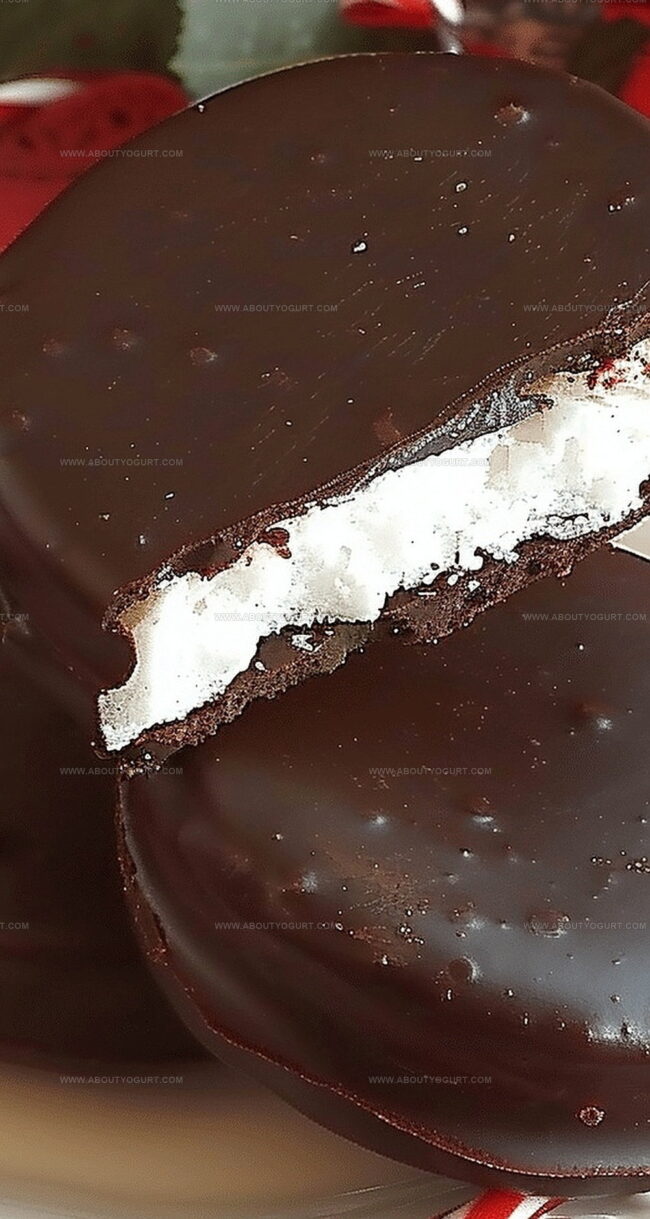
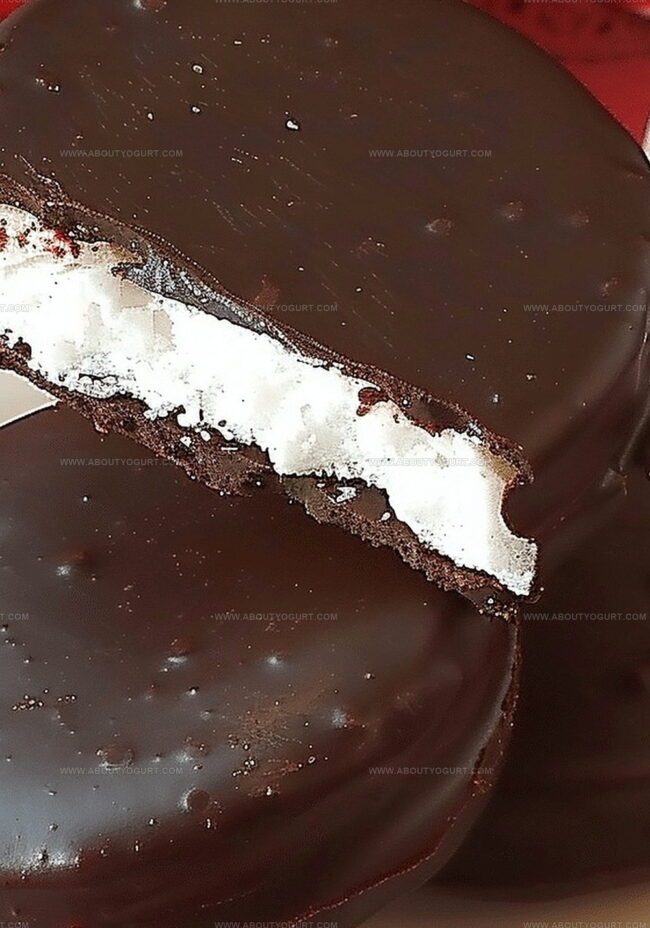
Smooth peppermint centers enrobed in rich chocolate create a sensational dessert that everyone will adore.
Dive into this recipe and unleash your inner confectioner – pure deliciousness is just moments away.
Why Homemade Peppermint Patties Are a Festive Delight
Ingredients for Homemade Peppermint Patties
Main Ingredients:Chocolate Coating:Kitchen Essentials:How to Prepare Homemade Peppermint Patties
Step 1: Blend Creamy Filling
Create a silky smooth peppermint mixture by combining in a large mixing bowl:Beat the ingredients until they form a uniform, velvety consistency that holds together perfectly.
Step 2: Shape Minty Disks
Sprinkle a clean work surface with powdered sugar. Roll out the peppermint mixture to a uniform 1/4 inch thickness. Use a small round cookie cutter to create delicate circular shapes. Transfer the cut rounds onto a parchment-lined baking sheet. Pop the tray into the freezer for about 30 minutes to firm up the disks.
Step 3: Prepare Chocolate Coating
Melt dark chocolate and shortening using a double boiler or microwave method. If using the microwave, heat in short 30-second bursts, stirring between each interval until the mixture becomes completely smooth and glossy.
Step 4: Dip and Coat
Remove the frozen peppermint disks from the freezer. Using a fork, carefully dip each disk into the melted chocolate, ensuring complete coverage. Allow excess chocolate to drip off gently. Place the chocolate-coated patties back onto the parchment paper.
Step 5: Set and Enjoy
Let the chocolate-covered patties set at room temperature. For faster results, place them in the refrigerator. Once the chocolate has hardened completely, your homemade peppermint patties are ready to devour.
Expert Tips for Homemade Peppermint Patties
Variation Ideas for Homemade Peppermint Patties
Pairing Suggestions for Homemade Peppermint Patties
Storage Advice for Homemade Peppermint Patties
FAQs About Homemade Peppermint Patties
Yes, you can substitute peppermint extract with other flavors like vanilla or almond extract, but this will change the classic peppermint patty taste.
A small round cookie cutter helps, but you can also use the rim of a glass or knife to cut the patty shapes if you don’t have a cutter.
Make sure the peppermint disks are completely frozen and the chocolate is smooth and not too hot when dipping. Work quickly and let excess chocolate drip off.
Absolutely! You can prepare the patties and store them in an airtight container in the refrigerator for up to a week before serving.
Print
Homemade Peppermint Patties Recipe
- Total Time: 50 minutes
- Yield: 24 1x
Description
Creamy “homemade peppermint patties” blend cool mint magic with rich chocolate embraces. Chocolate lovers will discover a delightful dessert experience that melts smoothly between sweet and refreshing moments.
Ingredients
Main Ingredients:
- 12 ounces (340 grams) dark chocolate, chopped
- 2 1/4 cups (270 grams) powdered sugar
- 2 tablespoons (30 milliliters) cream
Flavoring Ingredients:
- 2 teaspoons peppermint extract
- 2 tablespoons (28 grams) unsalted butter, softened
Coating/Melting Ingredients:
- 2 tablespoons (28 grams) vegetable shortening
- Additional powdered sugar for dusting
Instructions
- Create a silky, uniform mixture by vigorously blending powdered sugar, softened butter, peppermint extract, and cream until achieving a smooth, consistent texture.
- Generously dust a clean work surface with powdered sugar and carefully roll out the peppermint mixture to an even 1/4-inch thickness.
- Utilize a small circular cookie cutter to precisely cut uniform rounds from the rolled mixture, transferring each delicate disk onto a parchment-lined baking sheet.
- Chill the peppermint disks in the freezer for approximately 30 minutes, allowing them to firm up and maintain their shape during coating.
- Prepare the chocolate coating by gently melting dark chocolate and shortening together, either using a double boiler or microwave, stirring until achieving a glossy, smooth consistency.
- Remove frozen peppermint disks and carefully dip each one into the warm chocolate using a fork, ensuring complete and even coverage while allowing excess chocolate to drip off.
- Carefully place chocolate-coated patties back onto the parchment paper, allowing them to set at room temperature or expedite the process by refrigerating.
- Once chocolate has completely hardened, transfer patties to an airtight container for storage, maintaining their crisp texture and rich flavor.
Notes
- Powdered Sugar Precision: Use sifted powdered sugar to prevent lumps and ensure a silky smooth peppermint filling that blends effortlessly.
- Freezing Technique: Freeze patties thoroughly before chocolate dipping to create a crisp shell and prevent filling from melting during coating.
- Chocolate Coating Trick: Maintain melted chocolate at a consistent warm temperature to achieve a glossy, even chocolate cover without streaks or clumping.
- Dietary Modification: Swap butter with coconut oil for a dairy-free version, and use vegan dark chocolate to make these patties completely plant-based and allergy-friendly.
- Prep Time: 45 minutes
- Cook Time: 5 minutes
- Category: Snacks, Desserts
- Method: Freezing
- Cuisine: American
Nutrition
- Serving Size: 24
- Calories: 134
- Sugar: 18 g
- Sodium: 6 mg
- Fat: 7 g
- Saturated Fat: 3 g
- Unsaturated Fat: 3 g
- Trans Fat: 0.1 g
- Carbohydrates: 19 g
- Fiber: 1 g
- Protein: 1 g
- Cholesterol: 7 mg
Michael Thompson
Founder & Recipe Developer
Expertise
Education
Cascade Culinary Institute – Bend, OR
ServSafe Food Handler Certification – Portland, OR
Focus: Certified in core food safety and hygiene principles for both home and professional kitchens, with emphasis on ingredient handling, kitchen cleanliness, and safe preparation methods.
Mike’s kitchen journey began with a single goal: to make everyday meals feel like something worth celebrating.
After earning his Certificate in Culinary Arts from Cascade Culinary Institute, he spent years working with local farmers and small kitchens across Oregon, learning the beauty of seasonal, small-batch cooking.
Mike’s approach is simple, cook with what’s fresh, keep it approachable, and always leave room for a little creativity. When he’s not testing yogurt marinades or designing single-serving meals, you’ll find him hiking trails or hunting down the best berries at local markets.