Honey Garlic Ribs Recipe for Sweet and Savory Nights
Succulent pork ribs glazed with honey garlic sauce promise a mouthwatering adventure that will spark excitement at any gathering.
Tender meat falls effortlessly from the bone, creating a symphony of flavors that dance across your palate.
Carefully selected ingredients blend seamlessly to craft an unforgettable dish bursting with sweet and savory notes.
Marinades infuse each morsel with incredible depth, ensuring every bite delivers maximum satisfaction.
Weeknight dinners or weekend celebrations become extraordinary moments when these ribs hit the table.
Mastering this recipe means impressing everyone with minimal effort and maximum flavor.
Why Honey Garlic Ribs Are So Flavorful
Ingredients Needed for Honey Garlic Ribs
Main Protein:Sauce Ingredients:Flavor Enhancers:Cooking Essentials:How to Cook Honey Garlic Ribs
Step 1: Prepare Mouthwatering Ribs
Crank up your oven to a low and slow 300F (150C). Carefully strip away the tough membrane from the back of the ribs – this trick ensures mega-tender meat. Sprinkle salt and pepper generously over the entire rack to wake up those flavor receptors.
Step 2: Craft Flavor-Packed Sauce
Grab a mixing bowl and whip up a sauce that’ll make taste buds dance:Whisk everything together until the sauce looks smooth and glossy.
Step 3: Initiate Flavor Infusion
Place ribs in a baking dish, then lavishly coat them with the sauce. Pour a splash of water into the pan’s bottom to keep the meat super juicy during cooking.
Step 4: Slow Roast to Perfection
Cover the pan with aluminum foil and let the ribs transform in the oven. Bake for 2.5 to 3 hours until the meat becomes so tender it practically falls off the bone.
Step 5: Caramelize and Elevate
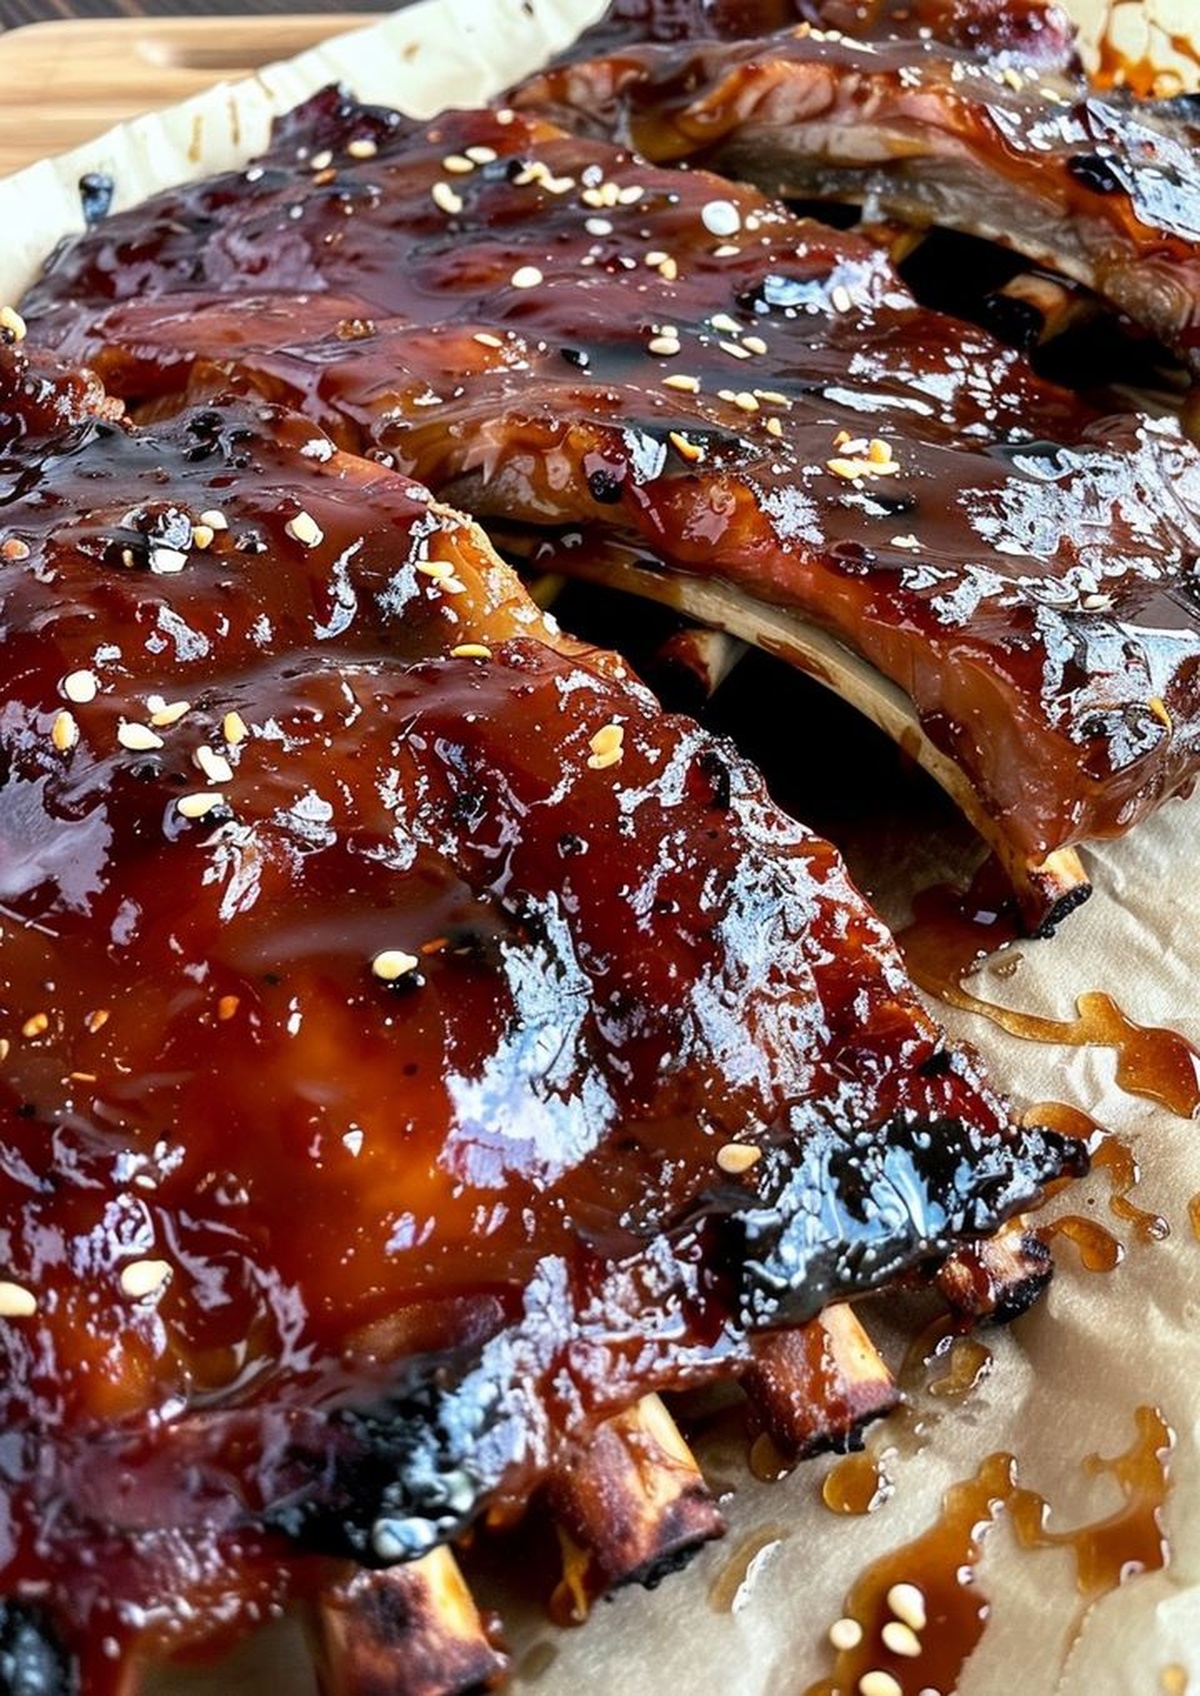
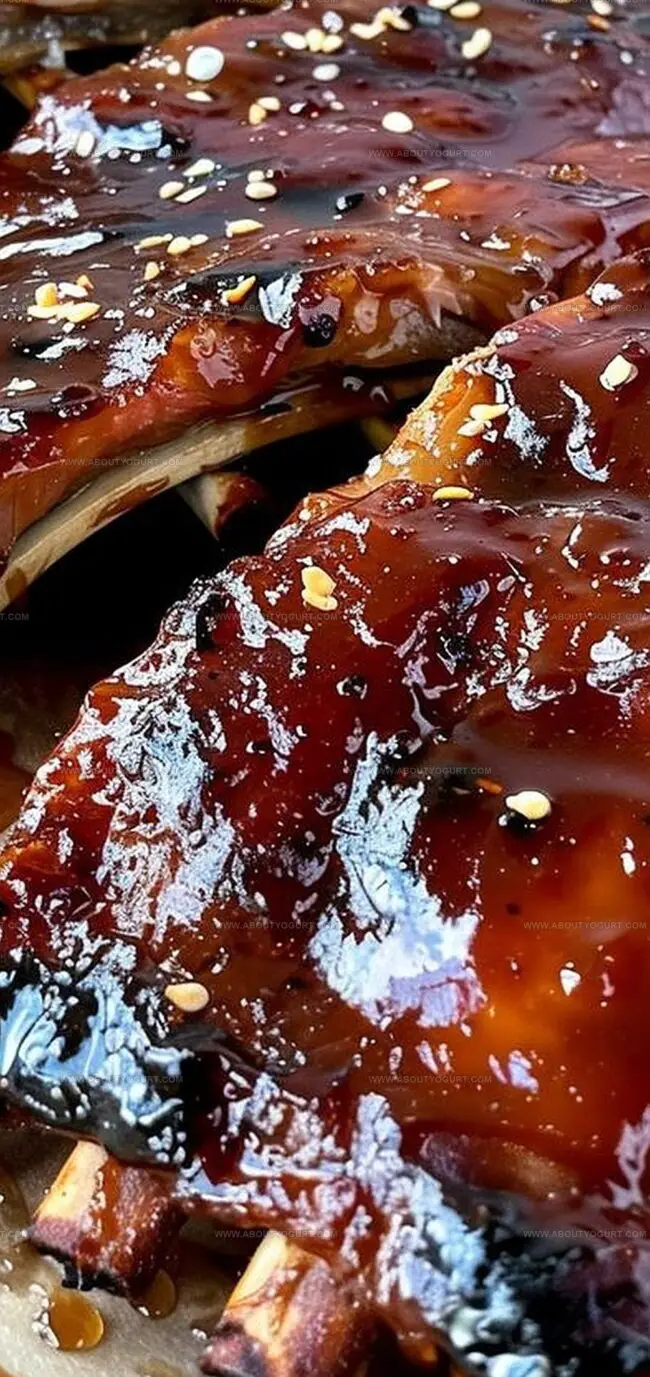
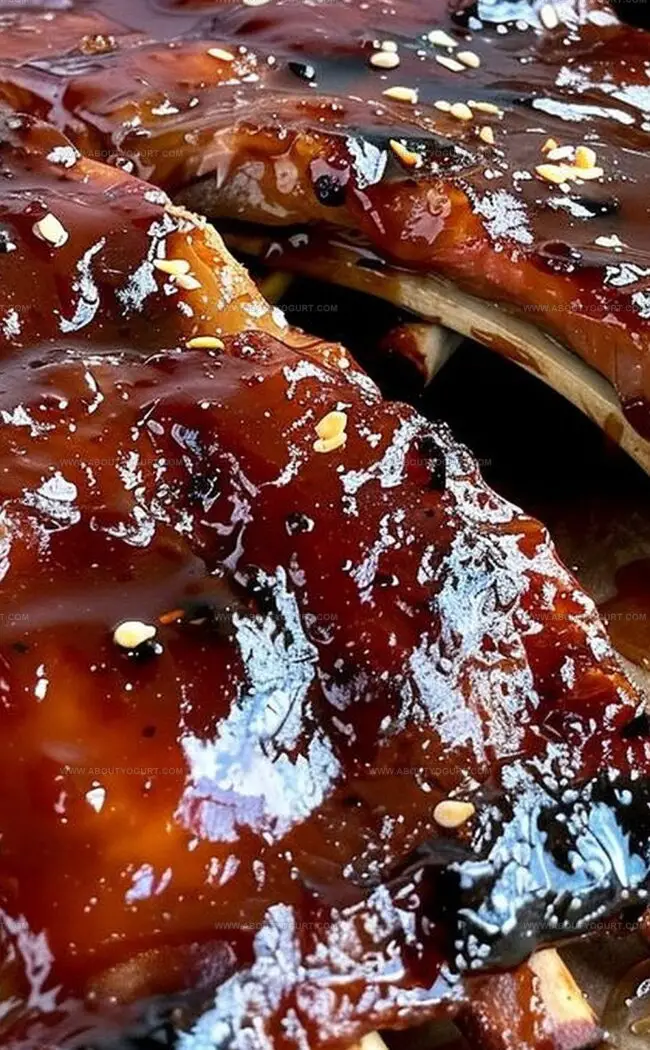
Uncover the ribs and switch your oven to broil. Watch carefully for 5-10 minutes to create a stunning caramelized exterior that’ll make everyone’s mouth water.
Step 6: Serve and Celebrate
Let the ribs rest briefly, then slice into individual portions. Drizzle with remaining pan sauce. Pair with coleslaw, cornbread, or roasted vegetables for a complete flavor explosion.
Helpful Hints for Honey Garlic Ribs
Variations to Try with Honey Garlic Ribs
Suggested Pairings for Honey Garlic Ribs
Storage Tips for Honey Garlic Ribs
FAQs on Honey Garlic Ribs
The ribs are done when the meat easily pulls away from the bone and feels tender when pierced with a fork. Cooking time is typically 2.5 to 3 hours at 300F, which breaks down the tough connective tissues.
While possible, bone-in ribs are recommended because they provide more flavor and tend to be more tender. Boneless ribs might dry out faster and lack the rich taste of traditional ribs.
You can replace soy sauce with coconut aminos, which offers a similar umami flavor but has less sodium. Tamari is another great alternative for those wanting a gluten-free option.
Print
Honey Garlic Ribs Recipe
- Total Time: 2 hours 55 minutes
- Yield: 6 1x
Description
Succulent honey garlic ribs melt with irresistible flavor, blending sweet and savory notes from classic American barbecue traditions. Slow-cooked ribs promise tender, juicy bites that will satisfy your craving for comfort cuisine.
Ingredients
Meat:
- 4 pounds (1.8 kg) pork ribs
Sauce Ingredients:
- 1/2 cup (170 grams) honey
- 1/4 cup (60 ml) soy sauce
- 1/4 cup (50 grams) brown sugar
- 1/4 cup (60 ml) ketchup
- 1/2 cup (120 ml) water
Seasonings and Aromatics:
- 6 cloves garlic, minced
- 1 teaspoon grated ginger
- 1 teaspoon black pepper
- 1/2 teaspoon salt
- 1/2 teaspoon chili flakes (optional)
- 2 tablespoons (30 ml) olive oil
Instructions
- Unwrap the ribs and meticulously strip away the tough membrane from the back, enhancing meat tenderness. Season generously with salt and freshly ground black pepper.
- Craft a vibrant sauce by whisking honey, soy sauce, brown sugar, ketchup, crushed garlic, grated ginger, black pepper, and optional chili flakes in a mixing bowl until harmoniously blended. Incorporate olive oil for silky consistency.
- Position ribs in a spacious baking dish, ensuring maximum surface coverage. Lavishly drench the meat with prepared sauce, creating an even coating. Pour water into the pan’s base to maintain moisture during slow roasting.
- Hermetically seal the dish with aluminum foil, transforming the oven to 300°F (150°C). Roast for approximately 2.5-3 hours, allowing collagen to break down and meat to become fork-tender, with visible separation from the bone.
- Unveil the foil during the final cooking stage. Activate broiler for 5-10 minutes, watching intently to achieve a caramelized, slightly charred exterior without burning the delicate sauce.
- Allow ribs to rest momentarily after removing from oven. Slice into individual portions, drizzling remaining pan juices for enhanced flavor. Complement with crisp coleslaw, warm cornbread, or roasted seasonal vegetables.
Notes
- Membrane Removal Matters: Carefully peeling off the back membrane helps ribs become incredibly tender and allows seasonings to penetrate deeper into the meat.
- Sauce Flexibility: Adjust honey and soy sauce ratios to create a more tangy or sweeter profile based on personal taste preferences.
- Low and Slow Technique: Cooking ribs at a lower temperature for extended periods ensures maximum tenderness and prevents meat from becoming tough or dry.
- Gluten-Free Adaptation: Substitute regular soy sauce with tamari or coconut aminos to make the recipe suitable for gluten-sensitive individuals.
- Prep Time: 15 minutes
- Cook Time: 2 hours 40 minutes
- Category: Lunch, Dinner, Appetizer, Snacks
- Method: Baking
- Cuisine: American
Nutrition
- Serving Size: 6
- Calories: 430 kcal
- Sugar: 18 g
- Sodium: 550 mg
- Fat: 22 g
- Saturated Fat: 7 g
- Unsaturated Fat: 14 g
- Trans Fat: 0.1 g
- Carbohydrates: 25 g
- Fiber: 1 g
- Protein: 35 g
- Cholesterol: 110 mg
Michael Thompson
Founder & Recipe Developer
Expertise
Education
Cascade Culinary Institute – Bend, OR
ServSafe Food Handler Certification – Portland, OR
Focus: Certified in core food safety and hygiene principles for both home and professional kitchens, with emphasis on ingredient handling, kitchen cleanliness, and safe preparation methods.
Mike’s kitchen journey began with a single goal: to make everyday meals feel like something worth celebrating.
After earning his Certificate in Culinary Arts from Cascade Culinary Institute, he spent years working with local farmers and small kitchens across Oregon, learning the beauty of seasonal, small-batch cooking.
Mike’s approach is simple, cook with what’s fresh, keep it approachable, and always leave room for a little creativity. When he’s not testing yogurt marinades or designing single-serving meals, you’ll find him hiking trails or hunting down the best berries at local markets.