
Homemade Jello Pudding Pops Recipe for Summer Fun
Cool summer afternoons demand a creamy jello pudding pops treat that sparks instant childhood memories.
Our nostalgic dessert brings back sweet moments from lazy afternoons.
Each frozen pop delivers smooth, silky goodness with minimal effort.
Kids absolutely adore these simple yet delightful confections that cool them down instantly.
Chocolate and vanilla flavors create a perfect balance of indulgence.
Quick preparation means you can whip up these treats in minutes.
We promise these pops will become your new favorite summer snack that everyone will request again and again.
Why Everyone Loves Jello Pudding Pops
What’s Needed For Jello Pudding Pops
Pudding Base:Mold and Freezing Accessories:Optional Serving Tools:Steps To Make Jello Pudding Pops
Step 1: Whip Up White Chocolate Pudding
Grab a medium bowl and whisk white chocolate pudding mix with milk until the mixture transforms into a silky smooth blend. Allow the pudding to rest and slightly thicken, creating a creamy base.
Step 2: Create Chocolate Pudding Magic
In a separate bowl, combine chocolate pudding mix with milk, whisking energetically until the mixture becomes wonderfully smooth. Let the pudding sit and develop its rich, velvety texture.
Step 3: Prepare Piping Bag for Swirled Delight
Take a gallon-size zip-top bag and carefully transfer alternating spoonfuls of white and chocolate pudding inside. Seal the bag securely and trim one bottom corner, creating a perfect piping opening.
Step 4: Fill Popsicle Molds with Swirled Goodness
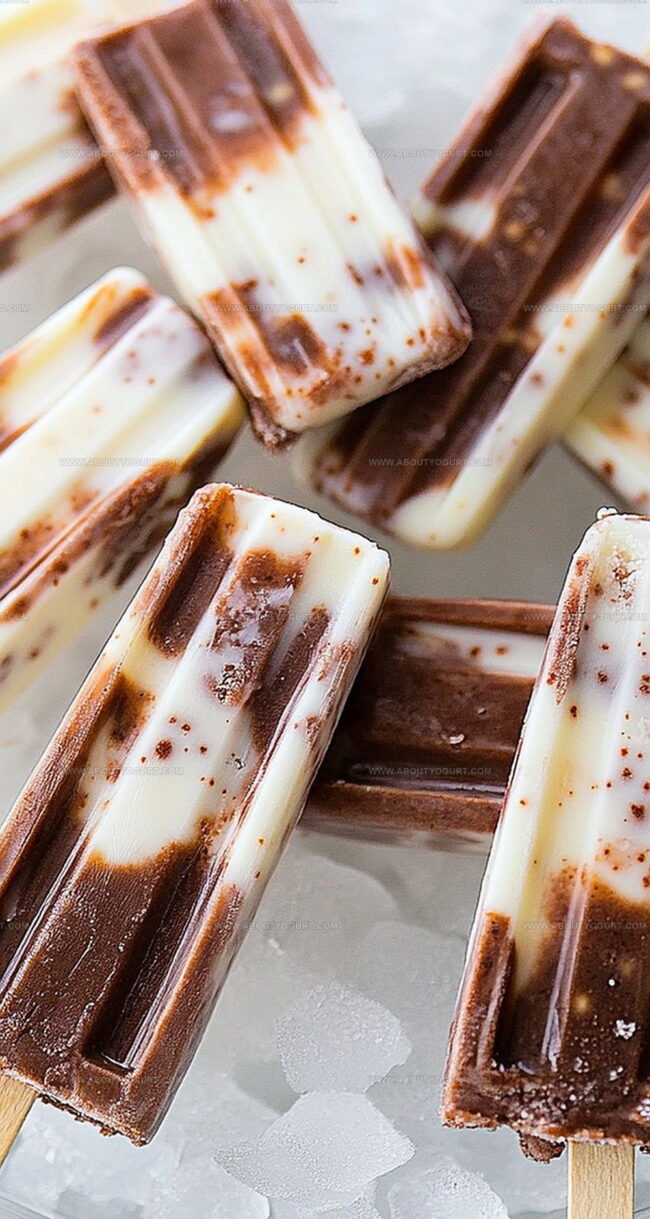
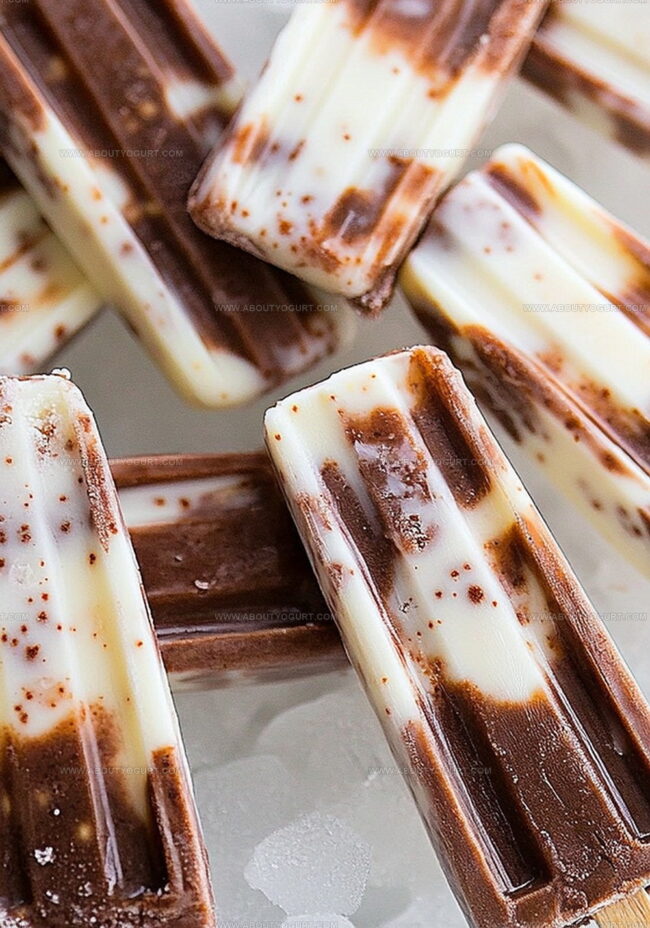
Gently pipe the pudding into popsicle molds, allowing the white and chocolate flavors to dance and swirl together. The marbled effect will create a visually stunning treat.
Step 5: Freeze Until Perfectly Set
Place the filled molds in the freezer for a minimum of 3 hours, though overnight freezing yields the best results. The pudding will transform into a solid, creamy frozen delight.
Step 6: Release Pudding Pops with Ease
When ready to enjoy, quickly dip the mold bottoms in hot water. This gentle warming will help the pudding pops slide out smoothly, revealing your delectable frozen creation.
Good Tips For Jello Pudding Pops
Creative Takes On Jello Pudding Pops
Snacks That Pair With Jello Pudding Pops
How To Keep Jello Pudding Pops Cold
Jello Pudding Pops FAQ Section
Yes, you can experiment with various pudding mix flavors like vanilla, banana, or butterscotch to create unique combinations.
No, you just need popsicle molds and a zip-top bag for easy piping. Standard kitchen tools work perfectly.
Pudding pops can be stored in the freezer for up to 2 weeks if kept in an airtight container or wrapped individually in plastic wrap.
Absolutely! Kids love these creamy, swirled treats and can even help with the mixing and piping process under adult supervision.
Print
Jello Pudding Pops Recipe
- Total Time: 3 hours 10 minutes
- Yield: 6 1x
Description
Cool summer nights meet sweet nostalgia with Jello pudding pops, a creamy frozen treat that whisks dessert lovers back to childhood memories. Smooth chocolate goodness swirls through these simple homemade pops, offering refreshing comfort you’ll savor with each delightful bite.
Ingredients
- 3½ cups whole milk
- 1 3.3 ounces (93 grams) white chocolate instant Jell-O pudding mix
- 1 3.3 ounces (93 grams) chocolate instant Jell-O pudding mix
Instructions
- Whisk white chocolate pudding mix with milk in a medium bowl until smooth, allowing the mixture to slightly thicken for 2-3 minutes at room temperature.
- In a separate bowl, combine chocolate pudding mix with milk, whisking thoroughly until well blended and beginning to set.
- Transfer both pudding mixtures into a large zip-top bag, carefully creating alternating layers and swirled patterns.
- Cut a small corner from the bag and pipe the pudding mixture directly into popsicle molds, ensuring an even distribution of both chocolate varieties.
- Place molds in freezer at 0°F, allowing pudding pops to solidify completely for 4-5 hours or overnight.
- Remove pops from freezer and briefly submerge mold bottoms in warm water for 10-15 seconds to facilitate easy release.
- Gently twist and pull each pudding pop from its mold, ensuring smooth extraction without breaking the frozen treat.
Notes
- Customize pudding flavors by swapping white and chocolate for other varieties like butterscotch or vanilla to create unique combinations.
- Use low-fat or non-dairy milk alternatives for a lighter version that accommodates dietary restrictions.
- Prevent ice crystals by ensuring pudding mixture is thick before freezing, which helps create smoother, creamier texture.
- Enhance presentation by rolling finished pudding pops in crushed nuts, chocolate chips, or sprinkles immediately after removing from molds for extra crunch and visual appeal.
- Prep Time: 10 minutes
- Cook Time: 3 hours (freezing)
- Category: Desserts, Snacks
- Method: Freezing
- Cuisine: American
Nutrition
- Serving Size: 6
- Calories: 158
- Sugar: 20 g
- Sodium: 115 mg
- Fat: 5 g
- Saturated Fat: 3 g
- Unsaturated Fat: 1 g
- Trans Fat: 0 g
- Carbohydrates: 27 g
- Fiber: 0 g
- Protein: 4 g
- Cholesterol: 15 mg
Michael Thompson
Founder & Recipe Developer
Expertise
Education
Cascade Culinary Institute – Bend, OR
ServSafe Food Handler Certification – Portland, OR
Focus: Certified in core food safety and hygiene principles for both home and professional kitchens, with emphasis on ingredient handling, kitchen cleanliness, and safe preparation methods.
Mike’s kitchen journey began with a single goal: to make everyday meals feel like something worth celebrating.
After earning his Certificate in Culinary Arts from Cascade Culinary Institute, he spent years working with local farmers and small kitchens across Oregon, learning the beauty of seasonal, small-batch cooking.
Mike’s approach is simple, cook with what’s fresh, keep it approachable, and always leave room for a little creativity. When he’s not testing yogurt marinades or designing single-serving meals, you’ll find him hiking trails or hunting down the best berries at local markets.