Quick & Fluffy Lazy Chocolate Chip Cookie Bars Recipe
Crafting the ultimate lazy chocolate chip cookie bars brings pure joy to any dessert lover.
Forget complicated baking processes that drain your energy and patience.
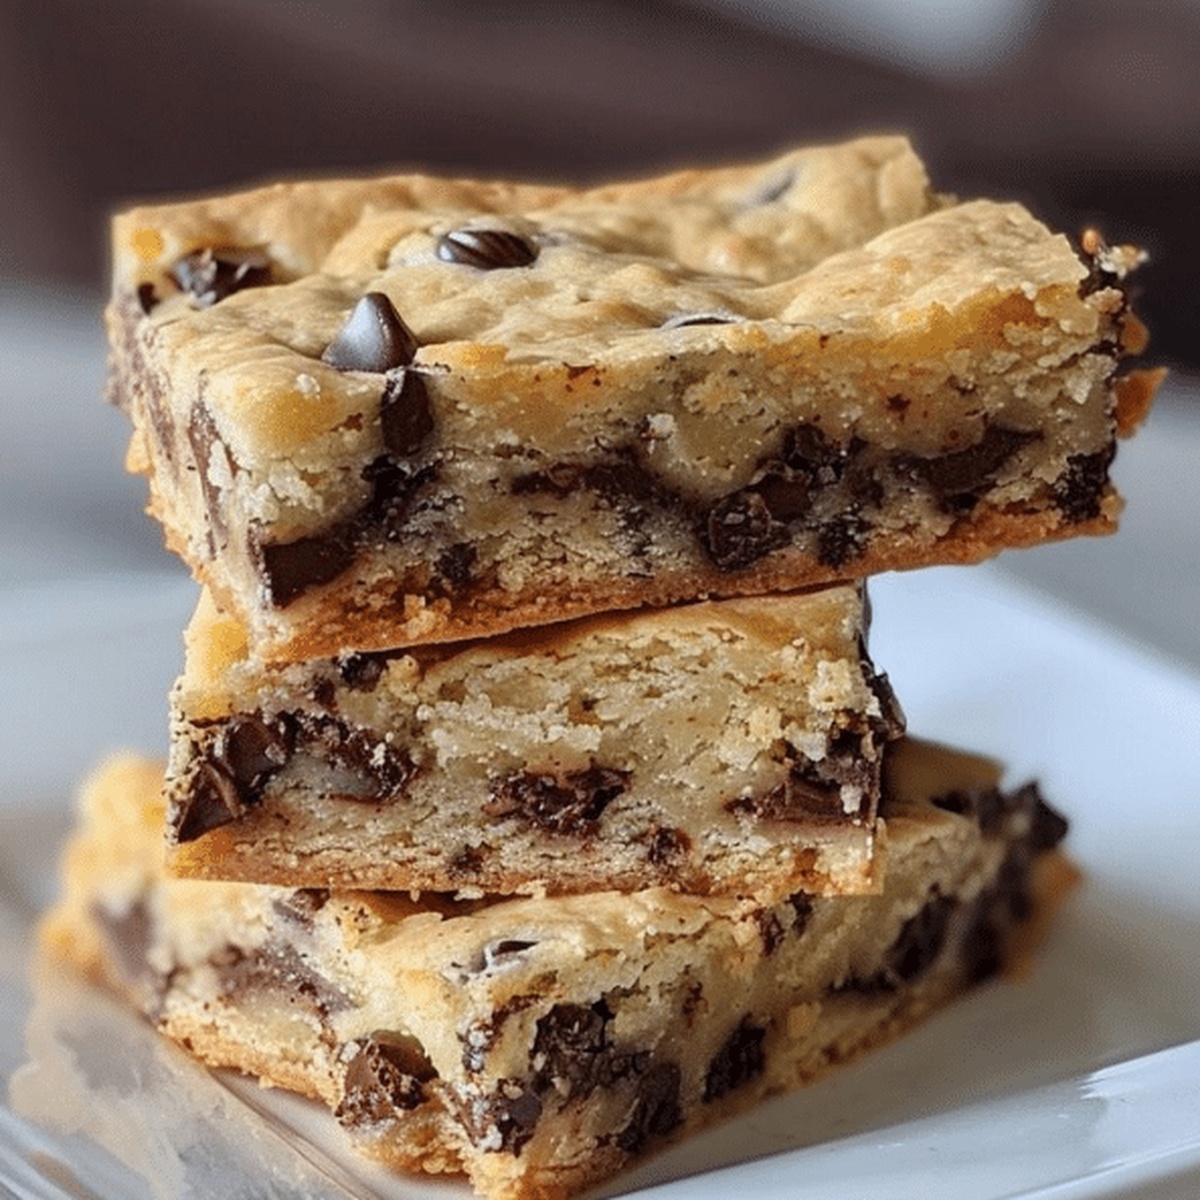
Soft, gooey, and incredibly simple, these treats eliminate the need for individual cookie shaping.
Chocolate lovers will appreciate the minimal effort required to create such a delightful sweet.
No mixer or complicated techniques stand between you and deliciousness.
One pan and a few basic ingredients are all it takes to whip up this crowd-pleasing dessert.
Prepare to experience cookie bliss with the easiest recipe you’ll ever make.
Why Lazy Chocolate Chip Cookie Bars Are the Easiest Treat

Ingredients List for Lazy Chocolate Chip Cookie Bars
Wet Ingredients:Dry Ingredients:Mix-In Ingredient:Quick and Easy Instructions for Lazy Chocolate Chip Cookie Bars
Step 1: Prepare Baking Station
Get your oven warmed up to 350F (175C). Grab a 9×13-inch baking pan and coat it with cooking spray or line it with parchment paper for easy removal.
Step 2: Create Buttery Base
In a large mixing bowl, combine:Whisk these ingredients until they become a smooth, creamy mixture that looks like liquid gold.
Step 3: Add Moisture and Flavor
Crack in the eggs and pour in vanilla extract. Whisk vigorously until everything blends into a silky, rich combination.
Step 4: Mix Dry Ingredients
In a separate bowl, blend together:Gently fold the dry ingredients into the wet mixture. Stir just until everything comes together – don’t go crazy with mixing.
Step 5: Sprinkle Chocolate Magic
Toss in chocolate chips and fold them through the dough. Make sure they’re evenly distributed for maximum chocolatey goodness.
Step 6: Spread the Love
Transfer the dough into your prepared pan. Use a spatula or your hands to spread it evenly, creating a smooth layer that promises deliciousness.
Step 7: Bake to Perfection
Slide the pan into the oven and bake for 25-30 minutes. You’re looking for a golden-brown top and a toothpick that comes out with just a few moist crumbs.
Step 8: Cool and Serve
Let the bars rest in the pan on a wire rack for at least 15 minutes. This helps them set and makes cutting easier. Slice into squares and watch them disappear!
Tips & Tricks for the Ultimate Lazy Chocolate Chip Cookie Bars

Tasty Variations to Customize Your Cookie Bars
Perfect Pairings to Complement Lazy Chocolate Chip Cookie Bars
Storage Solutions to Keep Cookie Bars Fresh and Yummy
FAQs About Lazy Chocolate Chip Cookie Bars You Should Know
These bars are called “lazy” because they’re easier to make than traditional drop cookies. Instead of scooping individual cookies, you simply spread the dough in a pan and bake it all at once.
Absolutely! You can swap chocolate chips for white chocolate, dark chocolate, or even add chopped nuts like pecans or walnuts to customize the bars.
Look for golden brown edges and a slightly set center. When you insert a toothpick, it should come out with a few moist crumbs, which means the bars are perfectly baked and will remain soft.
Print
Lazy Chocolate Chip Cookie Bars Recipe
- Total Time: 40-45 minutes
- Yield: 16 1x
Description
Indulgent lazy chocolate chip cookie bars bring comfort and nostalgia to classic dessert lovers. Baked in a single pan with minimal effort, these bars deliver rich chocolate chunks and buttery sweetness that melt in your mouth and satisfy sweet cravings effortlessly.
Ingredients
Main Ingredients:
- 2 1/4 cups all-purpose flour
- 2 cups semisweet or milk chocolate chips
- 1 cup unsalted butter, melted
- 2 large eggs
Sugars:
- 1 cup brown sugar, packed
- 1/2 cup granulated sugar
Flavor Enhancers and Binders:
- 1 tablespoon vanilla extract
- 1/2 teaspoon baking powder
- 1/2 teaspoon baking soda
- 1/2 teaspoon salt
Instructions
- Prepare the oven by heating to 350F (175C) and prepare a 9×13-inch baking pan with grease or parchment paper lining.
- Create a smooth mixture by whisking melted butter with brown and granulated sugars until fully integrated.
- Incorporate eggs and vanilla extract, blending thoroughly to create a uniform liquid base.
- Separately combine flour, baking powder, baking soda, and salt, then gently merge with the wet ingredients, stirring minimally to prevent tough texture.
- Generously distribute chocolate chips throughout the dough, ensuring even coverage with gentle folding motions.
- Transfer the cookie dough into the prepared pan, using hands or a spatula to create an even, smooth layer with gentle pressure.
- Bake for 25-30 minutes, watching for a golden-brown surface and checking doneness with a toothpick that should emerge with minimal moist crumbs.
- Allow the baked bars to rest and stabilize in the pan atop a wire rack for at least 15 minutes before slicing into delectable squares.
Notes
- Customize the sweetness by adjusting the sugar ratio or using alternative sweeteners like honey or maple syrup for a unique flavor profile.
- Experiment with different chocolate chip varieties, such as dark chocolate, milk chocolate, or even white chocolate chips, to create your signature bars.
- For a gluten-free version, swap wheat flour with almond flour or a gluten-free baking blend, ensuring the texture remains soft and chewy.
- Add extra texture and nutrition by incorporating chopped nuts, shredded coconut, or dried fruit into the cookie dough for a personalized twist.
- Prep Time: 15 minutes
- Cook Time: 25-30 minutes
- Category: Desserts, Snacks
- Method: Baking
- Cuisine: American
Nutrition
- Serving Size: 16
- Calories: 238 kcal
- Sugar: 18 g
- Sodium: 102 mg
- Fat: 13 g
- Saturated Fat: 7 g
- Unsaturated Fat: 6 g
- Trans Fat: 0.2 g
- Carbohydrates: 29 g
- Fiber: 1.5 g
- Protein: 2.5 g
- Cholesterol: 27 mg
Sarah Mitchell
Content Specialist & Home Cooking Enthusiast
Expertise
Education
Asheville-Buncombe Technical Community College – Asheville, NC
American Fitness Professionals & Associates – Online
Sarah’s passion for food was sparked by weekend trips to the farmers’ market and her belief that healthy meals should never feel boring.
After earning her culinary diploma and becoming a certified Nutrition and Wellness Consultant, she set out to help others fall in love with simple, wholesome cooking.
She’s all about celebrating the small wins in the kitchen: a colorful yogurt bowl, a new twist on a classic dish, or a homemade snack that feels just a little extra special.
Outside the kitchen, Sarah is a gardener at heart, a yoga enthusiast, and a believer that fresh herbs can brighten any meal, and any day.