Crispy Leftover Turkey Stuffing Balls Recipe for Cozy Meals
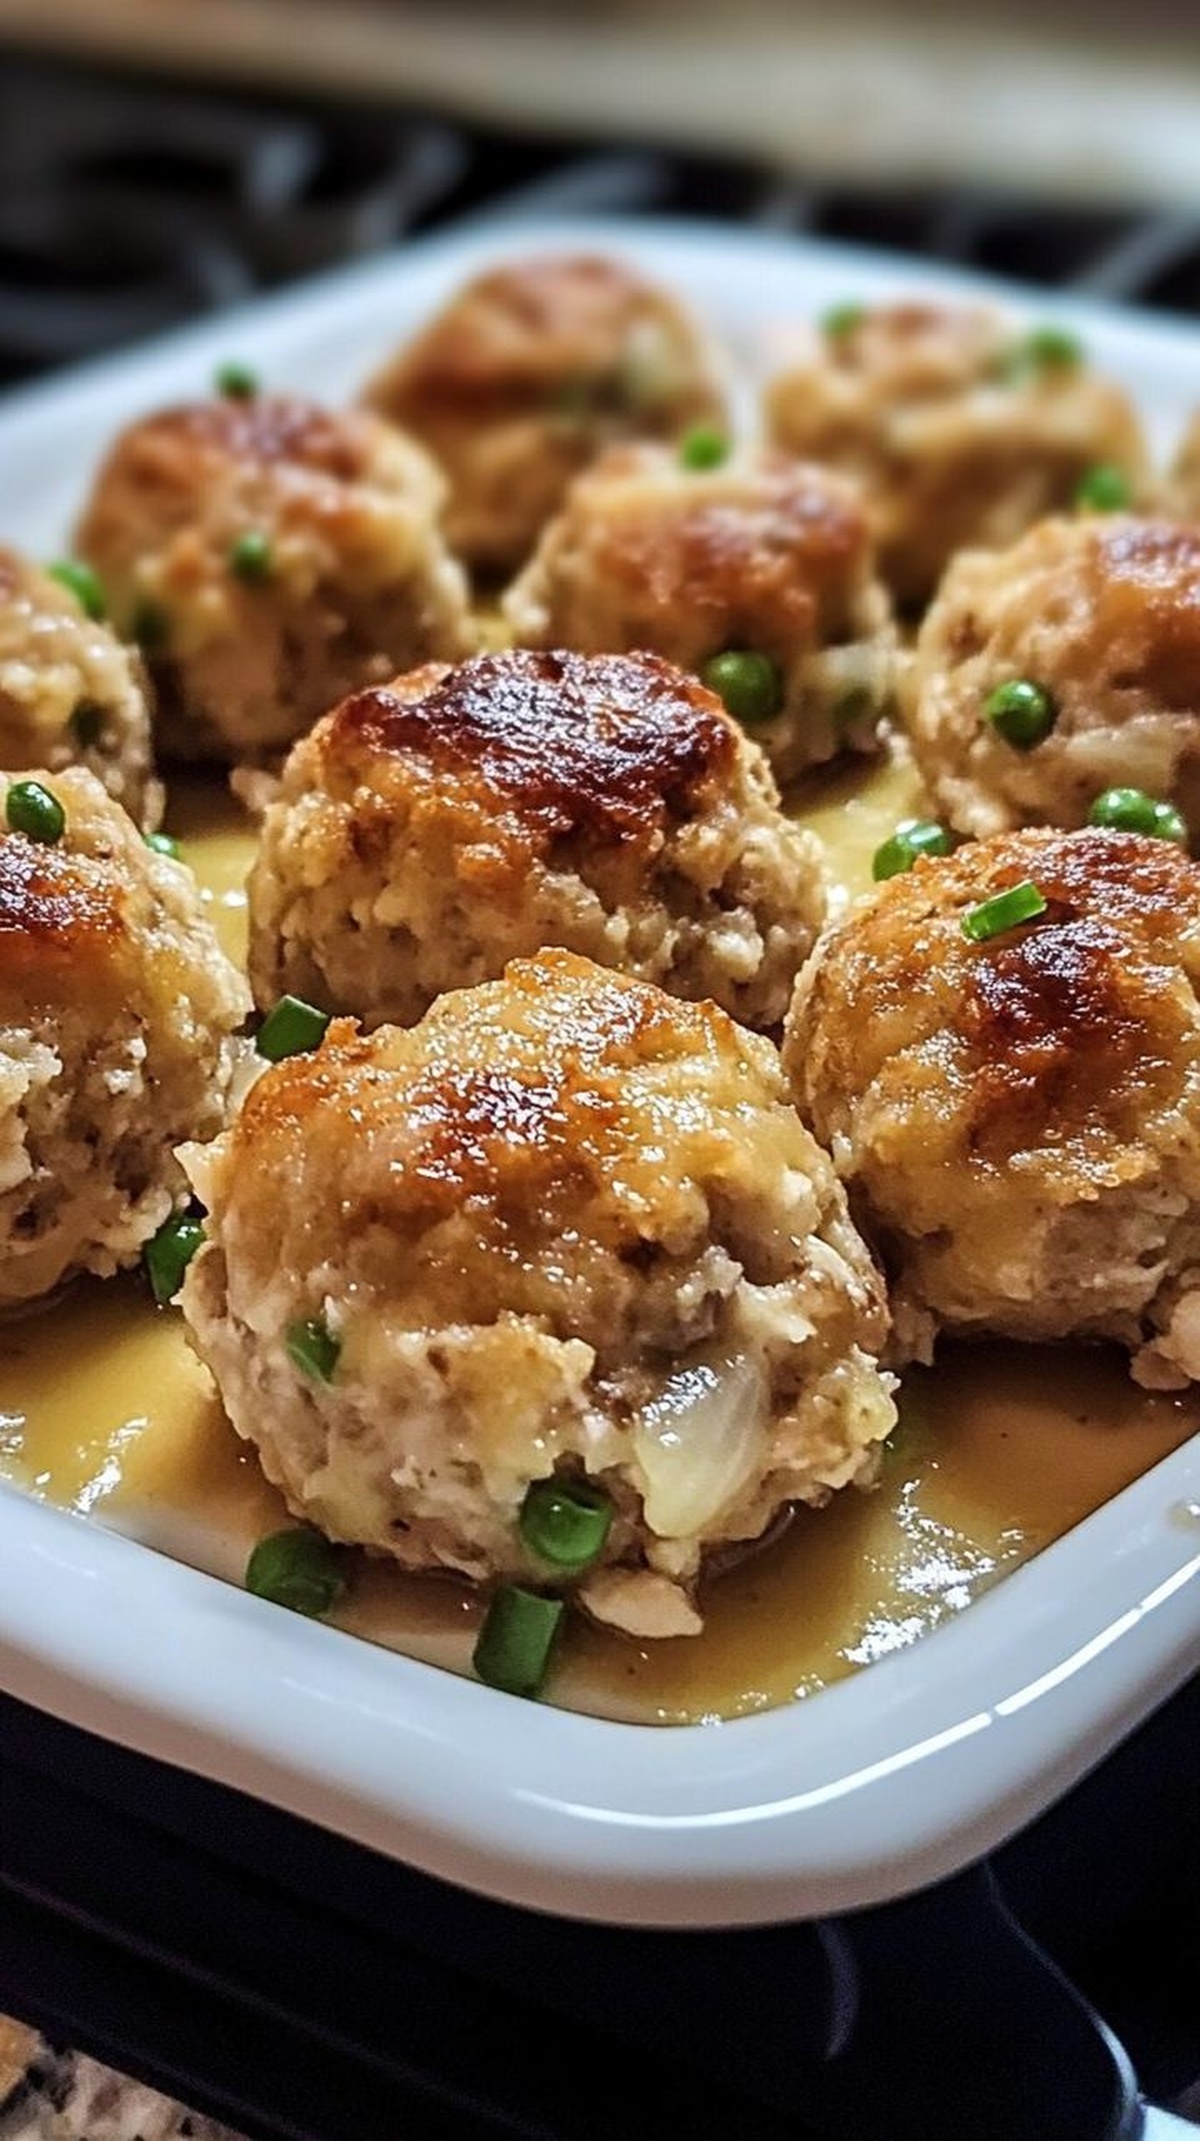
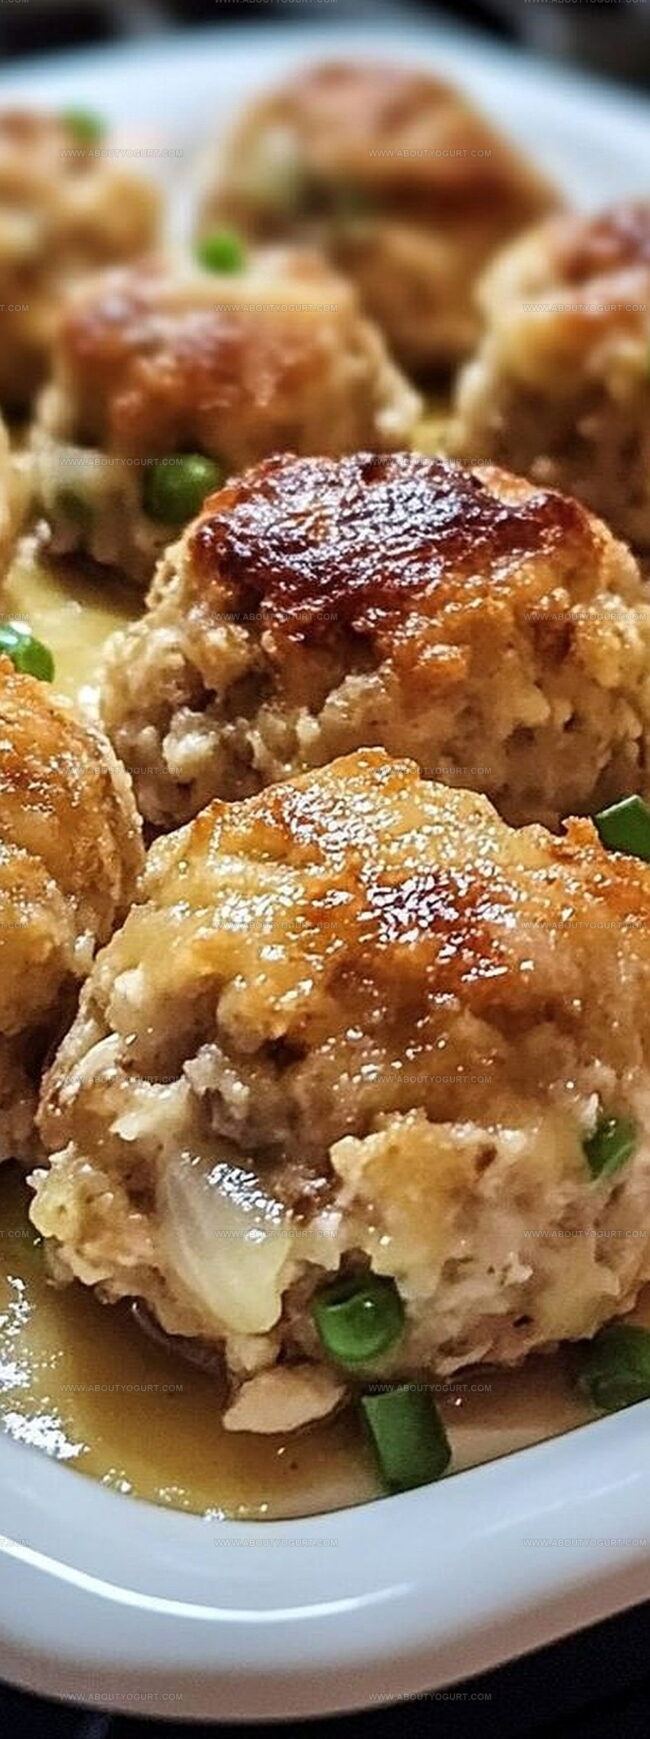
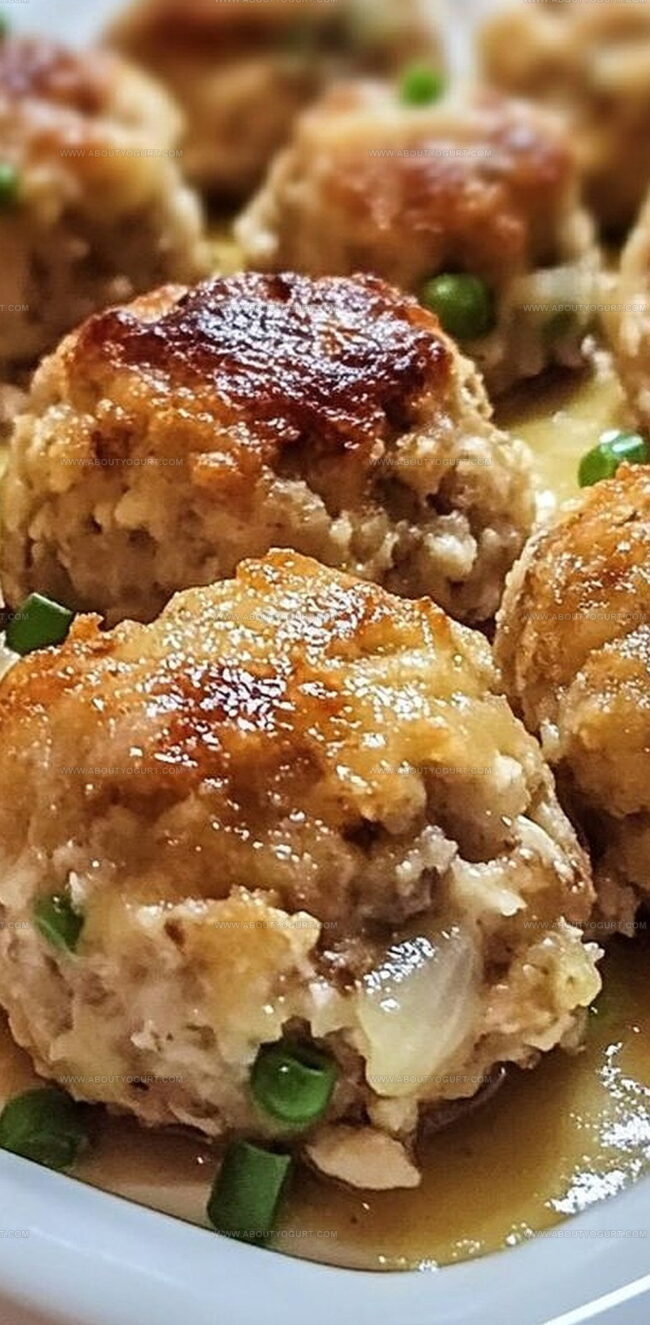
Crispy and golden turkey stuffing balls offer a delightful way to reimagine holiday leftovers into something magical.
Comfort meets creativity when classic ingredients transform into bite-sized treasures.
Each morsel packs rich flavors from your previous feast into a perfectly portable snack.
Crunchy exteriors give way to soft, savory centers that remind you of cozy family gatherings.
Pantry staples like breadcrumbs, herbs, and chopped turkey come together effortlessly in this simple recipe.
Quick to prepare and even faster to devour, these stuffing balls make leftovers feel like a brand-new culinary adventure.
Serve them as appetizers or enjoy them as a satisfying snack that celebrates delicious memories.
What Makes Leftover Turkey Stuffing Balls So Delicious
Essential Ingredients for Leftover Turkey Stuffing Balls
Main Protein:Binding Ingredients:Seasoning Ingredients:Additional Components:Serving Suggestion:Step-by-Step Guide for Leftover Turkey Stuffing Balls
Step 1: Warm Up The Oven
Crank the oven to a toasty 375°F (190°C) and grab a baking sheet. Line it with parchment paper to prevent any sticky situations.
Step 2: Mix The Delicious Filling
Grab a big mixing bowl and toss in your ingredients:Blend everything together until it looks like a perfectly combined mixture that will make mouths water.
Step 3: Shape Those Tasty Morsels
Roll the mixture into bite-sized balls, aiming for a golf ball size. Gently place each ball onto the prepared baking sheet, giving them some breathing room.
Step 4: Add A Crispy Touch
Lightly spritz the stuffing balls with olive oil. This little trick helps them turn golden and crispy during baking.
Step 5: Bake To Perfection
Slide the baking sheet into the preheated oven. Bake for 20-25 minutes until the balls transform into a gorgeous golden brown color and are heated completely through.
Step 6: Serve And Enjoy
Pull out your delectable turkey stuffing balls and serve them warm. Pair with cranberry sauce for dipping or enjoy them as a standalone snack that’ll have everyone asking for seconds.
Helpful Hints for Leftover Turkey Stuffing Balls
Variations to Try with Leftover Turkey Stuffing Balls
Pairing Ideas for Leftover Turkey Stuffing Balls
Proper Storage for Leftover Turkey Stuffing Balls
FAQs About Leftover Turkey Stuffing Balls
Yes, you can make these turkey stuffing balls ahead of time and store them in the refrigerator for 3-4 days. Reheat in the oven at 350F for best results.
Absolutely! Place uncooked or cooked stuffing balls in a freezer-safe container. They’ll keep for up to 2 months. Thaw overnight in the refrigerator before baking or reheating.
No problem! You can use rotisserie chicken, diced cooked chicken, or even ground turkey as a substitute in this recipe.
Replace regular breadcrumbs with gluten-free breadcrumbs, and ensure your stuffing mix is also gluten-free.
Print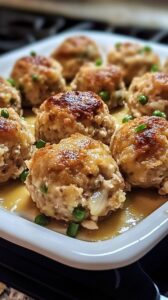
Leftover Turkey Stuffing Balls Recipe
- Total Time: 30-35 minutes
- Yield: 4 1x
Description
Crispy golden “Turkey Stuffing Balls” elevate holiday leftovers into a delightful appetizer perfect for game day or casual gatherings. Savory herbs, melted cheese, and crisp breadcrumb coating make these bite-sized morsels an irresistible snack you’ll want to devour.
Ingredients
Protein:
- 2 cups leftover turkey, shredded
- 2 large eggs
Binding and Flavor Enhancers:
- 3 cups leftover stuffing
- 1/2 cup breadcrumbs
- 1/4 cup grated Parmesan cheese
- 1/2 teaspoon garlic powder
- 1/2 teaspoon onion powder
- Salt and pepper to taste
Optional Addition:
- 1/2 cup cranberry sauce
Cooking Spray:
- Olive oil spray for baking
Instructions
- Gather all leftover turkey and stuffing components, ensuring ingredients are at room temperature for optimal mixing.
- Combine shredded turkey with stuffing in a spacious mixing vessel, creating a uniform base for the appetizing morsels.
- Integrate eggs, breadcrumbs, Parmesan, and seasoning agents into the mixture, blending thoroughly to guarantee even distribution of flavors.
- Gently shape the consolidated mixture into compact spheres, approximating the dimensions of a standard golf ball, maintaining consistent size for uniform cooking.
- Arrange the sculpted balls on a parchment-lined baking sheet, spacing them to allow proper heat circulation.
- Delicately mist the spherical formations with olive oil, promoting a crisp exterior during the roasting process.
- Position the baking sheet in a preheated oven at 375F (190C), allowing the spheres to transform into golden-brown delicacies over 20-25 minutes.
- Verify doneness by confirming a rich amber coloration and ensuring complete internal heating.
- Transfer the aromatic turkey stuffing spheres to a serving platter, accompanied by tangy cranberry sauce for an optional dipping experience.
- Serve immediately while maintaining optimal temperature and crispness.
Notes
- Elevate moisture by adding a splash of chicken broth if the mixture seems too dry, ensuring tender and juicy stuffing balls.
- Transform these turkey stuffing balls into a gluten-free version by using gluten-free breadcrumbs and checking stuffing ingredients for gluten content.
- Make ahead and freeze unbaked balls for up to 1 month, perfect for quick meal prep or unexpected guests, just add 5-7 minutes to baking time when cooking from frozen.
- Experiment with herbs like sage, thyme, or rosemary to customize flavor profiles and match different holiday or seasonal tastes.
- Prep Time: 10 minutes
- Cook Time: 20-25 minutes
- Category: Appetizer, Snacks
- Method: Baking
- Cuisine: American
Nutrition
- Serving Size: 4
- Calories: 310 kcal
- Sugar: 6 g
- Sodium: 520 mg
- Fat: 14 g
- Saturated Fat: 4 g
- Unsaturated Fat: 9 g
- Trans Fat: 0 g
- Carbohydrates: 28 g
- Fiber: 2 g
- Protein: 21 g
- Cholesterol: 110 mg
Sarah Mitchell
Content Specialist & Home Cooking Enthusiast
Expertise
Education
Asheville-Buncombe Technical Community College – Asheville, NC
American Fitness Professionals & Associates – Online
Sarah’s passion for food was sparked by weekend trips to the farmers’ market and her belief that healthy meals should never feel boring.
After earning her culinary diploma and becoming a certified Nutrition and Wellness Consultant, she set out to help others fall in love with simple, wholesome cooking.
She’s all about celebrating the small wins in the kitchen: a colorful yogurt bowl, a new twist on a classic dish, or a homemade snack that feels just a little extra special.
Outside the kitchen, Sarah is a gardener at heart, a yoga enthusiast, and a believer that fresh herbs can brighten any meal, and any day.