
Lemon Cream Pie Recipe with Bright Citrus Flavor
Crafting a dreamy lemon cream pie can transport you to a sunlit kitchen filled with citrusy memories.
Sweet and tangy notes dance across each silky slice, promising pure delight.
Zesty lemons whisper tales of summer afternoons and relaxed gatherings.
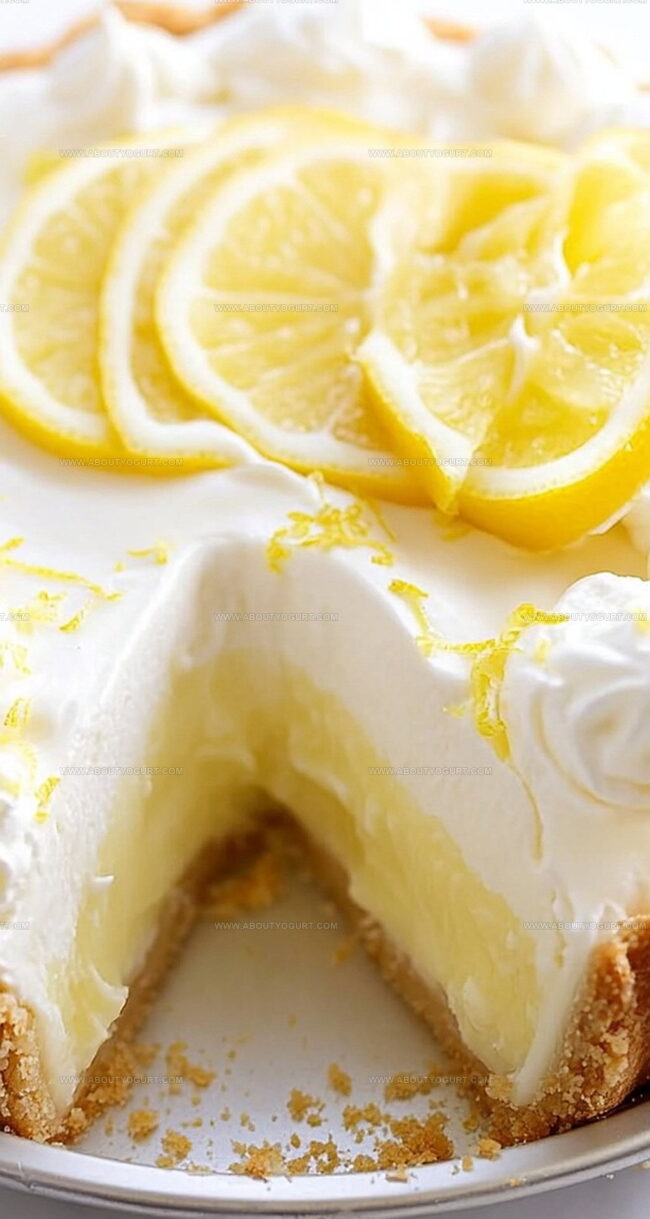
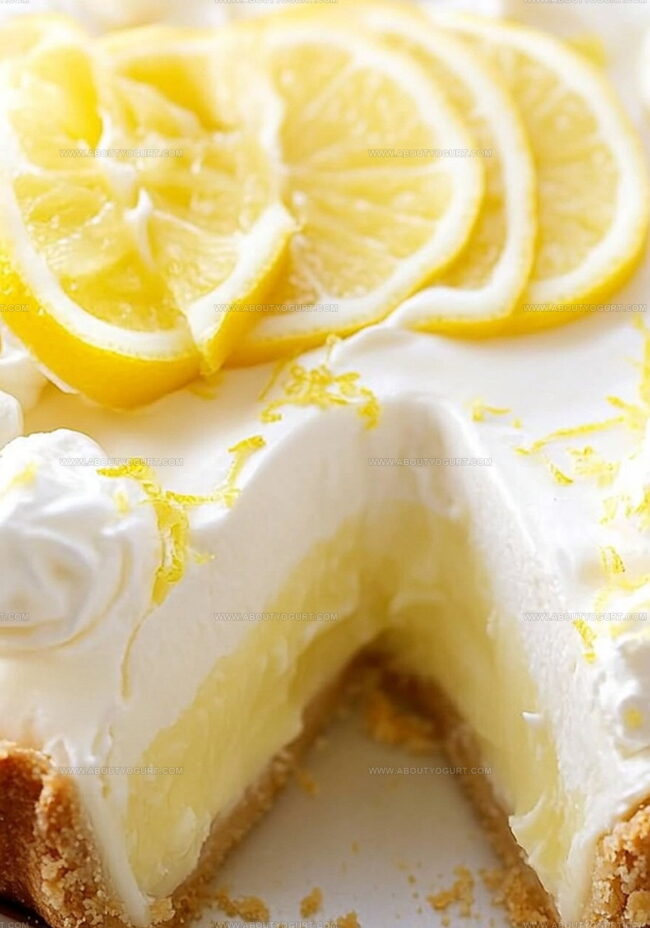
Crisp graham cracker crusts provide a perfect foundation for this creamy dessert.
Delicate peaks of whipped topping add a cloud-like elegance to every heavenly bite.
Minimal ingredients and simple techniques make this dessert accessible for bakers of all skill levels.
You’ll fall in love with how effortlessly this pie comes together, creating a memorable treat that sparks joy and conversation.
Why Lemon Cream Pie Is A Refreshing Favorite
What You’ll Need For Lemon Cream Pie
Crust Components:Filling Ingredients:Topping Components:How To Make Lemon Cream Pie Easily
Step 1: Craft the Crunchy Crust Base
Pulverize vanilla wafers into fine sandy texture using a food processor. Melt butter and mix with wafer crumbs and sugar until perfectly blended. Press the mixture firmly and evenly into a 9-inch pie pan, creating a smooth foundation.
Step 2: Toast and Chill the Crust
Bake the crust in a preheated oven at 375°F for 6-8 minutes until edges turn golden brown. Remove and allow to cool completely. Refrigerate the crust for one hour to set and firm up.
Step 3: Whip the Creamy Cloud Topping
In a mixing bowl, whip heavy cream for approximately 2 minutes. Gradually add powdered sugar and continue beating until stiff, fluffy peaks form. Set the whipped cream aside for later use.
Step 4: Blend the Zesty Filling
In a large bowl, combine:Beat these ingredients until smooth and creamy. Optional: Add a touch of yellow food coloring for a vibrant appearance.
Step 5: Fold and Incorporate
Gently fold the previously whipped cream into the lemon mixture. Blend until completely smooth and uniform in texture.
Step 6: Fill and Smooth
Pour the lemon cream filling into the chilled crust. Spread evenly across the surface, ensuring a consistent layer.
Step 7: Create the Dreamy Topping
Whip additional heavy cream with powdered sugar until stiff peaks develop. Spread or pipe this cloud-like topping over the pie’s surface.
Step 8: Chill and Delight
Refrigerate the pie for at least one hour to allow flavors to meld and texture to set. Slice and serve this refreshing dessert chilled.
Helpful Tips For Lemon Cream Pie
Fun Variations Of Lemon Cream Pie
Best Pairings With Lemon Cream Pie
How To Store Lemon Cream Pie The Right Way
Lemon Cream Pie Q&A
The lemon juice and lemon zest provide the bright, citrusy taste that makes this pie so refreshing and zesty.
Yes, you can prepare this pie a day in advance and keep it refrigerated, which actually helps the flavors meld together and sets the filling perfectly.
Not at all! This recipe is straightforward and requires basic baking skills, with simple steps like mixing, beating, and folding ingredients together.
The lemon cream pie will stay delicious and fresh for 3-4 days when stored properly in an airtight container in the refrigerator.
Print
Lemon Cream Pie Recipe
- Total Time: Approximately 2 hours and 30 minutes
- Yield: 8 1x
Description
Creamy and zesty, this lemon cream pie delivers sunshine on a plate with its silky filling and buttery graham cracker crust. Refreshing citrus notes dance alongside sweet cream, promising a delightful dessert you’ll savor down to the last delectable bite.
Ingredients
Crust Ingredients:
- 60 Nilla Wafers
- 1/3 cup (80 milliliters) butter, melted
- 1/4 cup (50 grams) sugar
Filling Ingredients:
- 12 ounces (340 grams) cream cheese, softened
- 14 ounces (397 grams) sweetened condensed milk
- 1/4 cup (60 milliliters) lemon juice
- 2 tablespoons lemon zest
- 4 drops yellow food coloring (optional)
Topping Ingredients:
- 1 1/4 cups (300 milliliters) heavy cream
- 1/2 cup (60 grams) powdered sugar
Instructions
- Prepare the oven to a toasty 375°F (190°C), ensuring precise temperature for perfect crust formation.
- Transform vanilla wafers into delicate crumbs using a food processor, creating a fine, uniform texture.
- Blend wafer crumbs with melted butter and sugar in a small bowl, mixing until ingredients harmonize completely.
- Carefully press the crumb mixture into a 9-inch pie pan, crafting an even, compact crust layer.
- Bake the crust for 6-8 minutes until edges develop a delicate golden hue, then extract and allow to cool naturally.
- Chill the crust in the refrigerator for a minimum of 1 hour, enhancing its structural integrity.
- Whip heavy cream for approximately 2 minutes, then incorporate powdered sugar, beating until peaks stand tall and firm.
- In a separate large bowl, combine cream cheese, sweetened condensed milk, lemon juice, and zest, blending until silky and uniform. Optional: introduce yellow food coloring for enhanced visual appeal.
- Tenderly fold the whipped cream into the lemon mixture, ensuring smooth, complete integration.
- Transfer the filling into the chilled crust, spreading with precision to create an even surface.
- Whisk additional heavy cream with powdered sugar until peaks form robustly.
- Artfully spread or pipe the fresh whipped cream atop the pie, creating an elegant finishing touch.
- Refrigerate the pie for at least 1 hour to set, then slice and savor the creamy, tangy delight.
Notes
- Customize the crust by substituting vanilla wafers with graham crackers or gingersnap cookies for a unique flavor twist.
- Create a gluten-free version by using gluten-free cookie crumbs or almond flour as a base.
- Enhance the lemon flavor by adding a splash of lemon extract or using Meyer lemons for a more complex citrus profile.
- Stabilize the whipped cream topping by adding a teaspoon of cornstarch to prevent weeping and maintain its fluffy texture longer.
- Prep Time: 20 minutes
- Cook Time: 6-8 minutes
- Category: Desserts
- Method: Baking
- Cuisine: American
Nutrition
- Serving Size: 8
- Calories: 348
- Sugar: 33 g
- Sodium: 148 mg
- Fat: 24 g
- Saturated Fat: 15 g
- Unsaturated Fat: 8 g
- Trans Fat: 0.5 g
- Carbohydrates: 29 g
- Fiber: 0.5 g
- Protein: 4 g
- Cholesterol: 75 mg
Michael Thompson
Founder & Recipe Developer
Expertise
Education
Cascade Culinary Institute – Bend, OR
ServSafe Food Handler Certification – Portland, OR
Focus: Certified in core food safety and hygiene principles for both home and professional kitchens, with emphasis on ingredient handling, kitchen cleanliness, and safe preparation methods.
Mike’s kitchen journey began with a single goal: to make everyday meals feel like something worth celebrating.
After earning his Certificate in Culinary Arts from Cascade Culinary Institute, he spent years working with local farmers and small kitchens across Oregon, learning the beauty of seasonal, small-batch cooking.
Mike’s approach is simple, cook with what’s fresh, keep it approachable, and always leave room for a little creativity. When he’s not testing yogurt marinades or designing single-serving meals, you’ll find him hiking trails or hunting down the best berries at local markets.