
Magical Lucky Charms Marshmallow Treats Recipe for Sweet Smiles
Whipping up these magical lucky charms marshmallow treats sparks instant childhood nostalgia for many dessert enthusiasts.
Sweet memories flood back with each colorful bite.
Crispy cereal chunks bind together in gooey marshmallow goodness that melts perfectly.
Soft, chewy squares promise pure delight without complicated steps.
Simple ingredients mean you can craft these quickly in your kitchen.
Colorful bits of marshmallow create playful textures that dance across your palate.
Prepare to experience a delightful twist on classic rice crispy treats that will make you smile with every single bite.
The Magic Behind Lucky Charms Marshmallow Treats
Building Blocks of Lucky Charms Marshmallow Treats
Main Ingredients:Binding Ingredients:Preparation Ingredients:How to Make Lucky Charms Marshmallow Treats
Step 1: Melt Butter Smoothly
Place butter in a large saucepan and melt it over low heat, allowing it to transform into a golden liquid pool of deliciousness.
Step 2: Transform Marshmallows
Add marshmallows to the melted butter and stir continuously until they become a silky, smooth mixture that clings together like best friends.
Step 3: Fold In Cereal Magic
Remove the pan from heat and gently fold in Lucky Charms cereal, ensuring every colorful marshmallow and crispy piece gets coated with the sweet buttery mixture. Mix thoroughly so each bite will be packed with flavor.
Step 4: Create Your Treat Canvas
Transfer the sticky mixture into a greased 9×13-inch baking dish. Use a spatula or buttered hands to press the mixture evenly, creating a smooth and compact layer that will hold together perfectly.
Step 5: Cool and Slice
Allow the treats to cool completely at room temperature for about 30 minutes. Once set, use a sharp knife to cut into square or rectangular pieces. Serve immediately and watch everyone’s eyes light up with joy.
Expert Pointers for Lucky Charms Marshmallow Treats

Flavor Twists on Lucky Charms Marshmallow Treats
What Complements Lucky Charms Marshmallow Treats
Best Storage Methods for Lucky Charms Marshmallow Treats
Frequently Asked Questions About Lucky Charms Marshmallow Treats
No, they’re super easy! Even beginners can whip these up in less than 15 minutes with just a few simple steps.
Absolutely! While Lucky Charms give a fun, colorful twist, you can substitute with Rice Krispies or any crunchy cereal you love.
Lightly grease your hands with butter or cooking spray before pressing the mixture into the baking dish. This trick helps prevent sticky situations.
They’ll stay delicious for 2-3 days when stored in an airtight container at room temperature. Just keep them away from direct sunlight or heat.
Print
Lucky Charms Marshmallow Treats Recipe
- Total Time: 10 minutes
- Yield: 12 1x
Description
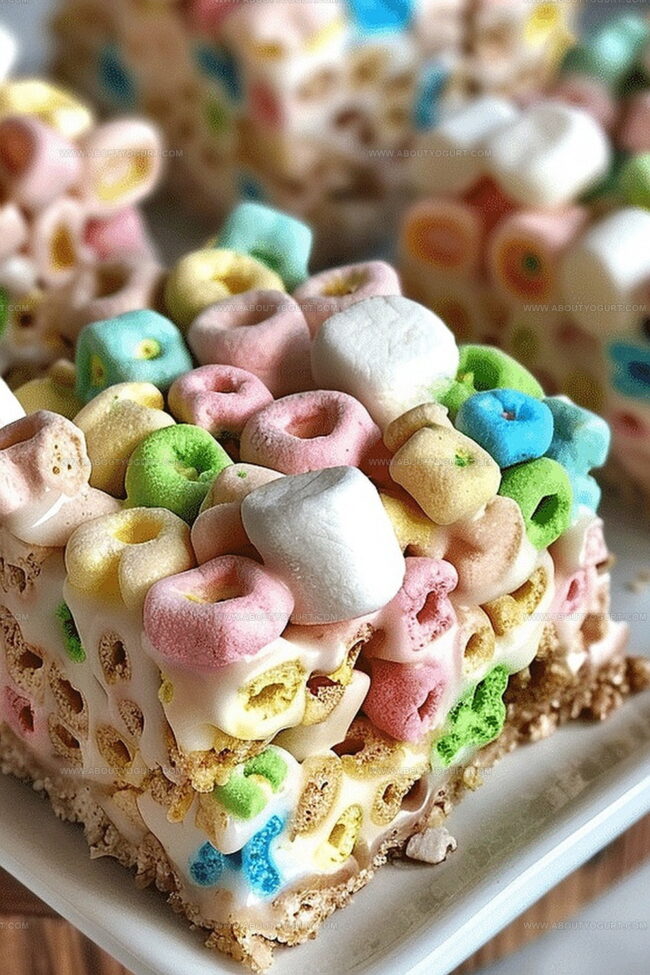
Lucky Charms marshmallow treats blend childhood nostalgia with sweet simplicity, creating a playful dessert that delights both kids and adults. Colorful marshmallows and crisp cereal combine into irresistible squares perfect for quick snacking or party treats you’ll crave.
Ingredients
Main Ingredients:
- 6 cups Lucky Charms cereal
- 1 bag (10 ounces) mini marshmallows
Binding Ingredients:
- 4 tablespoons unsalted butter
Measurement Conversion:
- 4 tablespoons (1/4 cup) unsalted butter
- 10 ounces (283 grams) mini marshmallows
- 6 cups (approximately 180 grams) Lucky Charms cereal
Instructions
- Gently melt butter in a large pot over low heat, creating a smooth, golden base.
- Add marshmallows and continuously stir until they transform into a creamy, glossy mixture with no lumps.
- Immediately remove from heat and quickly fold in Lucky Charms cereal, ensuring every piece gets coated with the marshmallow mixture.
- Transfer the mixture to a prepared baking dish, using a spatula or greased hands to evenly spread and press down the treats.
- Allow the mixture to cool and set at room temperature for approximately 30-45 minutes.
- Once completely cooled, slice into uniform squares using a sharp knife for clean, neat cuts.
- Serve and enjoy the playful, nostalgic treat that combines sweet marshmallow goodness with crunchy cereal charm.
Notes
- Swap out regular marshmallows for vegan marshmallows to make this treat plant-based friendly.
- Reduce butter quantity and use a non-stick spray for a lighter version that still holds together perfectly.
- Mix in extra crunchy elements like chopped nuts or seeds to boost nutritional value and add interesting texture contrasts.
- Store treats in an airtight container at room temperature for maximum freshness, keeping them soft and chewy for up to 3 days.
- Prep Time: 5 minutes
- Cook Time: 5 minutes
- Category: Breakfast, Snacks, Desserts
- Method: Melting
- Cuisine: American
Nutrition
- Serving Size: 12
- Calories: 174 kcal
- Sugar: 13 g
- Sodium: 78 mg
- Fat: 7 g
- Saturated Fat: 4 g
- Unsaturated Fat: 3 g
- Trans Fat: 0 g
- Carbohydrates: 26 g
- Fiber: 1 g
- Protein: 1 g
- Cholesterol: 19 mg
Michael Thompson
Founder & Recipe Developer
Expertise
Education
Cascade Culinary Institute – Bend, OR
ServSafe Food Handler Certification – Portland, OR
Focus: Certified in core food safety and hygiene principles for both home and professional kitchens, with emphasis on ingredient handling, kitchen cleanliness, and safe preparation methods.
Mike’s kitchen journey began with a single goal: to make everyday meals feel like something worth celebrating.
After earning his Certificate in Culinary Arts from Cascade Culinary Institute, he spent years working with local farmers and small kitchens across Oregon, learning the beauty of seasonal, small-batch cooking.
Mike’s approach is simple, cook with what’s fresh, keep it approachable, and always leave room for a little creativity. When he’s not testing yogurt marinades or designing single-serving meals, you’ll find him hiking trails or hunting down the best berries at local markets.