
Magic Lemon Cobbler Recipe That’s Bright and Sweet
Baking a magic lemon cobbler can transport you to a citrusy paradise of sweet and tangy delight.
Sunlight seems to dance through the kitchen when this dessert emerges from the oven.
Layers of buttery crust and zesty filling create a harmony that makes taste buds sing.
Lemons bring unexpected brightness to this classic comfort treat.
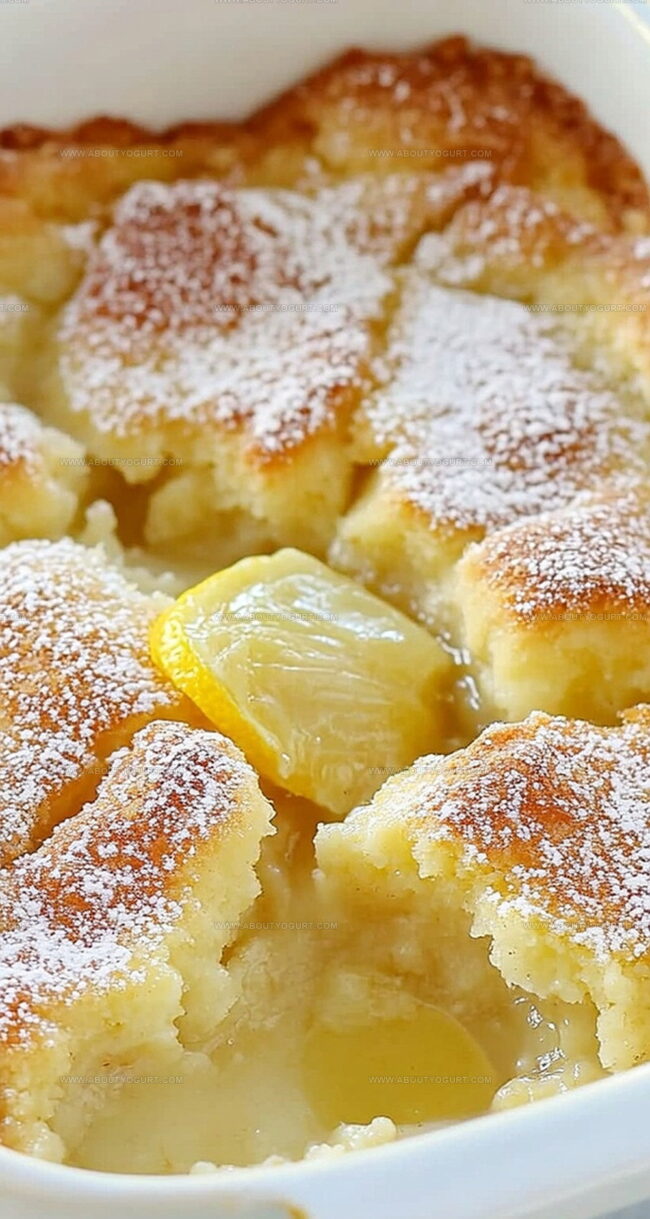
Soft, golden edges promise a crumbly texture that melts in your mouth.
Each spoonful carries a perfect balance between tart and sugary notes.
Come discover why this cobbler will become your new favorite dessert sensation.
Why Magic Lemon Cobbler Is A Sweet Surprise
Ingredients You’ll Need For Magic Lemon Cobbler
Baking Base:Liquid Ingredients:Filling and Topping:How To Bake Magic Lemon Cobbler
Step 1: Warm Up the Oven
Turn your oven to 350°F and let it get cozy and ready for baking.
Step 2: Butter Bath
Place butter in a 9×9-inch baking dish and slide it into the oven for 3-4 minutes until completely melted. Carefully remove the dish and set it aside.
Step 3: Mix the Dry Ingredients
In a large mixing bowl, grab these ingredients:Whisk them together until perfectly blended.
Step 4: Bring on the Liquid Magic
Pour into the dry mixture:Stir gently until everything just comes together. Don’t overmix!
Step 5: Create the Base Layer
Gently pour the batter over the melted butter in the baking dish. Here’s the secret – do not stir or mix!
Step 6: Sprinkle Lemon Goodness
Dollop lemon pie filling evenly across the top of the batter. Let it look beautifully random.
Step 7: Bake to Golden Perfection
Slide the dish into the oven and bake for 45-55 minutes. Watch for those gorgeous golden-brown edges that signal deliciousness is ready.
Step 8: Cool and Celebrate
Let the cobbler rest for a few minutes after removing from the oven. Serve warm and watch everyone’s eyes light up with excitement!
Helpful Baking Tips For Magic Lemon Cobbler
Tasty Twists On Magic Lemon Cobbler
Good Pairings With Magic Lemon Cobbler
How To Store Magic Lemon Cobbler Right
FAQs About Magic Lemon Cobbler
The unique method of pouring batter over melted butter creates a magical self-layering effect, resulting in a crispy-edged, tender dessert with minimal mixing.
While pie filling provides consistent sweetness and texture, you can substitute with homemade lemon curd or fresh lemon juice and zest mixed with sugar, though the consistency might slightly change.
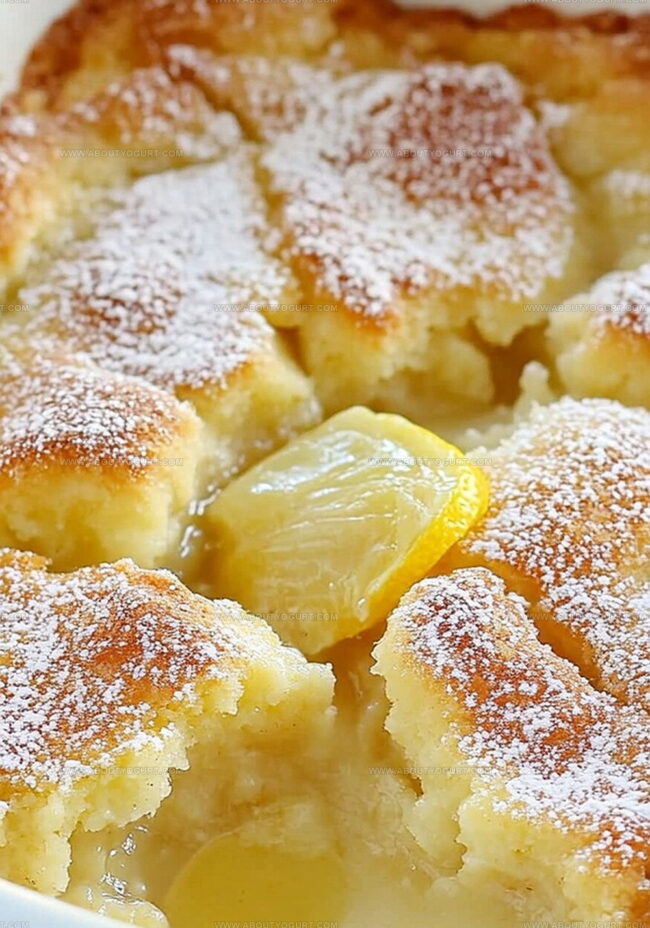
The Magic Lemon Cobbler is most delicious when served warm, as the butter-infused crust remains crispy and the lemon filling is soft and gooey.
Print
Magic Lemon Cobbler Recipe
- Total Time: 58 minutes
- Yield: 8 1x
Description
Zesty magic lemon cobbler dances with sweet-tart brilliance, promising a delightful dessert adventure. Buttery crust and silky lemon filling create a perfect harmony that melts in your mouth, inviting you to savor each heavenly spoonful.
Ingredients
Main Ingredients:
- 1 21 ounces (595 grams) lemon pie filling
- 1 cup granulated sugar
- 1 cup all-purpose flour
Baking and Liquid Ingredients:
- 1/2 cup (1 stick) unsalted butter
- 1 cup buttermilk
- 1 tablespoon vanilla extract
- 1 tablespoon lemon extract
Seasoning Ingredients:
- 1 1/2 teaspoons baking powder
- 1/4 teaspoon salt
Instructions
- Warm the oven to 350°F, creating an ideal baking environment for the magical dessert.
- Transform butter into a silky liquid by placing it in a 9×9-inch baking dish, melting for 3-4 minutes in the preheated oven.
- Craft a smooth foundation by whisking flour, baking powder, salt, and sugar together in a mixing bowl.
- Infuse moisture by gently incorporating buttermilk, vanilla, and lemon extracts until just blended.
- Create layers by carefully pouring the prepared batter over the melted butter, avoiding any stirring.
- Distribute lemon pie filling generously across the surface, ensuring even coverage.
- Slide the dish into the oven, allowing it to transform for 45-55 minutes until edges turn a gorgeous golden brown.
- Rest the cobbler briefly after removing from the oven, letting flavors settle and intensify before serving warm.
Notes
- Make sure the butter is fully melted and evenly coats the bottom of the baking dish for a crispy, golden crust.
- Do not overmix the batter; stir just until ingredients are combined to keep the texture light and tender.
- Swap buttermilk with dairy-free alternatives like almond milk or coconut milk for a lactose-free version.
- Enhance the lemon flavor by adding fresh lemon zest to the batter or sprinkling powdered sugar with extra lemon zest on top before serving.
- Prep Time: 10 minutes
- Cook Time: 48 minutes
- Category: Desserts
- Method: Baking
- Cuisine: American
Nutrition
- Serving Size: 8
- Calories: 265 kcal
- Sugar: 31 g
- Sodium: 155 mg
- Fat: 11 g
- Saturated Fat: 7 g
- Unsaturated Fat: 4 g
- Trans Fat: 0.3 g
- Carbohydrates: 39 g
- Fiber: 1 g
- Protein: 2 g
- Cholesterol: 30 mg
Michael Thompson
Founder & Recipe Developer
Expertise
Education
Cascade Culinary Institute – Bend, OR
ServSafe Food Handler Certification – Portland, OR
Focus: Certified in core food safety and hygiene principles for both home and professional kitchens, with emphasis on ingredient handling, kitchen cleanliness, and safe preparation methods.
Mike’s kitchen journey began with a single goal: to make everyday meals feel like something worth celebrating.
After earning his Certificate in Culinary Arts from Cascade Culinary Institute, he spent years working with local farmers and small kitchens across Oregon, learning the beauty of seasonal, small-batch cooking.
Mike’s approach is simple, cook with what’s fresh, keep it approachable, and always leave room for a little creativity. When he’s not testing yogurt marinades or designing single-serving meals, you’ll find him hiking trails or hunting down the best berries at local markets.