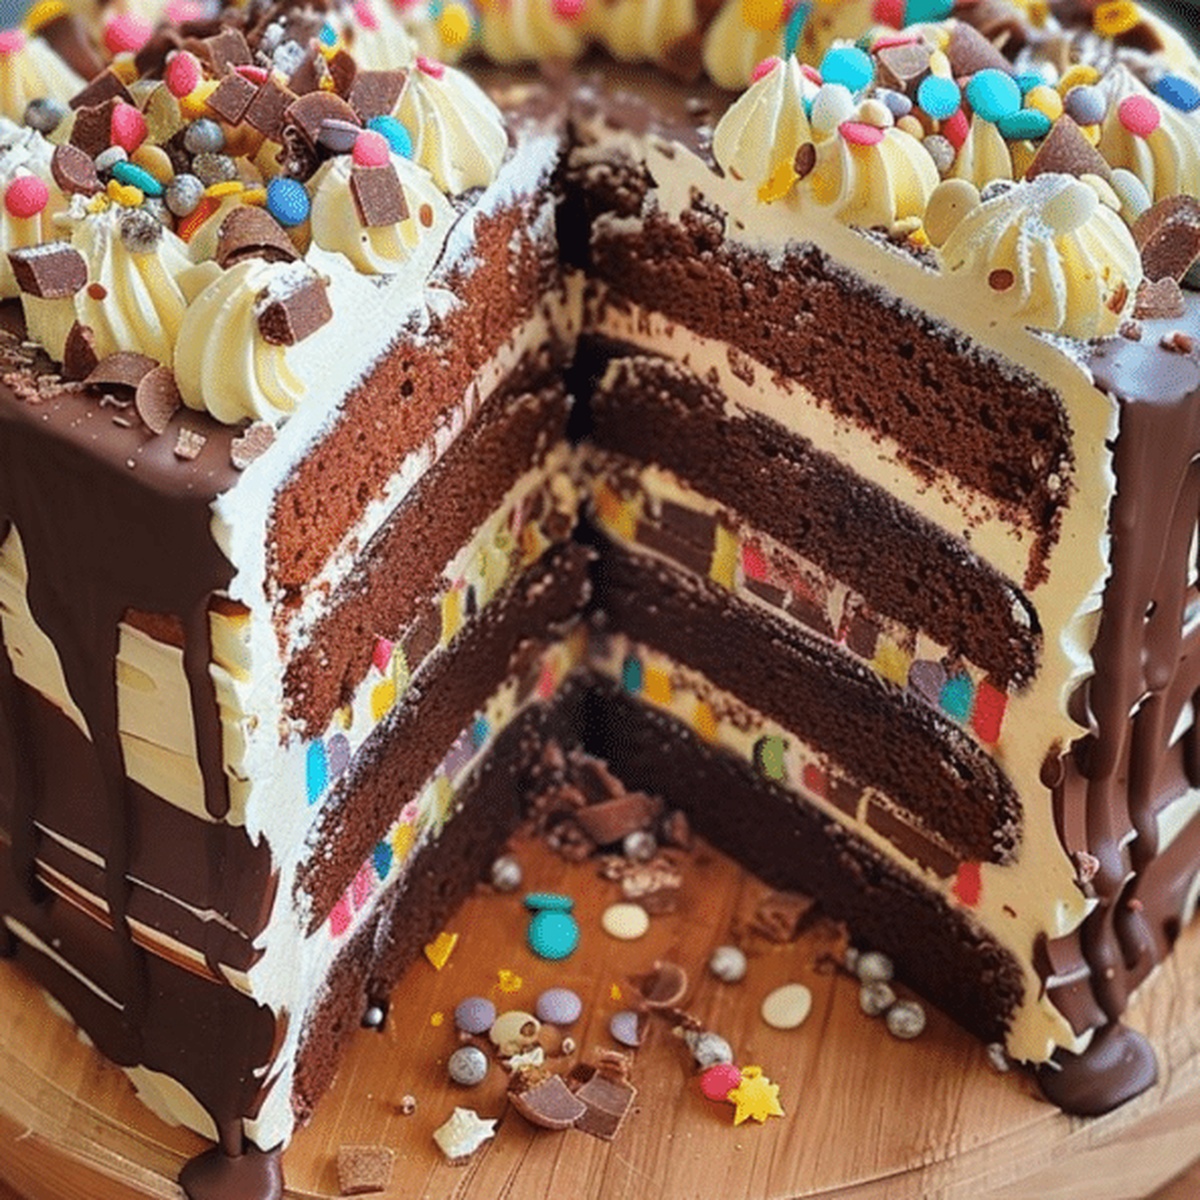
Million Dollar Cake Recipe That Feels Like Pure Luxury
Baking a million dollar cake brings pure magic to your dessert repertoire.
Sweet dreams take shape with this legendary treat that sparkles with decadence.
Layers of rich, velvety goodness promise an extraordinary culinary adventure.
Delicate crumbs melt perfectly on your tongue, creating moments of pure bliss.
Carefully selected ingredients combine to craft something genuinely spectacular.
Each slice tells a story of indulgence and passion.
Million Dollar Cake: Why It’s Worth Every Penny
Essential Ingredients for Million Dollar Cake
Cake Base:Filling and Frosting Ingredients:Fruit and Garnish:How to Prepare Million Dollar Cake Step-by-Step
Step 1: Whip Up the Cake Base
Grab a yellow cake mix and follow the package instructions. Pour the batter into two round cake pans. Let the cakes cool completely on a wire rack until they reach room temperature.
Step 2: Create the Creamy Pineapple Filling
In a mixing bowl, blend softened cream cheese and powdered sugar until silky smooth.
Gently fold in the drained pineapple and half of the whipped topping. Mix until perfectly combined.
Step 3: Craft the Dreamy Pudding Layer
In a separate bowl, whisk vanilla pudding mix with cold milk until it transforms into a thick, luscious mixture. Carefully fold in the remaining whipped topping.
Step 4: Build Your Cake Masterpiece
Place the first cake layer on a beautiful serving platter. Spread the pineapple-cream cheese filling generously across the layer. Carefully position the second cake layer on top.
Step 5: Frost with Fabulous Topping
Cover the entire cake with the pudding-whipped topping mixture. Create a smooth, even layer that looks absolutely irresistible.
Step 6: Garnish and Chill
Decorate the top with drained mandarin oranges. Sprinkle shredded coconut if you want an extra touch of tropical flair. Slide the cake into the refrigerator and let it chill for at least 2 hours. This allows all the delicious flavors to mingle and create pure magic.
Pro Tips to Master Million Dollar Cake
Creative Twists on Million Dollar Cake
Ideal Pairings with Million Dollar Cake
Storing Million Dollar Cake for Freshness
Frequently Asked Questions on Million Dollar Cake
The name suggests it’s incredibly delicious and luxurious, not that it actually costs a million dollars. It’s a popular Southern dessert known for its rich, creamy texture and amazing flavor combination.
No, canned and drained pineapple works best because it has the right moisture level and prevents the cake from becoming too wet. Fresh pineapple might make the filling too runny.
Not at all! This cake is surprisingly easy to prepare, using boxed cake mix and simple ingredients. Even beginner bakers can successfully make this impressive dessert with basic mixing and layering skills.
Print
Million Dollar Cake Recipe
- Total Time: 2 hours 50 minutes
- Yield: 12 1x
Description
Delightful Million Dollar Cake promises rich layers of creamy indulgence that melt perfectly on taste buds. Silky cream cheese frosting and tender cake crumb create a luxurious dessert experience you’ll savor with pure delight.
Ingredients
Main Ingredients:
- 1 box yellow cake mix
- 1 package (8 ounces) cream cheese, softened
- 1 can (20 ounces) crushed pineapple, drained
- 1 can (15 ounces) mandarin oranges, drained
Binding/Sweetening Ingredients:
- 1 cup powdered sugar
- 1 container (8 ounces) whipped topping
- 1 package (3.4 ounces) instant vanilla pudding mix
- 1 1/2 cups cold milk
Optional Topping:
- 1/2 cup shredded coconut
Instructions
- Preheat the oven to the temperature specified on the yellow cake mix package. Prepare two round cake pans with cooking spray or butter, ensuring even coating.
- Mix the cake batter according to package instructions, carefully blending until smooth and free of lumps. Divide the batter evenly between the prepared pans.
- Bake the cake layers for the recommended time, typically 25-30 minutes, or until a toothpick inserted in the center comes out clean. Remove from the oven and let cool completely on a wire rack.
- In a mixing bowl, cream together softened cream cheese and powdered sugar until silky and well-incorporated. Gently fold in the drained pineapple chunks, creating a light and fruity filling.
- Prepare the vanilla pudding by whisking the mix with cold milk until it thickens to a smooth consistency. Incorporate the remaining whipped topping, creating a creamy, airy mixture.
- Place the first cake layer on a decorative serving platter. Spread the pineapple-cream cheese filling evenly across the surface, ensuring complete coverage.
- Carefully position the second cake layer on top of the filling, creating a elegant two-tier dessert.
- Generously frost the entire cake with the pudding-whipped topping mixture, using smooth, sweeping motions to create an even coating.
- Artfully arrange drained mandarin orange segments on top of the cake. If desired, sprinkle shredded coconut over the surface for added texture and visual appeal.
- Refrigerate the cake for a minimum of 2 hours, allowing the flavors to meld and the frosting to set. Serve chilled for the most delightful taste experience.
Notes
- Swap cake mix for gluten-free alternatives to accommodate celiac or gluten-sensitive diners, ensuring everyone can enjoy this delectable dessert.
- Use reduced-fat cream cheese and sugar-free pudding mix to create a lighter version without compromising the cake’s rich, creamy texture.
- Toast coconut flakes before sprinkling for an enhanced nutty flavor and delightful crunch that elevates the overall taste experience.
- Allow cake to sit at room temperature for 15-20 minutes before serving to soften the frosting and release its full flavor profile.
- Prep Time: 20 minutes
- Cook Time: 30 minutes
- Category: Desserts
- Method: Baking
- Cuisine: American
Nutrition
- Serving Size: 12
- Calories: 367
- Sugar: 34 g
- Sodium: 279 mg
- Fat: 15 g
- Saturated Fat: 8 g
- Unsaturated Fat: 5 g
- Trans Fat: 0.3 g
- Carbohydrates: 52 g
- Fiber: 1 g
- Protein: 4 g
- Cholesterol: 33 mg
Sarah Mitchell
Content Specialist & Home Cooking Enthusiast
Expertise
Education
Asheville-Buncombe Technical Community College – Asheville, NC
American Fitness Professionals & Associates – Online
Sarah’s passion for food was sparked by weekend trips to the farmers’ market and her belief that healthy meals should never feel boring.
After earning her culinary diploma and becoming a certified Nutrition and Wellness Consultant, she set out to help others fall in love with simple, wholesome cooking.
She’s all about celebrating the small wins in the kitchen: a colorful yogurt bowl, a new twist on a classic dish, or a homemade snack that feels just a little extra special.
Outside the kitchen, Sarah is a gardener at heart, a yoga enthusiast, and a believer that fresh herbs can brighten any meal, and any day.