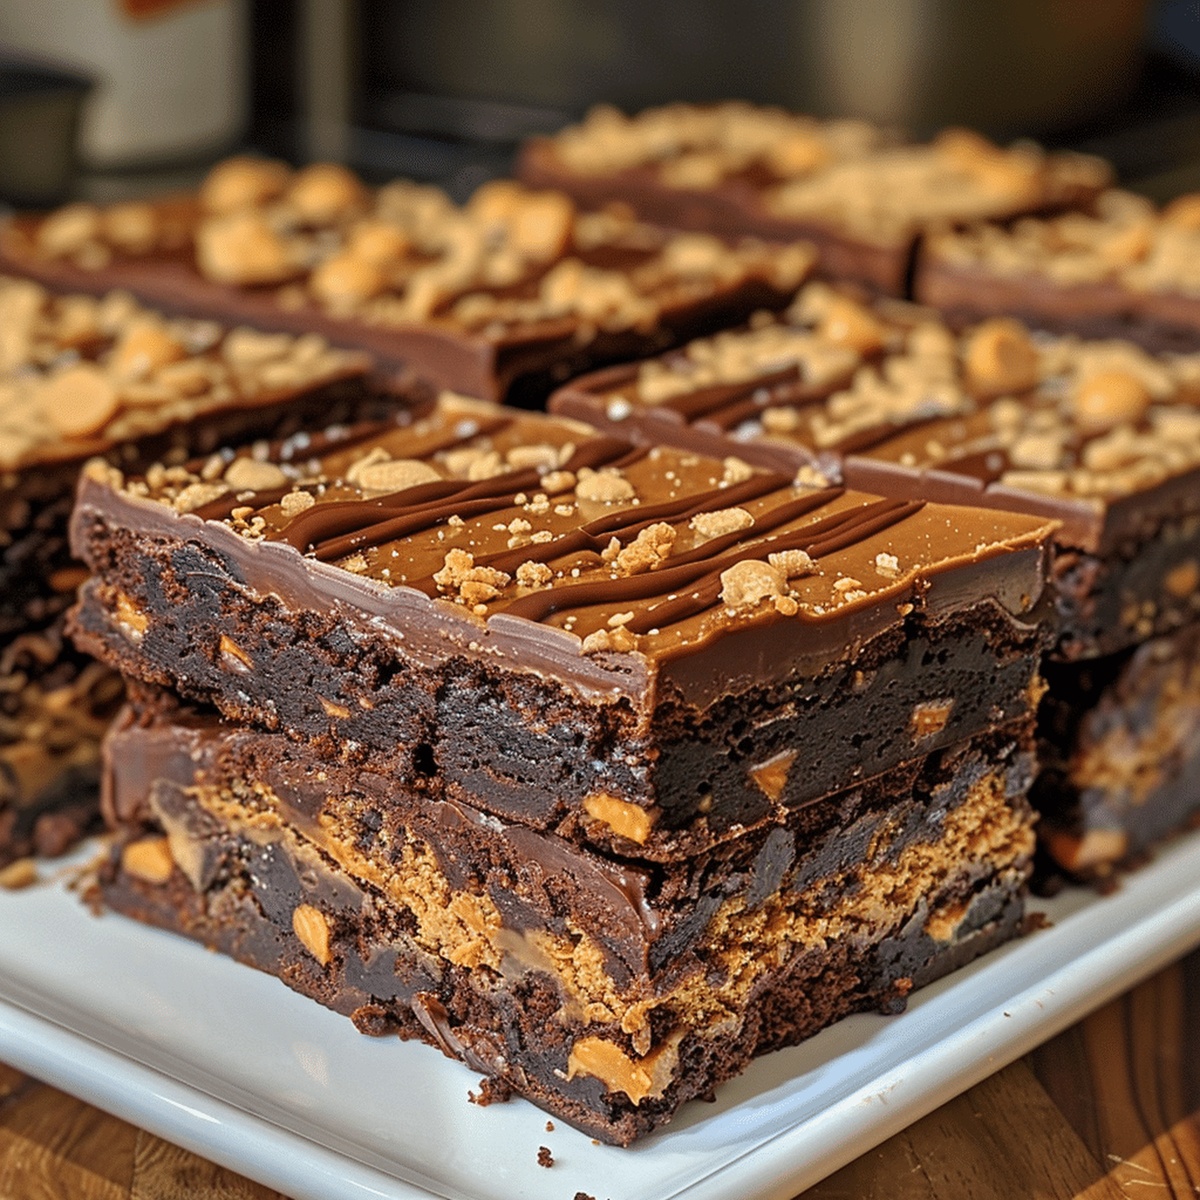
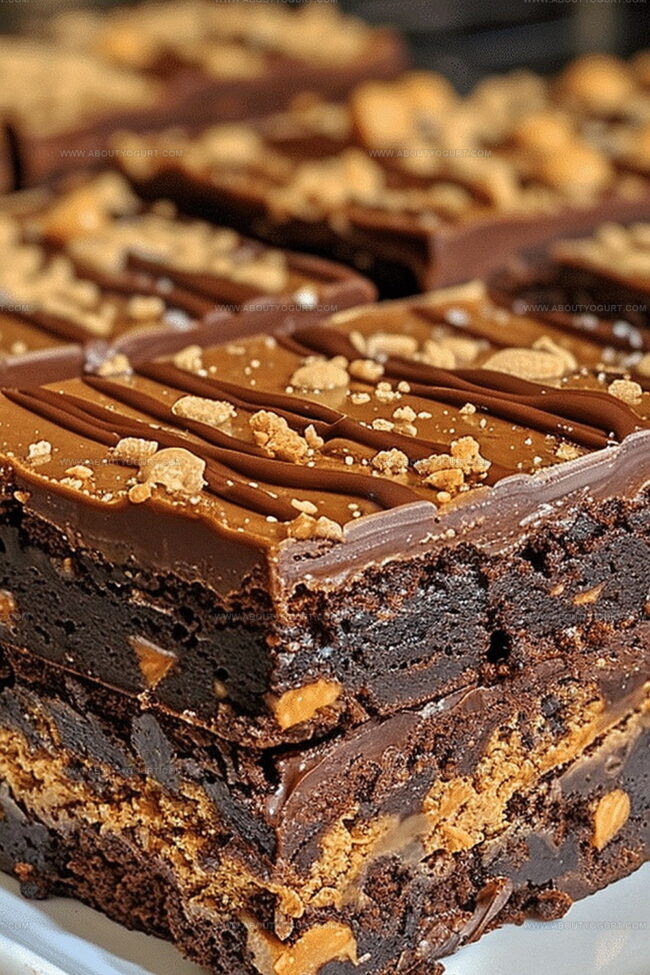
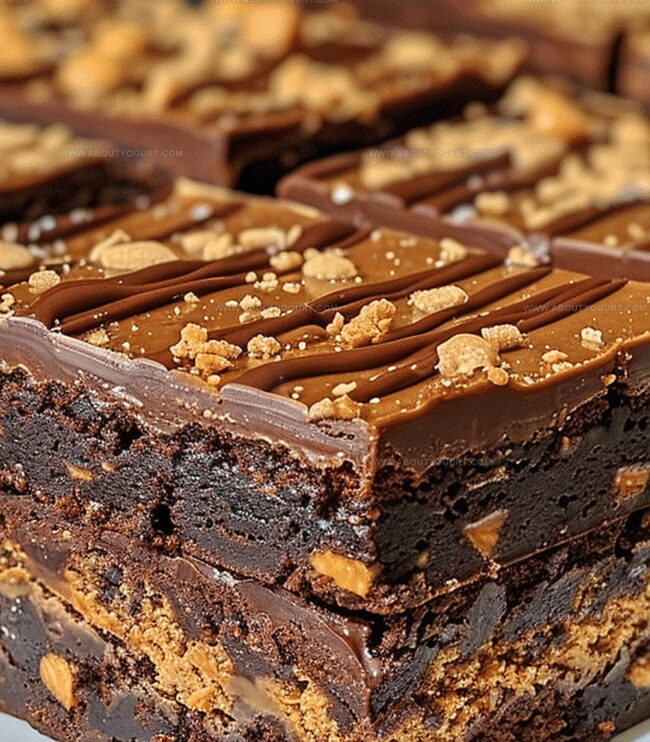
Muddy Buddy Brownies Recipe with Chocolate Crunch
Chocolate lovers adore these irresistible muddy buddy brownies that combine rich fudgy textures with powdered sugar’s magical coating.
Sweet chocolate dreams come alive through a decadent dessert mixing classic brownie depth and crunchy peanut butter goodness.
Crispy edges and gooey centers make this treat impossible to resist.
Powdered sugar creates a playful snowstorm effect across each square, delivering nostalgic childhood memories.
Creamy peanut butter whispers through dense chocolate layers, creating complex flavor profiles.
Every bite promises pure indulgence without complicated preparation steps.
Dive into this simple yet spectacular dessert that will become your new favorite chocolate obsession.
The Appeal of Muddy Buddy Brownies
Core Ingredients That Make Muddy Buddy Brownies
Brownie Base:Peanut Butter Layer:Finishing Touch:How to Bake Muddy Buddy Brownies
Step 1: Prepare Baking Pan
Line a 9×13 inch pan with nonstick foil, ensuring complete coverage of the bottom and sides for easy removal later.
Step 2: Create Brownie Base
Melt butter in a microwave-safe bowl. Whisk in:Beat in eggs and vanilla extract until well combined. Gently fold in:Spread batter evenly in the prepared pan and bake at 350°F for 22-25 minutes until a toothpick comes out with a few moist crumbs. Allow brownies to cool completely.
Step 3: Whip Peanut Butter Layer
In a mixing bowl, blend together:Spread this mixture carefully and evenly over the cooled brownie layer.
Step 4: Chill and Finish
Refrigerate the dessert for 30 minutes to set the peanut butter layer. Once chilled, dust generously with additional powdered sugar.
Step 5: Slice and Serve
Cut into square bars. Optionally serve with a drizzle of hot fudge sauce for extra decadence.
Expert Advice for Muddy Buddy Brownies
Variations to Enjoy With Muddy Buddy Brownies
Serving Suggestions for Muddy Buddy Brownies
Keeping Muddy Buddy Brownies Fresh
FAQs on Muddy Buddy Brownies
Line the 9×13 pan with nonstick foil or parchment paper, ensuring it overhangs the sides for easy removal. This allows you to lift the entire dessert out and cut clean, neat bars.
Stick with processed, creamy peanut butter like Jif or Skippy. Natural peanut butter has more oil separation and might make the layer too runny or difficult to spread evenly.
Use the toothpick test – insert a toothpick into the center, and it should come out with a few moist crumbs. Avoid overbaking, which can make brownies dry and tough.
Print
Muddy Buddy Brownies Recipe
- Total Time: 75 minutes
- Yield: 12 1x
Description
Chocolate-packed Muddy Buddy Brownies elevate classic dessert with powdered sugar-dusted chocolate magic. Rich fudgy layers combine irresistible peanut butter and chocolate flavors, promising sweet satisfaction for chocolate enthusiasts everywhere.
Ingredients
Brownie Base:
- 16 tablespoons (1 cup/227 grams) salted butter
- 4 eggs
- 1 cup granulated sugar
- 1 cup light brown sugar
- 1 cup flour
- 2/3 cup unsweetened cocoa powder
- 1 teaspoon vanilla
- 1/2 teaspoon kosher salt
- 1/2 teaspoon baking powder
Peanut Butter Layer:
- 1 cup salted butter, melted
- 1 cup creamy peanut butter
- 2 cups graham cracker crumbs
- 1/4 cup light brown sugar
- 1 3/4 cups powdered sugar
- 1/2 teaspoon vanilla
Garnish:
- Additional powdered sugar for dusting
- Optional: Hot fudge for serving
Instructions
- Prepare the oven at 350°F and line a 9×13 inch baking pan with nonstick aluminum foil, ensuring complete coverage of the bottom and sides.
- Create the brownie base by melting butter in the microwave, then whisk in cocoa powder and sugars until well combined. Incorporate eggs and vanilla extract, mixing thoroughly. Gently fold in flour, salt, and baking powder, stirring until just combined. Spread the batter evenly in the prepared pan and bake for 22-25 minutes, or until a toothpick inserted comes out with a few moist crumbs.
- Allow the brownies to cool completely at room temperature, which typically takes about 45 minutes to 1 hour.
- Prepare the peanut butter layer by blending all ingredients until smooth and creamy. Use a spatula to carefully spread the mixture in an even layer over the cooled brownies, ensuring complete coverage.
- Refrigerate the pan for 30 minutes to help the peanut butter layer set and firm up.
- Once chilled, generously dust the top with powdered sugar using a fine-mesh sieve for an even distribution.
- Slice into square bars using a sharp knife, cleaning the blade between cuts for neat edges. Serve as is, or optionally drizzle with warm hot fudge sauce for extra indulgence.
Notes
- Chill the brownies thoroughly before adding the peanut butter layer to ensure clean, crisp layers and prevent mixing.
- Use room temperature ingredients for smoother, more consistent mixing of both brownie and peanut butter layers.
- For gluten-free option, swap regular flour with almond or gluten-free blend to maintain texture and taste.
- When cutting brownies, warm your knife with hot water and dry between cuts for clean, precise squares without crumbling.
- Prep Time: 20 minutes
- Cook Time: 25 minutes
- Category: Desserts, Snacks
- Method: Baking
- Cuisine: American
Nutrition
- Serving Size: 12
- Calories: 1621 kcal
- Sugar: 209 g
- Sodium: 1370 mg
- Fat: 102 g
- Saturated Fat: 44 g
- Unsaturated Fat: 45 g
- Trans Fat: 3 g
- Carbohydrates: 203 g
- Fiber: 20 g
- Protein: 28 g
- Cholesterol: 140 mg
Michael Thompson
Founder & Recipe Developer
Expertise
Education
Cascade Culinary Institute – Bend, OR
ServSafe Food Handler Certification – Portland, OR
Focus: Certified in core food safety and hygiene principles for both home and professional kitchens, with emphasis on ingredient handling, kitchen cleanliness, and safe preparation methods.
Mike’s kitchen journey began with a single goal: to make everyday meals feel like something worth celebrating.
After earning his Certificate in Culinary Arts from Cascade Culinary Institute, he spent years working with local farmers and small kitchens across Oregon, learning the beauty of seasonal, small-batch cooking.
Mike’s approach is simple, cook with what’s fresh, keep it approachable, and always leave room for a little creativity. When he’s not testing yogurt marinades or designing single-serving meals, you’ll find him hiking trails or hunting down the best berries at local markets.