Muddy Buddy Rice Krispies Recipe with Peanut Butter Charm
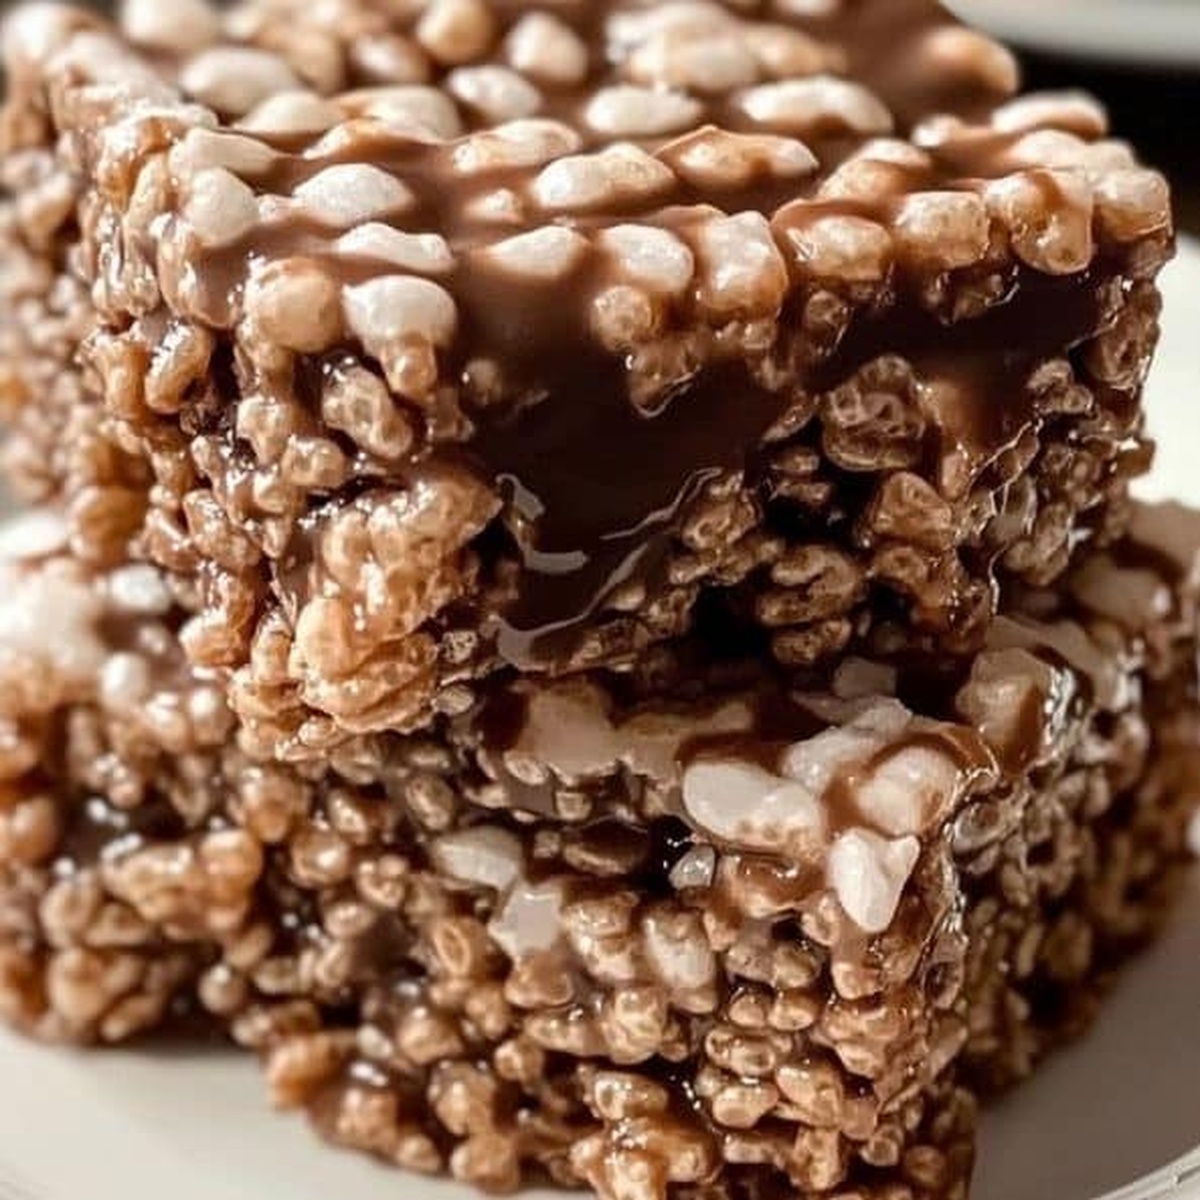
Crunchy chocolate muddy buddy rice krispies bring nostalgic snack memories dancing across my kitchen counter.
Sweet memories of childhood treats inspire this delightful mashup.
Powdered sugar coats each crispy square with decadent charm.
Chocolate and peanut butter mingle in a playful symphony of flavors.
Kids and adults alike will devour these irresistible squares faster than you can mix the ingredients.
Minimal preparation ensures maximum enjoyment for everyone craving a quick dessert.
Scoop up these addictive squares and let the deliciousness begin!
Muddy Buddy Rice Krispies Favorites
Ingredients For Muddy Buddy Rice Krispies
Base Ingredients:Coating Ingredient:Optional Add-In:Muddy Buddy Rice Krispies How-To
Step 1: Melt Chocolate Base
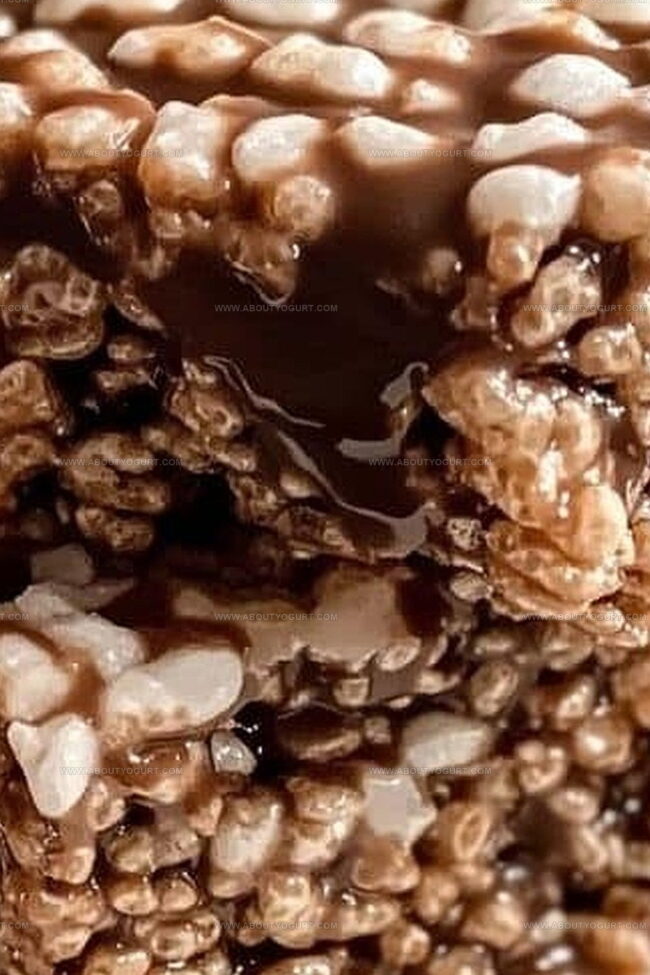
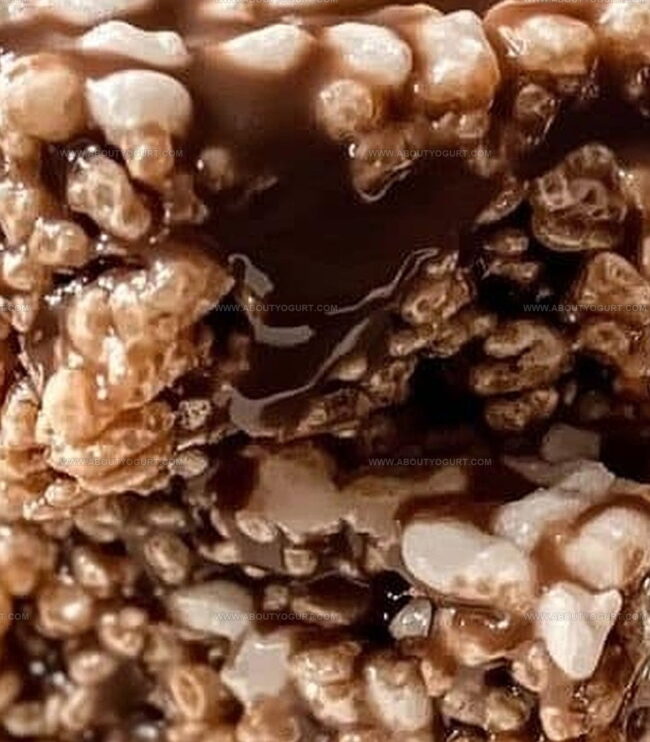
In a large saucepan, gently melt butter over medium heat. Add chocolate chips and peanut butter, stirring continuously until the mixture becomes completely smooth and glossy. The combination will create a rich, creamy chocolate coating that will make your taste buds dance with excitement.
Step 2: Fold In Crispy Cereal
Remove the saucepan from heat and add Rice Krispies cereal. Carefully fold the cereal into the chocolate mixture, ensuring every single piece gets a luxurious chocolate and peanut butter coating. If you want extra sweetness, mix in mini marshmallows during this step for added texture and flavor.
Step 3: Dust with Powdered Sugar
Transfer the powdered sugar into a large mixing bowl or a spacious zip-top bag. Gently add the chocolate-coated cereal mixture. Shake or toss the contents until each piece is generously covered in a cloud of powdered sugar, creating a delightful sweet exterior.
Step 4: Set and Chill
Spread the sugary cereal mixture into a greased baking dish or onto parchment paper. Allow the treats to cool completely at room temperature. This waiting period helps the coating set and makes cutting into squares or bars much easier.
Step 5: Slice and Serve
Once fully cooled, cut the mixture into bite-sized squares or fun rectangular bars. Arrange on a serving platter and watch as everyone reaches for these irresistible treats that combine the crunch of Rice Krispies with the richness of chocolate and peanut butter.
Tips For Muddy Buddy Rice Krispies
Flavor Variations For Muddy Buddy Rice Krispies
Pairing Suggestions For Muddy Buddy Rice Krispies
Storage Advice For Muddy Buddy Rice Krispies
Muddy Buddy Rice Krispies FAQs
No, traditional Muddy Buddies use Chex cereal, while this recipe uses Rice Krispies. Both have similar chocolate and powdered sugar coating.
Yes, use gluten-free Rice Krispies and ensure your chocolate chips and peanut butter are certified gluten-free.
These Muddy Buddy Rice Krispies stay fresh in an airtight container at room temperature for 3-5 days.
Absolutely! Kids can help mix ingredients and coat the cereal with powdered sugar, making it a fun family activity.
Print
Muddy Buddy Rice Krispies Recipe
- Total Time: 15 minutes
- Yield: 6 1x
Description
Indulgent Muddy Buddy Rice Krispies combine classic childhood treats with rich chocolate and peanut butter goodness. Sweet, crunchy squares dusted with powdered sugar promise a delightful snack you won’t be able to resist.
Ingredients
Main Ingredients:
- 6 cups (1.4 liters) rice krispies cereal
- 1 cup (170 grams) semisweet chocolate chips
- 1/2 cup (120 milliliters) peanut butter
- 1/4 cup (57 grams) unsalted butter
Sweeteners:
- 1 1/2 cups (170 grams) powdered sugar
Optional Ingredients:
- 1 cup (50 grams) mini marshmallows
Instructions
- Gently melt butter in a large saucepan over medium heat, creating a smooth foundation for the chocolatey mixture.
- Incorporate chocolate chips and peanut butter, stirring continuously until the blend transforms into a luxurious, glossy consistency.
- Remove the pan from heat and introduce Rice Krispies cereal, carefully folding to ensure each crisp morsel receives an even chocolate embrace.
- Optional: Sprinkle mini marshmallows throughout the mixture for added texture and sweetness.
- Transfer powdered sugar into a spacious bowl or sealed plastic bag, preparing for the coating process.
- Carefully tumble the chocolate-coated cereal into the powdered sugar, gently shaking or tossing to create a complete, uniform sugar dusting.
- Distribute the muddy buddy mixture evenly across a greased baking dish or parchment-lined surface, smoothing the top for a clean presentation.
- Allow the treats to rest and solidify at room temperature for approximately 15-20 minutes until completely cooled and set.
- Slice into uniform squares or rustic bars, revealing the delectable layers of chocolate, cereal, and powdered sugar.
- Serve immediately or store in an airtight container for a delightful snack that promises to satisfy sweet cravings.
Notes
- Adjust the chocolate-to-peanut butter ratio to customize the flavor intensity and richness of the coating.
- Use gluten-free Rice Krispies for a celiac-friendly version that maintains the classic crispy texture.
- Experiment with different nut butters like almond or cashew butter to create unique flavor variations and accommodate dietary preferences.
- Add extra mix-ins like mini chocolate chips, crushed peanuts, or drizzled white chocolate for increased texture and visual appeal.
- Prep Time: 10 minutes
- Cook Time: 5 minutes
- Category: Snacks, Desserts
- Method: No-bake
- Cuisine: American
Nutrition
- Serving Size: 6
- Calories: 323
- Sugar: 24 g
- Sodium: 86 mg
- Fat: 14 g
- Saturated Fat: 5 g
- Unsaturated Fat: 8 g
- Trans Fat: 0 g
- Carbohydrates: 43 g
- Fiber: 1 g
- Protein: 4 g
- Cholesterol: 10 mg
Sarah Mitchell
Content Specialist & Home Cooking Enthusiast
Expertise
Education
Asheville-Buncombe Technical Community College – Asheville, NC
American Fitness Professionals & Associates – Online
Sarah’s passion for food was sparked by weekend trips to the farmers’ market and her belief that healthy meals should never feel boring.
After earning her culinary diploma and becoming a certified Nutrition and Wellness Consultant, she set out to help others fall in love with simple, wholesome cooking.
She’s all about celebrating the small wins in the kitchen: a colorful yogurt bowl, a new twist on a classic dish, or a homemade snack that feels just a little extra special.
Outside the kitchen, Sarah is a gardener at heart, a yoga enthusiast, and a believer that fresh herbs can brighten any meal, and any day.