No-Bake Banana Split Cheesecake Bars Recipe to Share
Banana split cheesecake bars offer a delightful twist on a classic dessert that will make your taste buds dance with joy.
Sweet memories of childhood summers flood back with each creamy bite.
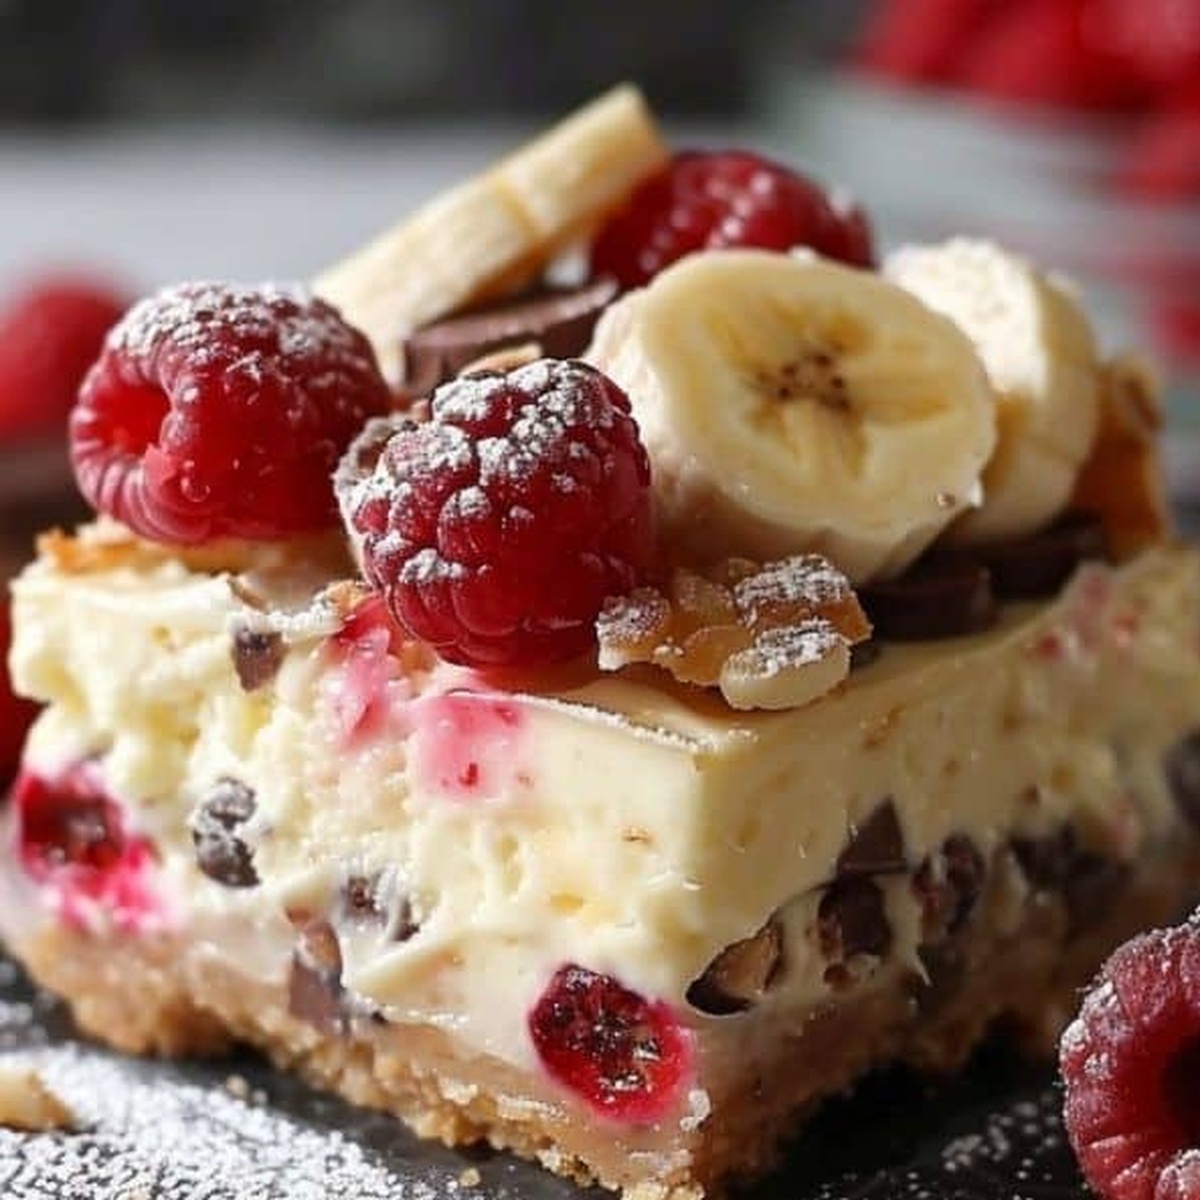
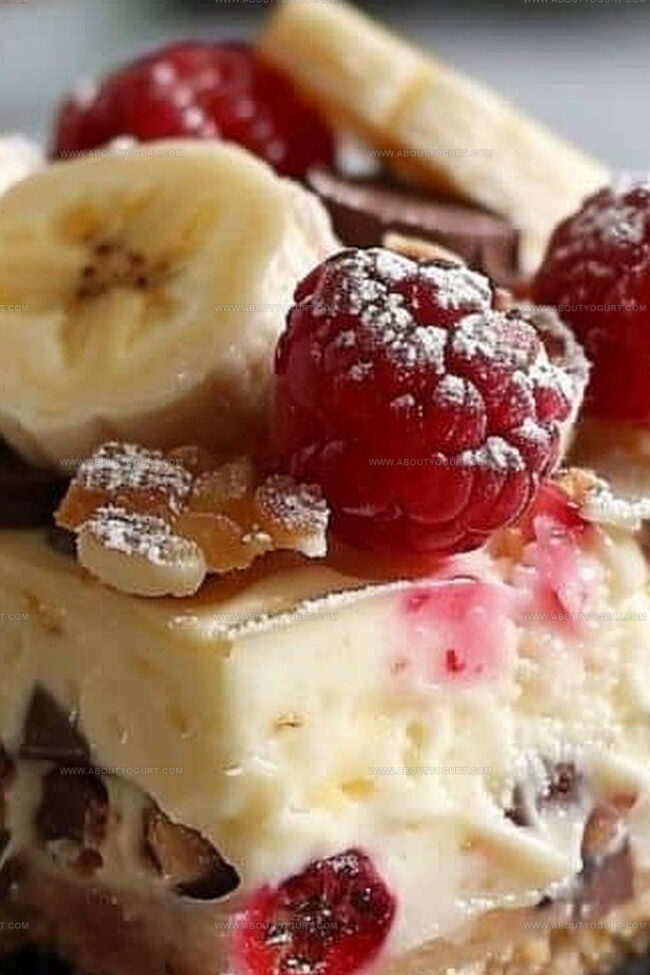
Layers of smooth cream cheese, ripe bananas, and decadent chocolate create a magical combination.
Crushed graham crackers form a perfect crunchy base for this no-fuss treat.
Chocolate drizzles and fresh fruit toppings transform these bars into a stunning dessert centerpiece.
You can whip up this crowd-pleasing dessert in minutes without turning on the oven.
Prepare to indulge in a cool, refreshing escape that promises pure dessert bliss.
Why No-Bake Banana Split Cheesecake Bars Are So Easy
Ingredients Needed for No-Bake Banana Split Cheesecake Bars
Crust:Cheesecake Filling:Toppings and Garnishes:How to Prepare No-Bake Banana Split Cheesecake Bars
Step 1: Craft the Crunchy Base
Mix crushed graham crackers with melted butter in a bowl. Press the mixture firmly into the bottom of a baking dish, creating an even layer. Pop the dish into the refrigerator and let it chill for half an hour to set the foundation perfectly.
Step 2: Whip Up the Creamy Filling
In a separate bowl, blend softened cream cheese, sugar, and vanilla extract until the mixture becomes silky smooth. Spread this luscious cream cheese layer evenly over the chilled graham cracker crust.
Step 3: Add Fruity Layers
Arrange a vibrant layer of fresh ingredients on top of the cream cheese:Spread these colorful fruits across the entire surface of the cream cheese layer.
Step 4: Crown with Delightful Toppings
Generously cover the fruit layer with fluffy whipped cream. Drizzle rich chocolate syrup in a zigzag pattern across the top. Dot the surface with bright red maraschino cherries for a classic banana split look.
Step 5: Chill and Let Flavors Dance
Refrigerate the dessert for at least three hours. This resting time allows all the flavors to mingle and create a harmonious, refreshing treat that will delight everyone who takes a bite.
Pro Tips for No-Bake Banana Split Cheesecake Bars
Variation Suggestions for No-Bake Banana Split Cheesecake Bars
Pairing Ideas for No-Bake Banana Split Cheesecake Bars
Storage Guidelines for No-Bake Banana Split Cheesecake Bars
FAQs About No-Bake Banana Split Cheesecake Bars
Yes, you can substitute graham crackers with digestive biscuits, vanilla wafers, or shortbread cookies for a different flavor and texture.
Absolutely! You can prepare these bars up to 2 days in advance and keep them refrigerated until ready to serve, which makes them perfect for entertaining.
Toss the sliced bananas in a little lemon juice before adding them to the cheesecake bars. The citric acid helps slow down the oxidation process and keeps them looking fresh.
Print
No-Bake Banana Split Cheesecake Bars Recipe
- Total Time: 3 hours 45 minutes
- Yield: 8 1x
Description
Indulgent no-bake banana split cheesecake bars blend classic dessert flavors into a creamy, dreamy treat. Cool and luscious layers of banana, chocolate, and creamy cheesecake will delight you with each refreshing bite.
Ingredients
Main Ingredients:
- 24 ounces (680 grams) cream cheese, softened
- 2 bananas, sliced
- 2 cups (240 grams) crushed graham crackers
- 1/2 cup (120 milliliters) crushed pineapples, drained
- 1/2 cup (120 milliliters) chopped strawberries
Dairy and Sweeteners:
- 1/2 cup (100 grams) sugar
- 1/2 cup (120 milliliters) melted butter
- 1 teaspoon vanilla extract
Toppings:
- Whipped cream
- Chocolate syrup
- Maraschino cherries
Instructions
- Pulverize graham crackers and blend with melted butter until uniform. Compress the mixture firmly into a rectangular pan, creating an even, compact base. Refrigerate approximately 30 minutes until solidified.
- Whip cream cheese with sugar and vanilla extract until silky and homogeneous. Carefully spread the creamy mixture across the chilled crust, ensuring consistent coverage.
- Arrange freshly sliced bananas in overlapping rows across the cream cheese surface. Distribute crushed pineapple chunks and diced strawberries evenly, creating a colorful fruit mosaic.
- Generously pipe or spread whipped cream across the fruit layer, creating soft, billowing peaks. Artfully drizzle chocolate syrup in delicate zigzag patterns.
- Strategically place vibrant maraschino cherries as decorative garnish, positioning them for visual appeal.
- Chill the dessert in the refrigerator for minimum 3 hours, allowing flavors to harmonize and texture to set perfectly. Remove 10 minutes before serving to soften slightly.
Notes
- Customize the crust by using gluten-free graham crackers or replacing them with crushed nuts for a low-carb alternative.
- Ensure cream cheese is at room temperature to achieve a smooth, lump-free filling that spreads easily.
- Prevent bananas from browning by tossing them in a bit of lemon juice before layering, which adds a bright, tangy note to the dessert.
- Make this dessert ahead of time and freeze for up to a week, allowing for stress-free entertaining and meal prep.
- Prep Time: 15 minutes
- Cook Time: 0 minutes
- Category: Desserts, Snacks
- Method: Chilling
- Cuisine: American
Nutrition
- Serving Size: 8
- Calories: 323 kcal
- Sugar: 18 g
- Sodium: 230 mg
- Fat: 22 g
- Saturated Fat: 13 g
- Unsaturated Fat: 8 g
- Trans Fat: 0.3 g
- Carbohydrates: 27 g
- Fiber: 2 g
- Protein: 5 g
- Cholesterol: 55 mg
Sarah Mitchell
Content Specialist & Home Cooking Enthusiast
Expertise
Education
Asheville-Buncombe Technical Community College – Asheville, NC
American Fitness Professionals & Associates – Online
Sarah’s passion for food was sparked by weekend trips to the farmers’ market and her belief that healthy meals should never feel boring.
After earning her culinary diploma and becoming a certified Nutrition and Wellness Consultant, she set out to help others fall in love with simple, wholesome cooking.
She’s all about celebrating the small wins in the kitchen: a colorful yogurt bowl, a new twist on a classic dish, or a homemade snack that feels just a little extra special.
Outside the kitchen, Sarah is a gardener at heart, a yoga enthusiast, and a believer that fresh herbs can brighten any meal, and any day.