Old-Fashioned Caramel Icing Recipe That You Can’t Resist
Crafting an old-fashioned caramel icing brings nostalgic memories of sweet kitchen moments that transport me back to grandma’s cozy baking space.
Whispers of rich, golden sugar dance through family recipe cards passed down generations.
Warm aromas promise delectable indulgence with each careful stirring technique.
Smooth and velvety textures emerge from simple ingredients blended with precision and love.
Classic Southern kitchens celebrate this traditional topping that makes every cake feel like a cherished celebration.
Creamy caramel promises to turn any ordinary dessert into an extraordinary experience you’ll absolutely adore.
Grab your wooden spoon and let magic unfold!
Old-Fashioned Caramel Icing That Takes You Back
Ingredients For Old-Fashioned Caramel Icing
Main Ingredients:Flavor Enhancers:How To Make Old-Fashioned Caramel Icing
Step 1: Melt Sugar to Golden Perfection
Place sugar in a medium saucepan over medium heat. Gently stir the sugar continuously, watching it transform into a rich, deep amber color. This magical process takes about 5-7 minutes. Stay alert and keep stirring to prevent burning the sugar.
Step 2: Introduce Creamy Butter
Once the sugar becomes completely liquid and smooth, add butter to the pan. Stir enthusiastically until the butter melts completely and blends seamlessly with the caramelized sugar. This fusion will take approximately 2-3 minutes.
Step 3: Create Luxurious Caramel Cream
Gradually pour heavy cream into the sugar-butter mixture while stirring constantly. The mixture will bubble and dance dramatically – keep stirring until everything becomes silky smooth. This is where the caramel truly comes to life.
Step 4: Enhance With Flavor Boosters
Remove the pan from heat. Stir in vanilla extract and a delicate pinch of salt. These final touches will elevate the caramel’s complexity and depth of flavor.
Step 5: Cool and Prepare for Deliciousness
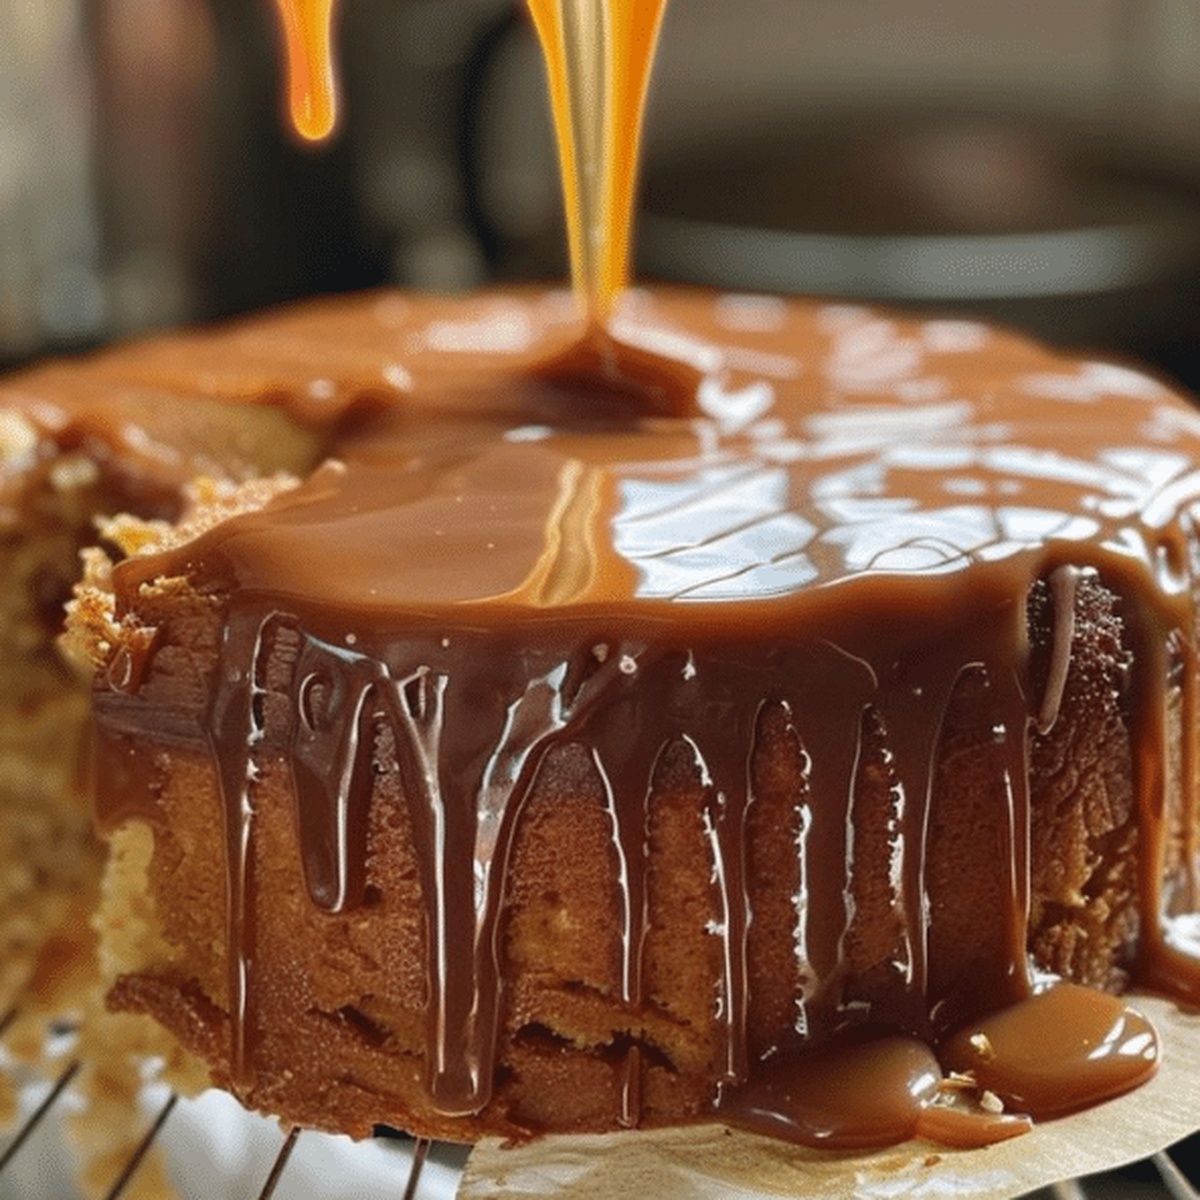
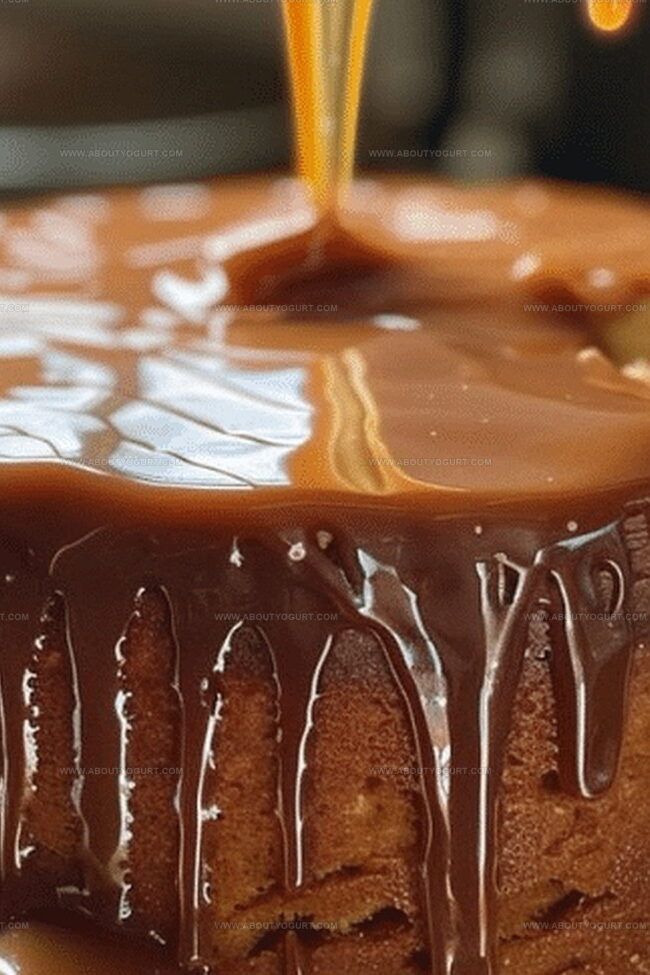
Let the caramel cool slightly, allowing it to thicken to the perfect spreading consistency. This golden, glossy mixture is now ready to drizzle over cakes, cookies, or any dessert craving a touch of sweet magic.
Pro Tips For Old-Fashioned Caramel Icing
Creative Variations For Old-Fashioned Caramel Icing
Perfect Pairings For Old-Fashioned Caramel Icing
Storage Advice For Old-Fashioned Caramel Icing
FAQs About Old-Fashioned Caramel Icing
Grainy caramel happens when sugar crystals form during cooking. Prevent this by avoiding stirring too much, using a clean utensil, and keeping the sides of the pan clean with a wet pastry brush.
Yes, you can prepare caramel icing in advance. Store it in an airtight container in the refrigerator for up to a week. Gently reheat and stir before using to restore smooth consistency.
Granulated white sugar is the most reliable and traditional choice. It melts evenly and creates a consistent amber color and rich flavor for your caramel icing.
Print
Old-Fashioned Caramel Icing Recipe
- Total Time: 10 minutes
- Yield: 8 1x
Description
Sweet Southern charm meets delectable “old-fashioned caramel icing” in this classic dessert topper that whispers nostalgic memories. Creamy, rich layers of caramel perfection will delight bakers seeking an authentic homemade treat you cannot resist.
Ingredients
Main Ingredients:
- 1 cup (240 ml) granulated sugar
- 1/2 cup (113 grams) unsalted butter
- 1/2 cup (120 ml) heavy cream
Supporting Ingredients:
- 1 teaspoon (5 ml) vanilla extract
Finishing Ingredient:
- 1 pinch salt
Instructions
- Heat sugar in a medium saucepan over medium temperature, continuously stirring until it transforms into a rich amber hue, approximately 5-7 minutes. Monitor closely to prevent burning.
- After sugar melts completely and appears glossy, incorporate butter. Whisk thoroughly until butter dissolves and integrates seamlessly, roughly 2-3 minutes.
- Gradually stream heavy cream into the mixture while maintaining constant stirring. Expect vigorous bubbling; persist in stirring until the texture becomes uniform and silky.
- Immediately remove the saucepan from heat source and fold in vanilla extract and a delicate sprinkle of salt, ensuring comprehensive integration.
- Allow caramel to rest and slightly cool for optimal spreading consistency, preparing to drizzle over preferred cake or dessert surface.
Notes
- Stir continuously while melting sugar to prevent burning and ensure even caramelization.
- Use a light-colored saucepan to easily monitor the sugar’s color change during caramelization.
- Add cream slowly and carefully to prevent hot sugar from splattering and causing burns.
- Cool caramel slightly before spreading to achieve the perfect consistency for coating desserts.
- Prep Time: 0 minutes
- Cook Time: 10 minutes
- Category: Desserts
- Method: Simmering
- Cuisine: American
Nutrition
- Serving Size: 8
- Calories: 222
- Sugar: 28 g
- Sodium: 64 mg
- Fat: 12 g
- Saturated Fat: 7 g
- Unsaturated Fat: 4 g
- Trans Fat: 0.2 g
- Carbohydrates: 29 g
- Fiber: 0 g
- Protein: 0.3 g
- Cholesterol: 34 mg
Sarah Mitchell
Content Specialist & Home Cooking Enthusiast
Expertise
Education
Asheville-Buncombe Technical Community College – Asheville, NC
American Fitness Professionals & Associates – Online
Sarah’s passion for food was sparked by weekend trips to the farmers’ market and her belief that healthy meals should never feel boring.
After earning her culinary diploma and becoming a certified Nutrition and Wellness Consultant, she set out to help others fall in love with simple, wholesome cooking.
She’s all about celebrating the small wins in the kitchen: a colorful yogurt bowl, a new twist on a classic dish, or a homemade snack that feels just a little extra special.
Outside the kitchen, Sarah is a gardener at heart, a yoga enthusiast, and a believer that fresh herbs can brighten any meal, and any day.