Cozy Old-Fashioned Rice Pudding Recipe: Sweet Comfort in a Bowl
Warm memories of grandma’s kitchen spark my love for this classic old-fashioned rice pudding recipe that brings comfort with every creamy spoonful.
Nostalgic aromas fill the room as simple ingredients blend into a delightful dessert.
Soft grains of rice nestle within a silky custard, creating a texture that melts on your tongue.
Pure sweetness speaks of home and tradition, inviting you to slow down and savor each bite.
Creamy and rich, this pudding connects generations through its timeless simplicity.
Nothing compares to the gentle warmth of a dessert that feels like a loving embrace.
Come explore this cherished recipe that turns ordinary ingredients into pure magic.
What Makes Old-Fashioned Rice Pudding a Timeless Dessert

Ingredients for Old-Fashioned Rice Pudding
Main Ingredients:Sweeteners:Spices and Extras:How to Prepare Old-Fashioned Rice Pudding
Step 1: Warm Up the Oven
Set your oven to a cozy 350 degrees Fahrenheit (175 degrees Celsius). Grab a baking dish and generously coat the inside with butter to ensure nothing sticks.
Step 2: Create the Creamy Base
In a large mixing bowl, whisk together:Blend these ingredients until they form a smooth, silky mixture that promises a luxurious dessert.
Step 3: Add the Star Ingredient
Gently fold uncooked white rice into the creamy liquid. Make sure each grain gets a loving coating of the sweet mixture.
Step 4: Transfer to Baking Dish
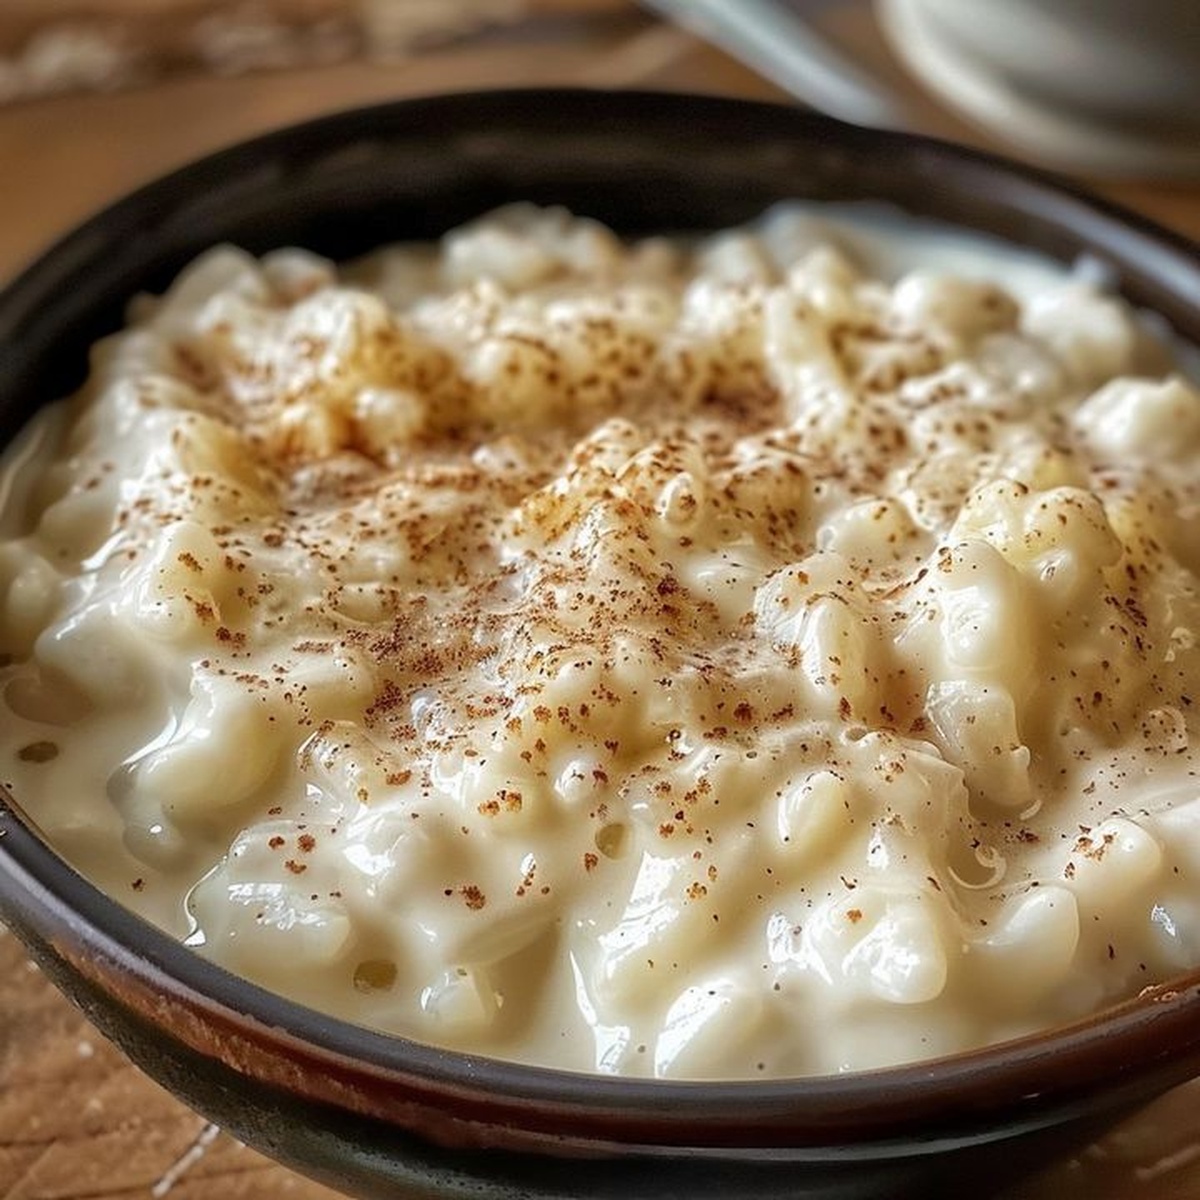
Pour the rice and cream combination into the buttered baking dish. Sprinkle a light dusting of ground cinnamon on top for an extra layer of warmth and flavor.
Step 5: Bake to Perfection
Slide the dish into the preheated oven. Let it bake for about 45 minutes to an hour, until the top turns a beautiful golden brown and the pudding sets with a gentle wobble.
Step 6: Cool and Serve
Remove the pudding from the oven and let it rest for 15-20 minutes. The pudding will continue to set and become more creamy as it cools. Serve warm or chilled, depending on your preference.
Step 7: Optional Garnish
Sprinkle some extra cinnamon, add a dollop of whipped cream, or scatter some fresh berries on top to make your rice pudding even more irresistible.
Pro Tips for Old-Fashioned Rice Pudding

Variations to Experiment With Old-Fashioned Rice Pudding
Pairing Suggestions for Old-Fashioned Rice Pudding
How to Store Old-Fashioned Rice Pudding
Frequently Asked Questions About Old-Fashioned Rice Pudding
Short-grain white rice works best, but you can also use medium-grain rice. Avoid using long-grain rice as it won’t create the creamy texture traditional rice pudding requires.
Yes, substitute whole milk with coconut milk or almond milk. The alternative milks will give a slightly different flavor but maintain a similar creamy consistency.
The pudding is done when it’s golden on top and has a slightly jiggly, custard-like center. A toothpick inserted near the center should come out mostly clean with a slight moisture.
Print
Old-Fashioned Rice Pudding Recipe
- Total Time: Not specified
- Yield: 4 1x
Description
Creamy, comforting old-fashioned rice pudding whispers tales of grandma’s kitchen with its nostalgic charm. Rich with sweet vanilla and silky texture, you’ll savor each spoonful of this classic dessert that connects generations through simple, heartwarming ingredients.
Ingredients
Main Ingredients:
- 2 3/4 cups milk (660 ml)
- 2/3 cup Minute Rice (105 g)
- 1/2 cup raisins (75 g)
Sweeteners and Flavoring:
- 1/3 cup sugar (67 g)
- 1/2 teaspoon vanilla extract (2.5 ml)
- 1/4 teaspoon nutmeg (0.5 g)
Additional Ingredients:
- 1 tablespoon butter (15 g)
- 1/2 teaspoon salt (3 g)
- Cinnamon for garnish
Instructions
- Activate the oven to 350F (175C), positioning the rack in the middle position for even heat distribution.
- Apply a thin layer of butter to a 1-quart baking dish, ensuring complete coverage to prevent pudding from adhering to the surface.
- Thoroughly coat the buttered dish with a light dusting of granulated sugar, creating a delicate caramelized exterior when baked.
- Gently combine all ingredients in a mixing bowl, whisking until the mixture achieves a smooth, uniform consistency without any visible lumps.
- Pour the silky mixture into the prepared baking dish, spreading it evenly with a spatula to ensure uniform cooking.
- Place the dish in the preheated oven and bake for approximately 45-50 minutes, or until the top turns a golden brown and the center appears slightly jiggly but set.
- Remove from the oven and allow the pudding to rest for 15-20 minutes, enabling it to firm up and develop a rich, creamy texture.
- Serve warm with a sprinkle of ground cinnamon or a dollop of whipped cream for an extra touch of indulgence.
Notes
- Enhance the pudding’s richness by using whole milk or a combination of cream and milk for a more luxurious texture.
- Adjust sweetness levels by experimenting with different sugars like brown sugar or maple syrup for added depth of flavor.
- Make this dessert gluten-free by ensuring all ingredients are certified gluten-free, perfect for those with dietary restrictions.
- Customize the pudding by adding warming spices like cinnamon, nutmeg, or vanilla extract to elevate the classic recipe’s taste profile.
- Prep Time: Not specified
- Cook Time: Not specified
- Category: Desserts
- Method: Baking
- Cuisine: American
Nutrition
- Serving Size: 4
- Calories: 176 kcal
- Sugar: 15 g
- Sodium: 110 mg
- Fat: 4 g
- Saturated Fat: 2.5 g
- Unsaturated Fat: 1.2 g
- Trans Fat: 0.1 g
- Carbohydrates: 31 g
- Fiber: 0.7 g
- Protein: 4 g
- Cholesterol: 12 mg
Michael Thompson
Founder & Recipe Developer
Expertise
Education
Cascade Culinary Institute – Bend, OR
ServSafe Food Handler Certification – Portland, OR
Focus: Certified in core food safety and hygiene principles for both home and professional kitchens, with emphasis on ingredient handling, kitchen cleanliness, and safe preparation methods.
Mike’s kitchen journey began with a single goal: to make everyday meals feel like something worth celebrating.
After earning his Certificate in Culinary Arts from Cascade Culinary Institute, he spent years working with local farmers and small kitchens across Oregon, learning the beauty of seasonal, small-batch cooking.
Mike’s approach is simple, cook with what’s fresh, keep it approachable, and always leave room for a little creativity. When he’s not testing yogurt marinades or designing single-serving meals, you’ll find him hiking trails or hunting down the best berries at local markets.